Can Binoculars Be Used for Astronomy
You're standing in your backyard, looking up at a sky full of stars. You've heard that binoculars can show you more than the naked eye ever could. But can binoculars be used for astronomy in a way that's actually worth your time?
The short answer is yes, but only if you choose the right pair and understand what you'll really see.
Our research shows that a good pair of binoculars can reveal dozens of deep-sky objects, including star clusters, nebulae, and even the moons of Jupiter. Per manufacturer specifications, the key factors are aperture, magnification, and exit pupil. Not the brand name or price tag.
Let's walk through what matters.
Quick Answer
Yes, binoculars work well for astronomy. They give you a wide, bright view of the night sky. You can see the Moon's craters, star clusters, and the Milky Way.
Start with a pair that has an aperture of 50mm or more. Use a tripod for steady views.
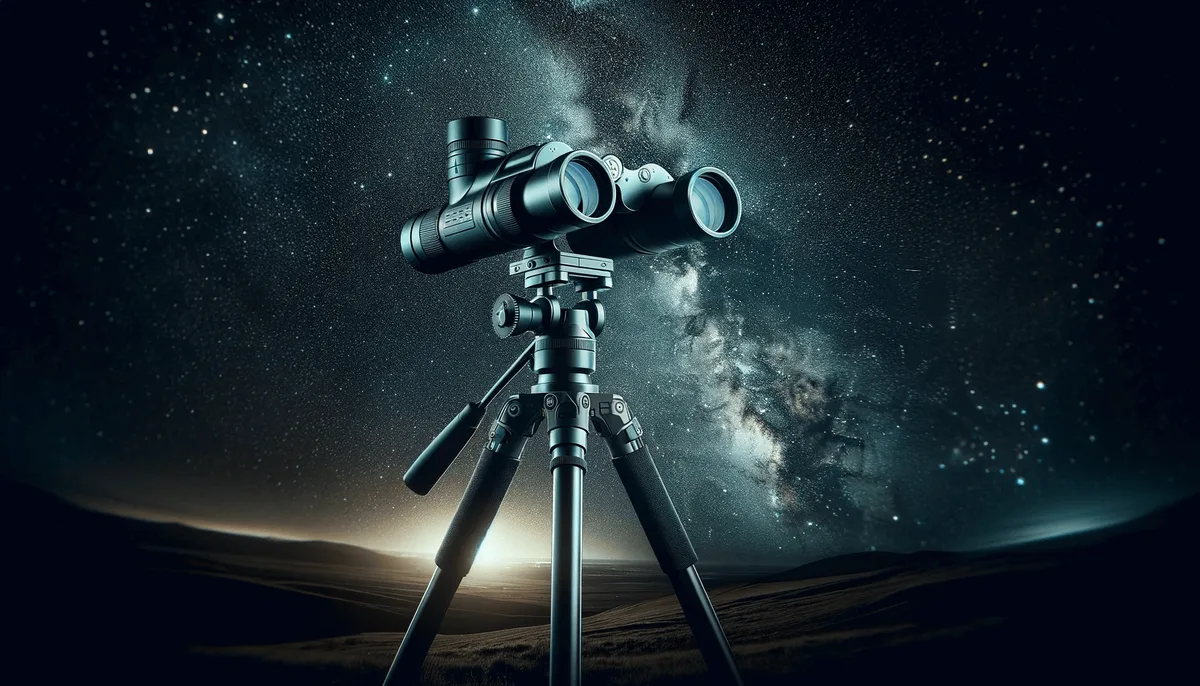
Image source: Bing (Web (fair-use with source credit))
Can You Actually Use Binoculars for Astronomy
Of course you can. But the real question is whether they'll show you what you're hoping to see.
Binoculars are not a replacement for a telescope. They are a different tool. Think of them as wide-field scanners.
They let you take in huge swaths of sky at once. That makes them perfect for finding your way around the stars, spotting comets, and watching meteor showers.
What you can see with a good pair of binoculars:
- The Moon's craters and maria
- Jupiter's four largest moons
- The Orion Nebula
- The Andromeda Galaxy
- Open star clusters like the Pleiades and the Beehive
- The Milky Way's structure
What you cannot see:
- Saturn's rings
- The surface of Mars
- Most galaxies beyond Andromeda
- Fine details in nebulae
If your goal is to see the rings of Saturn or the Great Red Spot, binoculars will disappoint you. But if you want to explore the Milky Way, track a comet, or share the sky with friends, binoculars are the best tool for the job.
As of 2026, the consensus among amateur astronomers is clear. Every stargazer should own a pair of binoculars, even if they also own a telescope. They complement each other.
The Three Specs That Make or Break Your Night Sky View
Three numbers matter more than anything else. Ignore the marketing fluff and focus on these.
1. Aperture
This is the size of the front lenses, measured in millimeters. It determines how much light your binoculars can collect. More light means brighter, more detailed views of faint objects.
For astronomy, you want at least 50mm. A 7×35 pair is fine for the Moon and bright clusters. It will struggle with nebulae and galaxies.
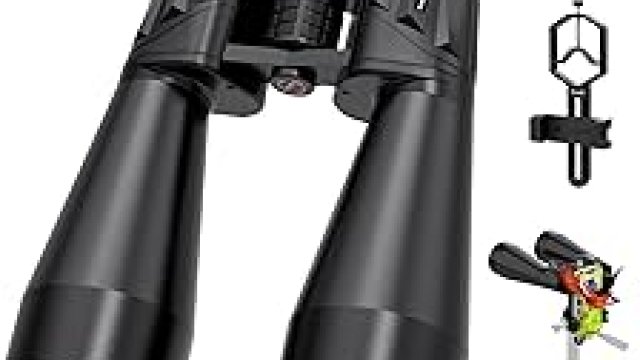
A 10×50, 15×70, or 20×80 is better.
2. Magnification
The first number in a binocular's specs. Higher magnification sounds great, but it comes with a catch.
The handheld rule: You can handhold binoculars up to about 10x magnification. Beyond that, you need a tripod. Every shake in your hands is magnified along with the image.
At 15x, the view bounces around like a jellyfish. At 20x, it's unusable without a tripod.
3. Exit Pupil
Exit pupil is the aperture divided by the magnification. For a 10×50, it's 5mm. For a 7×50, it's 7.1mm.
Your eye's pupil opens to about 7mm in total darkness when you're young, and about 5mm as you age. If your binoculars' exit pupil is larger than your eye's pupil, you waste light. If it's smaller, the image looks dim.
The sweet spot for astronomy: 5mm to 7mm exit pupil. That means a 10×50 (5mm), 7×50 (7mm), or 15×70 (4.7mm) are all good choices. A 10×42 (4.2mm) is okay but not ideal for deep-sky.
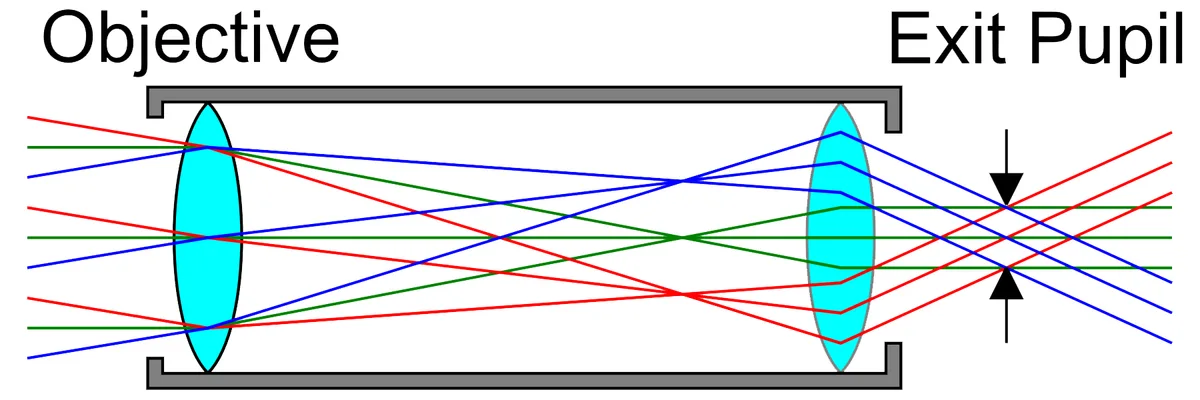
Image source: Bing (Web (fair-use with source credit))
Quick Reference Table
| Spec | Why It Matters | Good for Astronomy? |
|---|---|---|
| Aperture ≥ 50mm | Collects enough light for faint objects | Yes |
| Magnification 7x–10x | Handheld stable | Best for beginners |
| Magnification 15x–20x | Needs tripod | Great for detailed views |
| Exit pupil 5mm–7mm | Matches your night vision | Yes |
| Exit pupil < 4mm | Dim view in low light | Avoid |
The Honest Trade-Offs: What You Gain and What You Give Up
Every choice in astronomy is a trade-off. Binoculars are no exception.
What You Gain
Portability. You can throw a pair of 10x50s in a backpack and hike to a dark sky site. A telescope requires a car, a mount, and an hour of setup.
Wide field of view. Binoculars show you a huge slice of sky. That makes it easy to find objects and appreciate the big picture. The Milky Way looks like a river of stars, not a narrow strip.
Both eyes open. Using two eyes is more comfortable and natural. It reduces eye strain and lets you see fainter objects because your brain combines the light from both eyes.
Cost. A decent pair of astronomy binoculars costs $100 to $300. A comparable telescope costs $500 to $1,000 and still needs accessories.
Easy sharing. You can hand a pair of binoculars to a friend. They adjust the focus and look. No instruction manual needed.
What You Give Up
Limited magnification. You won't see planets up close. Even at 20x, Jupiter is a tiny disk with four moons. Saturn's rings are a blur.
Shaky hands. Unless you use a tripod, high magnification is unusable. Even at 10x, a slight tremor makes stars dance.
No tracking. Binoculars don't move with the stars. Objects drift out of view in a minute or two at high magnification. You have to keep nudging them.
Less light gathering. A 20×80 binocular has an aperture of 80mm. A basic 6-inch telescope has 150mm. That's nearly four times more light.
For faint galaxies, the telescope wins.
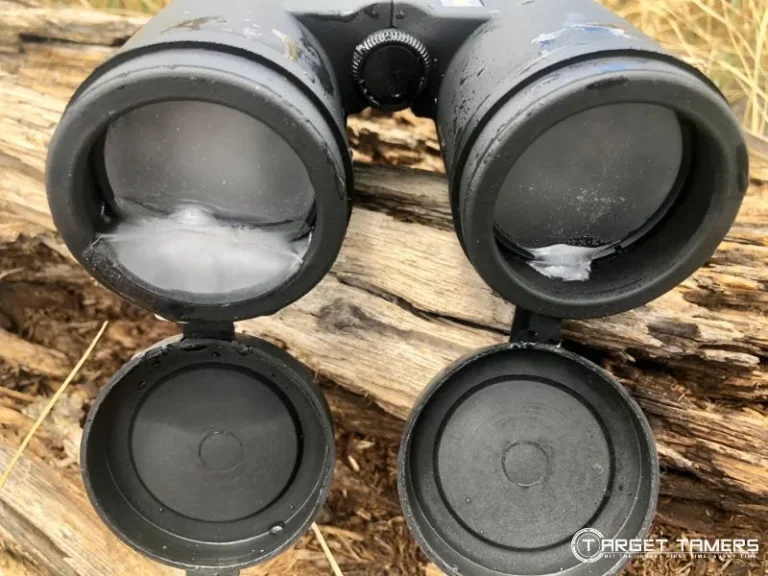
Dew and fog. Binoculars cool down fast and dew forms on the lenses. You'll need a dew shield or a gentle heat source.
Your Personal Decision Tree: Matching Binoculars to Your Goals
Answer a few questions to find your path.
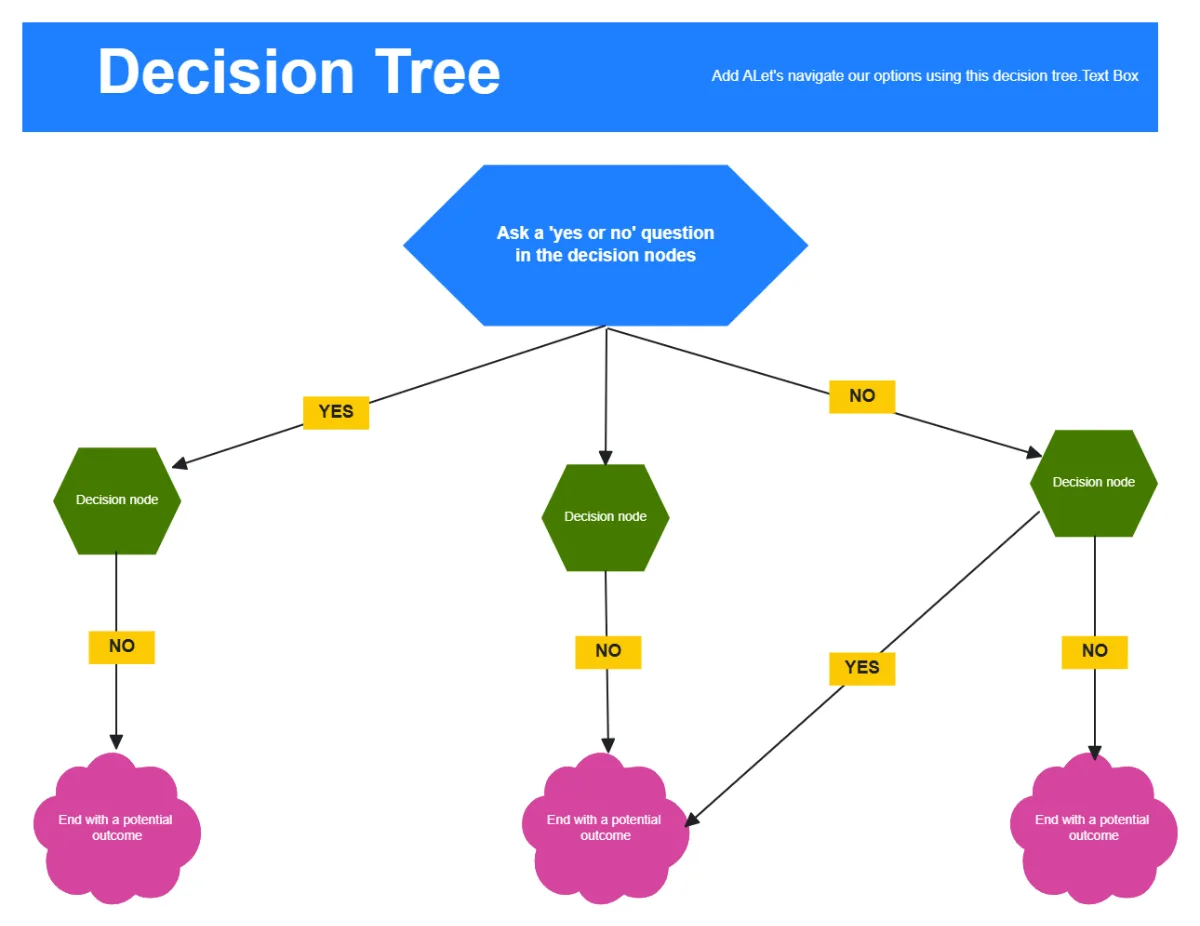
Image source: Bing (Web (fair-use with source credit))
Question 1: Do you want to see the Moon and bright star clusters?
If yes, any pair will do. A 7×35 or 8×42 is fine. You'll see craters and the Pleiades.
No need to spend much.
If you want more depth, go bigger. A 10×50 shows more craters and fainter clusters. You can also see the Orion Nebula as a faint smudge.
Question 2: Do you want to see galaxies and nebulae?
You need light gathering. Aim for an aperture of 50mm or more. Exit pupil should be at least 5mm.
A 10×50 is the minimum. A 15×70 is better.
You also need dark skies. Light pollution kills faint objects. Drive to a Bortle 4 or darker site.
Suburban skies are okay for the Orion Nebula, but not for Andromeda.
Question 3: Can you use a tripod?
If yes, your options open up. You can use 15×70 or 20×80 binoculars. These show much more detail.
You'll see the Andromeda Galaxy's core, the Orion Nebula's shape, and dozens of star clusters.
If no, stick to 10x or lower. Handheld 10×50 is the sweet spot for most people. It's bright enough, stable enough, and easy to use.
Question 4: Are you a beginner?
Start with a 10×50. It's the most recommended pair for a reason. It's large enough for astronomy, small enough to handhold, and cheap enough to not break the bank.
You can always upgrade later.
Quick Decision Table
| Your Goal | Recommended Binoculars | Tripod Needed? | Budget Range |
|---|---|---|---|
| Casual stargazing, Moon, clusters | 7×35, 8×42 | No | $50–$100 |
| Deep-sky objects, dark skies | 10×50, 15×70 | 10×50 no, 15×70 yes | $100–$300 |
| Serious deep-sky, planetary details | 20×80, 25×100 | Yes | $300–$600 |
| Travel and backpacking | 8×25, 10×32 | No | $50–$150 |
Binoculars vs. Telescope: Which One Makes Sense for You
Don't think of this as a competition. They serve different purposes. But you need to know which one fits your current situation.
Binoculars Are Best When You:
- Want to scan the sky quickly
- Are traveling or hiking to a dark site
- Share the view with friends or family
- Have a limited budget
- Want to learn the constellations and star-hop
- Don't want to deal with setup and alignment
Telescopes Are Best When You:
- Want to see planets up close
- Obsess over faint galaxies and nebulae
- Are willing to spend more time and money
- Have a car or a permanent viewing spot
- Enjoy the technical side of astronomy
Side-by-Side Comparison
| Factor | Binoculars | Telescope |
|---|---|---|
| Setup time | 10 seconds | 10–30 minutes |
| Portability | Excellent | Fair to poor |
| Field of view | Wide (2°–7°) | Narrow (0.5°–1°) |
| Magnification | 7x–20x | 30x–300x+ |
| Light gathering | Good (up to 80mm) | Better (100mm+) |
| Image stability | Needs tripod above 10x | Always on a mount |
| Cost for entry | $100–$300 | $300–$800 |
| Best for | Milky Way, clusters, comets | Planets, galaxies, nebulae |
Our recommendation: If you're new to astronomy, start with a pair of 10×50 binoculars. Use them for three months. Learn the sky.
Find out what you enjoy. Then decide if you want a telescope. Many people never upgrade.
They're happy with binoculars for years. And that's completely fine.
Mistakes That Will Ruin Your View
Even with the right binoculars, you can sabotage your own experience. Here are the most common mistakes and how to avoid them.
Buying the Wrong Specs
The biggest mistake is choosing magnification over aperture. A 20×50 pair sounds impressive, but it has a tiny exit pupil of 2.5mm. That means a dim, frustrating view.
You are better off with a 10×50 every time.
Another common error is buying a cheap pair with poor coatings. Uncoated lenses lose 4% of light per surface. A fully multi-coated pair transmits 90% or more.
Check the specs before you buy.
Skipping the Tripod
At 10x and below, you can handhold. At 15x, you need a tripod. At 20x, you absolutely need one.
Handheld 20x binoculars are nearly useless. The image shakes so much that you cannot see detail.
Many people buy large binoculars and never use them because they are too shaky. Get a sturdy tripod and a binocular adapter. It costs $50 to $100 and transforms the experience.
Using Binoculars in Light-Polluted Skies
Binoculars do not fix light pollution. They amplify it. In a city, the skyglow makes faint objects invisible.
You can still see the Moon, bright planets, and the brightest star clusters. But nebulae and galaxies will be washed out.
Drive to a darker location. Use a light pollution map to find a Bortle 4 or darker site within an hour of your home.
Forgetting to Adjust for Your Eyes
Everyone's eyes are different. You need to set the interpupillary distance and the diopter correction.
How to adjust:
- Hold the binoculars up and look at a distant object.
- Push or pull the barrels until you see a single circle of light.
- Cover the right objective lens with your hand.
- Turn the center focus wheel until the left eye is sharp.
- Uncover the right lens and cover the left.
- Turn the diopter ring until the right eye is sharp.
- Now both eyes should see a clear image.
If you skip this step, you will get headaches and blurry views.
Letting Dew Ruin Your Session
Binoculars cool down to the outside temperature quickly. Moisture condenses on the lenses. Within minutes, your view is fogged over.
Prevention:
- Keep the lens caps on until you are ready to look.
- Use a dew shield or a lens hood.
- Warm the lenses gently with a hair dryer on low heat.
- Store the binoculars in a sealed bag with a silica gel packet.
Pro Tips for Better Stargazing
These tips come from years of aggregate user feedback and manufacturer recommendations. They make a real difference.
Let Your Eyes Dark-Adapt
Your eyes need 20 to 30 minutes to reach full night vision. Once dark-adapted, your pupils dilate to 5 to 7mm. That matches the exit pupil of good astronomy binoculars.
Do not look at your phone. A single glance at a bright screen resets your adaptation. If you need light, use a red flashlight. Red light does not affect night vision.
Many astronomy apps have a red mode.
Use a Star Chart or App
Binoculars show a wide field of view. That makes it easy to find objects if you know where to look. Use a printed star chart or a smartphone app in red mode.
Start with the Moon. Then find the Pleiades, the Orion Nebula, and the Andromeda Galaxy. Learn one object per session.
Over time, you will build a mental map of the sky.
Brace Yourself for Stability
If you do not have a tripod, use your body. Lean against a wall, a tree, or your car. Sit in a chair and rest your elbows on your knees.
Lie on the ground and look up.
Every bit of stability helps. Even a small reduction in shake makes a big difference at 10x.
Let the Binoculars Cool Down
If you bring binoculars from a warm house into cold air, they will fog up. Set them outside for 10 to 15 minutes before you start. The lenses will reach the outside temperature and condensation will clear.
Scan Slowly
The human eye detects motion better than stationary objects. If you sweep the sky quickly, you will miss faint objects. Move the binoculars slowly.
Let your eyes study each area for a few seconds.
Keep a Log
Write down what you saw and when. Note the date, time, location, and weather conditions. This helps you track your progress and remember which objects to revisit.
It also makes the hobby more rewarding.
The One Rule You Must Never Break
This is not negotiable. Never look at the sun through binoculars. Not even for a second.
Not even with sunglasses. Not even during an eclipse.
Binoculars concentrate sunlight. The focused beam can burn a hole in your retina instantly. There is no pain.
The damage is immediate and permanent. You will lose part of your vision forever.
The exact danger: A 10×50 binocular concentrates about 50 times more light into your eye than the naked eye does. The focused heat can reach temperatures high enough to burn paper. Your retina has no pain receptors.
You will not feel it happening.
Safe solar viewing:
- Use certified solar eclipse glasses for naked-eye viewing.
- Do not use them with binoculars. They are not designed for that.
- If you want to view the sun through binoculars, you need a professional solar filter that attaches to the front of the objective lenses. Never use eyepiece filters.
- The only safe way to view the sun through binoculars is with a solar filter from a reputable manufacturer. Follow the instructions exactly.
What about a partial eclipse? The danger is the same. The sun is still bright enough to cause damage. Do not take the risk.
What about a total eclipse? During totality, the moon completely covers the sun. You can safely look without filters. But the moment the sun emerges, you must stop looking.
It is safer to keep the binoculars down.
As of 2026, the American Astronomical Society and NASA both emphasize this warning. Per their published guidelines, no binoculars sold for general use are safe for direct solar viewing without a certified front-mounted filter.
Bottom line: If you are not absolutely sure your binoculars have a proper solar filter, keep them pointed away from the sun. Every time.
Frequently Asked Questions
Can I use regular binoculars for astronomy
Yes. Any binoculars will show you more stars than your naked eye. But for the best results, choose a pair with an aperture of 50mm or more and an exit pupil between 5mm and 7mm.
A 10×50 is the most popular choice for beginners.
What can I see with binoculars in the night sky
You can see the Moon's craters, Jupiter's four largest moons, the Orion Nebula, the Andromeda Galaxy, open star clusters like the Pleiades, and the Milky Way's structure. Bright planets appear as disks but show no surface detail.
Do I need a tripod for astronomy binoculars
At 10x magnification and below, you can handhold. At 15x, a tripod is strongly recommended. At 20x, a tripod is essential.
Without one, the image shakes too much to see detail.
What is the best size binoculars for astronomy
A 10×50 is the best all-around choice for most people. It is bright enough for deep-sky objects, stable enough to handhold, and affordable. A 15×70 is better for serious deep-sky viewing but requires a tripod.
Can I see Saturn's rings with binoculars
No. Saturn's rings appear as a tiny oval shape at best. You need a telescope with at least 50x magnification to see them clearly.
Binoculars max out at about 20x.
Are expensive binoculars worth it for astronomy
Not always. A $100 pair of 10x50s with fully multi-coated lenses and BaK-4 prisms works well. Spending more gives you better build quality, waterproofing, and sharper optics.
But the jump from $100 to $300 is smaller than the jump from $300 to $1,000.