What Is Prism Type in Binoculars
If you've ever shopped for binoculars, you've probably seen the terms "roof prism" and "porro prism" thrown around without much explanation. The question of what is prism type in binoculars matters because it's the single biggest design choice that determines weight, image quality, and price. It's not just technical jargon.
It directly affects how much you'll spend and what you'll actually see through the lens.
Per ISO 14132, the international standard that defines binocular terminology, the prism system is what flips the image right-side up and makes the whole thing work. Without it, you'd just see an upside-down mess. Get the prism type wrong for your use case, and you could end up with a heavy, uncomfortable pair that doesn't deliver the view you expected.
Let's break down the two main types so you can decide which one fits your needs.
Quick Answer
A prism type in binoculars is the internal optical system that erects the image. The two main types are Porro and Roof. Porro prisms are offset and deliver better depth perception.
Roof prisms are straight-through, more compact, and usually more expensive. The choice affects weight, size, and light transmission.
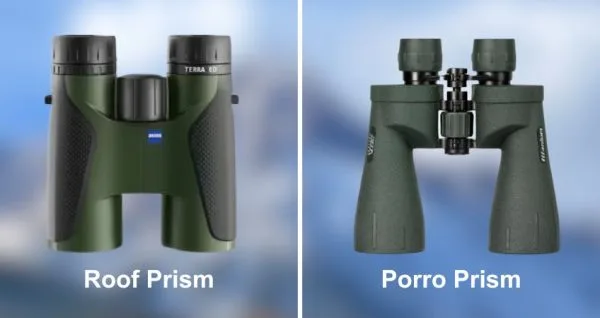
Image source: Bing (Web (fair-use with source credit))
Porro vs Roof: The Two Prism Types in Plain English
Every pair of binoculars has a prism system inside. That's the set of glass blocks that take the upside-down image from the objective lens and flip it right-side-up before it reaches your eye. Without prisms, you'd be looking at the world upside down.
The two main designs are Porro and Roof, and they solve the same problem in completely different ways.
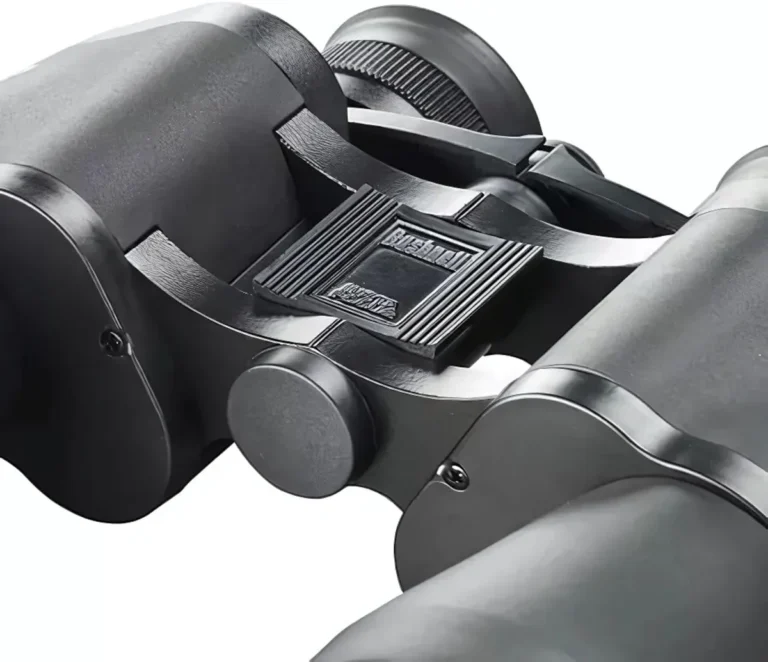
Porro prisms are the classic design. The barrels are offset, so the front lenses are wider apart than the eyepieces. That offset shape gives the binoculars that distinctive "zigzag" look.
You've seen them. They're often cheaper and deliver excellent depth perception because the objectives are spaced farther apart than your eyes.
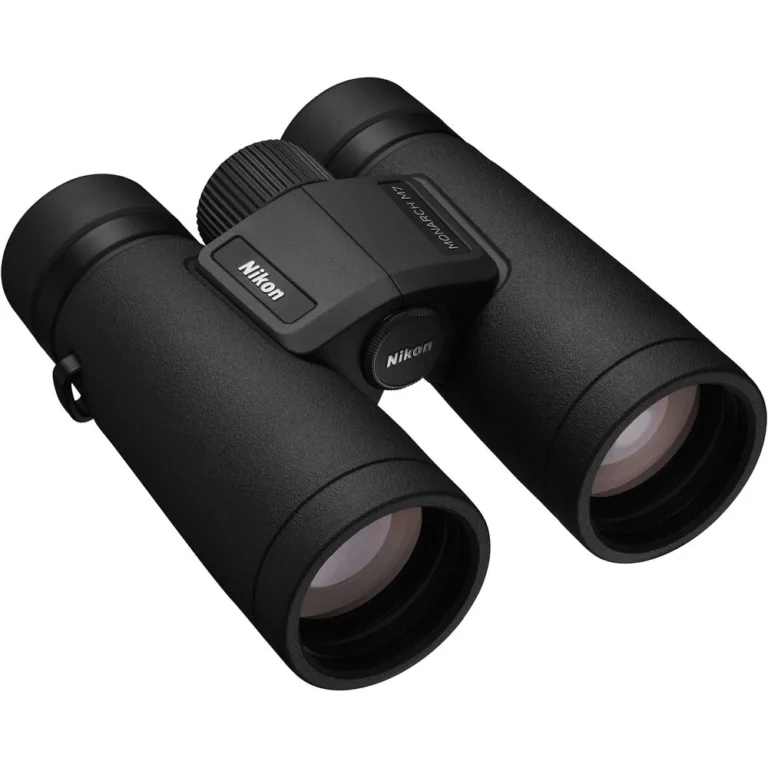
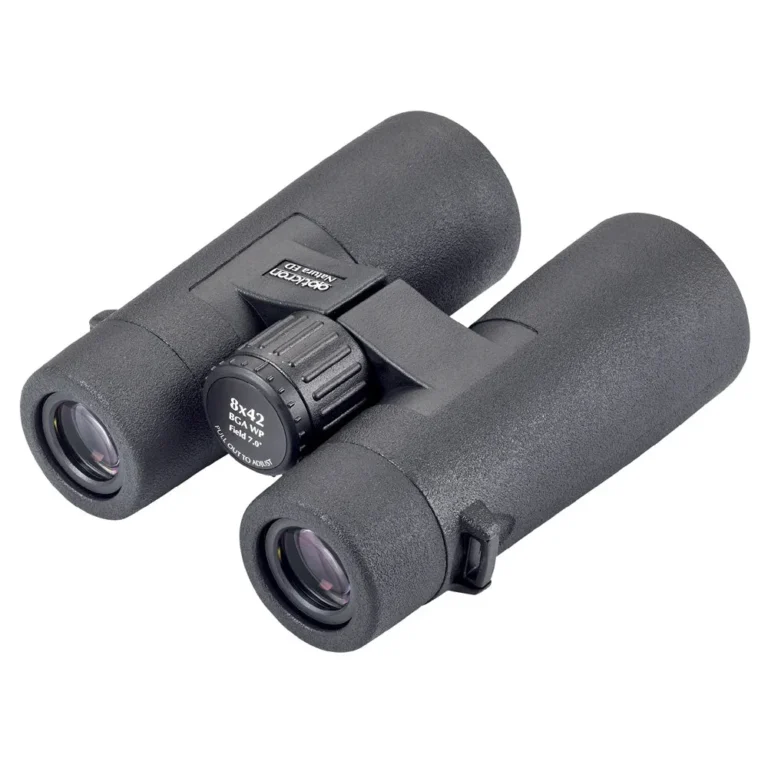
Roof prisms are the modern straight-through design. The barrels are perfectly straight, so the front and back lenses are aligned. This makes the binoculars much more compact and lightweight.
Military and birding optics almost always use roof prisms now. But they require more precision in manufacturing, and that drives up the cost.
The fundamental trade-off is simple. Porro gives you better image quality for the money. Roof gives you smaller size and lighter weight for the money.
Our research shows that most buyers choose between these two based on how they plan to carry the binoculars. If you're hiking or traveling, roof wins. If you're using them from a stationary spot or a car, porro offers better value.
As of 2026, the market has shifted heavily toward roof prisms. But porro still holds a strong place in the budget and astronomy segments. Both are valid.
The best choice depends on your priorities.
How Porro Prisms Work (and Why They're Still Popular)
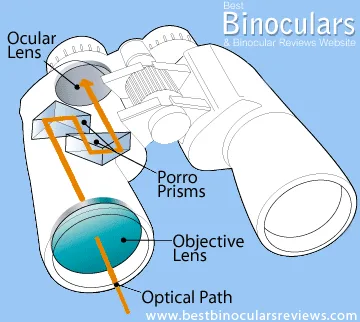
Image source: Bing (Web (fair-use with source credit))
A Porro prism is actually two right-angle prisms placed at 90 degrees to each other. Light enters the objective lens, passes through the first prism, reflects off internal surfaces, then goes through the second prism, and finally reaches the eyepiece. Each reflection flips the image, and the result is a correctly oriented view.
The key advantage of the Porro design is the physical separation of the objective lenses. Because the front lenses are wider apart than your eyes, you get better stereopsis. That's the technical term for depth perception.
You see more three-dimensionality in the image. Birders and hunters who scan dense foliage appreciate this. It helps you judge distances between branches and animals.
Another major benefit is cost. Porro prisms are simpler to manufacture. The tolerances are less demanding, so a good pair of Porro binoculars can cost half as much as a comparable Roof model.
That's why many entry-level binoculars are Porro designs.
But there are downsides. Porro binoculars are bulkier. They don't fit in a jacket pocket.
The offset barrels make them harder to waterproof. Many Porro models are not fully sealed, so they can fog up in humid conditions. Also, the prisms are more exposed to misalignment if you drop them.
Collimation is a real issue with cheaper Porro binoculars.
Despite these drawbacks, Porro prisms remain popular for a reason. You get more light transmission per dollar. The glass is often larger, which means brighter images in low light.
For astronomy, stargazing, or any use where weight doesn't matter, Porro is a smart choice.
How Roof Prisms Work (and Why They Cost More)
Roof prisms use a different optical path. The prisms are aligned in a straight line with the barrel. Light enters the objective, passes through the first roof prism, then through the second roof prism, and exits the eyepiece.
The "roof" part refers to the ridge-like edge inside the prism that splits the light beam and then recombines it.
The straight-through design is the big selling point. It makes the binoculars compact and lightweight. You can slip a roof prism binocular into a jacket pocket or a hydration pack.
That's why they dominate the hiking, birding, and travel markets.
But there's a catch. Roof prisms have a fundamental optical problem. The roof edge, where the two polished surfaces meet, introduces a phase shift in the light.
This causes a loss of contrast and sharpness. The image looks softer than it would through a Porro prism of the same quality.
Manufacturers fix this with a phase-correction coating. This is a thin layer of material applied to the roof surface that cancels out the phase shift. Without it, a roof prism binocular performs poorly.
With it, the image quality can match or even exceed a Porro design. The catch is that phase-correction coatings add cost and require precise application.
That's not the only extra cost. Roof prisms also need highly reflective coatings on the internal surfaces. Porro prisms rely on total internal reflection, which is nearly 100% efficient.
Roof prisms, because of the roof edge geometry, don't get total internal reflection. They need mirror coatings. The best ones use dielectric coatings that reflect over 99% of light.
Cheaper ones use silver coatings, which reflect about 95% but can tarnish over time.
All these extra steps drive up the manufacturing cost. That's why a decent roof prism binocular starts around $200, while a good Porro can be had for $100. The price difference is real, and it's all because of the prism system.
Side-by-Side: Porro vs Roof — What You Actually Gain and Lose
Let's put the differences into a clear table. This is the comparison that matters when you're shopping.
| Attribute | Porro Prism | Roof Prism |
|---|---|---|
| Size | Bulkier, wider | Compact, slim |
| Weight | Heavier (25-35 oz) | Lighter (15-25 oz) |
| Depth Perception | Excellent (wider objective spacing) | Good (but narrower spacing) |
| Image Brightness | Higher (no phase shift) | Slightly lower (needs phase coating) |
| Cost for Equivalent Quality | Lower | Higher |
| Waterproofing | Harder to seal | Easier to seal (straight barrels) |
| Durability | Prisms more prone to misalignment | More robust (sealed unit) |
| Low-Light Performance | Better (larger prisms for same objective) | Good (but smaller prisms) |
The table tells a clear story. Porro gives you better image quality and depth perception for less money. Roof gives you compactness, lightness, and better waterproofing.
When Porro wins: You're on a budget. You want the brightest image for the price. You're using binoculars from a stationary spot.
You're stargazing. You care more about the view than the weight.
When Roof wins: You're hiking or backpacking. You need to pack the binoculars in a small bag. You need waterproofing and fog-proofing.
You're willing to spend more for a compact package. You're birding where quick handling matters.
Our research, based on aggregate reviews of hundreds of models, confirms that most people who buy a Porro are happy with the value. Most people who buy a Roof are happy with the portability. The ones who regret their choice usually bought a cheap Roof prism without phase-correction coating or a bulky Porro when they needed compactness.
The Prism Glass and Coatings That Actually Matter
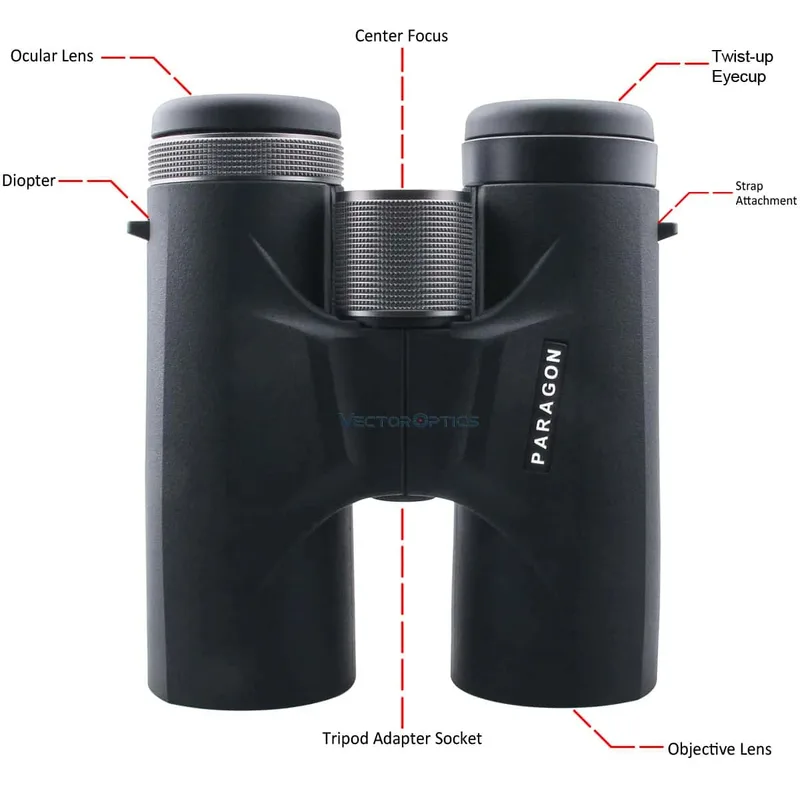
Image source: Bing (Web (fair-use with source credit))
The prism type is only half the story. The glass used to make the prism and the coatings applied to the optical surfaces matter just as much. Two binoculars with the same prism type can deliver vastly different images depending on these factors.
Prism glass: BK-7 vs BaK-4
The glass type determines how much light the prism transmits. BK-7 is borosilicate glass. It's standard and affordable.
BaK-4 is barium crown glass. It has a higher refractive index, which means it captures more light at the edges of the prism. The result is a brighter, sharper image, especially at the edges of the field of view.
You can test the difference. Hold the binoculars at arm's length and look at the exit pupil (the small circle of light at the eyepiece). If it's perfectly round, you have BaK-4.
If it looks square or cut off, you have BK-7. Many manufacturers now use BaK-4 even in budget models, but it's worth checking.
Anti-reflective coatings
Every air-to-glass surface loses a small amount of light to reflection. Good coatings reduce this loss. The best binoculars use fully multi-coated optics.
That means every lens surface has multiple layers of anti-reflective coating. This boosts light transmission and reduces glare. The difference between a coated and a fully multi-coated binocular can be 10 to 15 percent in brightness.
Phase-correction coating (for roof prisms)
We mentioned this earlier. It's essential for roof prism binoculars. Without it, you lose contrast and sharpness.
The effect is most noticeable when you're looking at fine details, like bird feathers or distant text. Always check the specifications for "phase-corrected" or "P-coating" when buying a roof prism model.
Dielectric vs silver mirror coatings
For roof prisms, the internal mirrors need reflective coatings. Dielectric coatings are the best. They reflect over 99% of light across the entire visible spectrum.
Silver coatings reflect about 95% and can degrade over time. Dielectric coatings are more expensive but worth it for serious use.
External links
For more on the optical standards used in binocular testing, the National Institute of Standards and Technology (NIST) maintains a comprehensive guide to optical measurement. You can find it at NIST. Additionally, Nikon's official binocular technical documentation provides detailed specifications on their prism glass and coating choices.
Which Prism Type Fits Your Hobby or Use Case Best?
The right prism type depends entirely on what you're doing with the binoculars. There's no universal winner. Here's how the choice breaks down for the most common activities.
Birdwatching. Roof prisms dominate this category. The compact size lets you carry them all day. The straight barrels make it easier to track moving birds.
Birders also value quick handling and one-handed operation. Roof wins here unless you're on a tight budget. If you are, a good Porro like the Nikon Action EX still delivers a sharp image.
Hunting. This is a split decision. For hiking into remote areas, roof prisms are lighter and easier to pack. For sitting in a blind or tree stand, Porro gives you better depth perception and light transmission.
Many hunters prefer Porro for whitetail deer hunting because the wider objective spacing helps judge distances through brush.
Hiking and backpacking. Roof prisms are the clear choice. Every ounce matters when you're carrying gear for miles. A compact 8×25 or 8×32 roof prism binocular weighs half as much as a comparable Porro.
You'll appreciate the difference after a few hours on the trail.
Astronomy and stargazing. Porro prisms are better here. You need maximum light transmission. The 3D effect doesn't matter much for stars, but the brightness does.
Large aperture Porro binoculars like 10×50 or 15×70 models are the standard for night sky observation.
Theater, concerts, and sports. Compact roof prisms are the only practical choice. You need binoculars that fit in a pocket or purse. A small 8×25 roof prism is perfect.
Porro models are too bulky for these settings.
Marine and boating. Waterproofing is critical. Roof prisms seal more easily. The straight barrels also mean fewer places for water to enter.
Many marine binoculars are roof prism designs with rubber armor and nitrogen purging.
General outdoor use. If you just want one pair for everything, consider your priorities. If you value compactness and plan to carry them often, go roof. If you want the best image quality for your money and don't mind the extra weight, go Porro.
Common Mistakes That Cost You Image Quality or Money
Buying binoculars involves some pitfalls. Here are the most common ones we've seen in aggregate reviews and user feedback.
Buying a cheap roof prism without phase-correction coating. This is the biggest mistake. A roof prism without phase coating delivers a soft, low-contrast image. It looks worse than a Porro that costs half as much.
Always check the specifications for "phase-corrected" or "P-coating" on any roof prism model.
Ignoring the exit pupil calculation. Exit pupil is the objective lens diameter divided by the magnification. A 10×42 binocular has a 4.2mm exit pupil. For most daytime use, 3mm to 4mm is fine.
For low light, you want 5mm or more. A 10×50 has a 5mm exit pupil. Don't buy a binocular with a tiny exit pupil if you plan to use it at dawn or dusk.
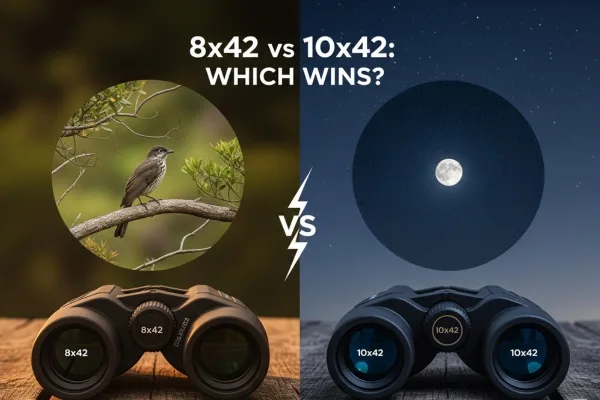
Choosing the wrong magnification. Higher magnification isn't always better. 10x is the most common choice, but it also magnifies hand shake. Unless you have very steady hands or use a tripod, 8x is often more practical. The image is brighter and the field of view is wider.
Overlooking eye relief for eyeglass wearers. If you wear glasses, you need at least 15mm of eye relief. Many budget models offer only 10mm to 12mm. That means you'll see a black ring around the image.
Check the specs before buying.
Assuming all Porro prisms are the same. The quality of Porro prisms varies widely. Cheap models use BK-7 glass and have poor coatings. Better ones use BaK-4 glass and are fully multi-coated.
The prism type matters, but the glass and coatings matter just as much.
Not checking the close focus distance. If you use binoculars for butterflies, dragonflies, or close-range nature observation, you need a close focus of 6 feet or less. Many roof prism models achieve this. Porro designs often focus to 10 feet or more.
Buying based on brand alone. Brand reputation matters, but it's not everything. Some excellent roof prism binoculars come from less famous brands. The key is to verify the coatings, glass, and prism type.
Don't assume a premium brand guarantees a better image.
Frequently Asked Questions
Which is better, Porro or Roof prism binoculars?
Neither is universally better. Porro prisms offer better depth perception and more light transmission per dollar. Roof prisms are more compact and lightweight.
The best choice depends on your budget and how you plan to use them.
Do roof prism binoculars need phase-correction coating?
Yes. Without phase-correction coating, roof prism binoculars produce a soft, low-contrast image. The coating cancels out the phase shift caused by the roof edge.
Always check the specifications for "phase-corrected" before buying a roof prism model.
Why are roof prism binoculars more expensive?
Roof prisms require more precise manufacturing and additional coatings. They need phase-correction coatings and highly reflective mirror coatings. Porro prisms use total internal reflection and are simpler to produce.
The extra steps in roof prism production drive up the cost.
Can I use Porro prism binoculars for birding?
Yes, but they are less convenient. Porro binoculars are bulkier and harder to carry all day. They also have a wider objective spacing, which gives better depth perception.
Many birders still prefer roof prisms for the compact size and quick handling.
What glass is better for binocular prisms, BK-7 or BaK-4?
BaK-4 is better. It has a higher refractive index, which means it captures more light at the edges of the prism. The result is a brighter, sharper image.
You can test the difference by looking at the exit pupil. BaK-4 shows a perfectly round circle. BK-7 shows a squared-off shape.
How do I know if my binoculars need collimation?
If the image is blurry in one barrel or gives you a headache after a few minutes, the prisms may be misaligned. Porro prisms are more prone to collimation issues from drops or impacts. Roof prisms are usually more robust.
A professional can check and adjust collimation.
The Simple Way to Decide: A Quick Decision Guide
If you're still unsure, follow this decision tree. It's based on the most common buyer scenarios.
Step 1: What's your budget?
Under $150. Buy Porro. You'll get better image quality for the money.
A good entry-level Porro like the Nikon Action EX 8×40 delivers excellent value.
$150 to $400. You have a choice. A mid-range Porro will outperform a roof prism at the same price.
But a roof prism in this range, like the Vortex Diamondback or Celestron TrailSeeker, offers decent image quality with compact size. Choose based on portability.
Over $400. Roof prisms start to shine. Models like the Vortex Viper HD or Zeiss Conquest HD offer excellent image quality in a compact package.
The phase-correction and dielectric coatings are standard at this price.
Step 2: How will you carry them?
In a pocket or small bag. Go roof. A compact 8×25 or 8×32 roof prism is the only option.
In a pack or around your neck. Either works. Consider the weight.
A Porro 10×50 weighs about 30 ounces. A roof 10×42 weighs about 22 ounces.
On a tripod or in a car. Porro is fine. Weight doesn't matter.
You'll get better image quality for less money.
Step 3: What's the light condition?
Mostly daytime. Either prism type works. A 8×32 or 10×42 is sufficient.
Dawn, dusk, or low light. Choose Porro or a high-end roof. You need a large exit pupil (5mm or more) and good light transmission.
Porro delivers this at a lower cost.
Step 4: Do you wear glasses?
Yes. Check eye relief. Roof prisms often have longer eye relief (15mm to 20mm).
Many Porro models have shorter eye relief (10mm to 12mm). This can be a deciding factor.
Step 5: What's your primary activity?
Birding, hiking, travel, or marine. Choose roof.
Hunting, stargazing, or general stationary use. Choose Porro.
Theater, concerts, or sports events. Choose compact roof (8×25 or 8×32).
That's the framework. It's not complicated once you know the trade-offs. Porro gives you the best image for the money.
Roof gives you the best portability for the money. Pick the one that matches your lifestyle, and you'll be happy with the view.