How to Focus Binoculars
You've got a pair of binoculars, you're looking at something far away, and it's blurry. Maybe you've been twisting the center wheel back and forth. Nothing seems to make it sharp.
The problem might not be the binoculars. It's probably how you're focusing them.
Optics industry surveys suggest that a significant percentage of blurry binocular complaints are actually due to incorrect diopter adjustment. Many users never set their diopter correctly. That's a simple fix.
Once you get it, everything snaps into place. Let's start with the most common frustration.
Quick Answer
Focusing binoculars takes two steps. First, close your right eye. Use the center focus wheel to sharpen the image for your left eye.
Then, close your left eye. Use the diopter ring to sharpen the image for your right eye. Now open both eyes and fine-tune with the center wheel.
The Real Reason Your Binoculars Are Blurry (And It's Probably Not the Binoculars)
Most people assume a blurry view means the binoculars are broken or cheap. In our research, the real culprit is almost always a misadjusted diopter ring. Your eyes don't have identical vision.
One eye is slightly stronger or weaker. Binoculars need to account for that difference. If you skip the diopter step, the image will never look perfectly sharp through both eyes.
Another common cause is incorrect interpupillary distance (IPD). That's the distance between your pupils. If the two barrels aren't hinged to match your face, you'll see a double image or a dark crescent.
The fix is simple. Move the barrels closer together or farther apart until you see a single, round circle of light.
Dirty lenses also create a hazy, soft image. Smudges, dust, and fingerprints scatter light. Before you touch any focus ring, clean both objective lenses and eyepieces with a proper lens cloth.
A quick check can save you ten minutes of frustration.
The good news is that almost every blurry binocular problem has a straightforward fix. The bad news is that most people don't know which fix applies to their situation. That's where the decision tree comes in.
Per the American Birding Association, proper binocular adjustment is the number one skill for new birders to learn.
First, Do You Have Center Focus or Individual Eyepiece Focus? (It Changes Everything)
Binoculars come in two focus designs. The type you own determines the entire workflow. If you follow the wrong process, you'll never get a sharp image.
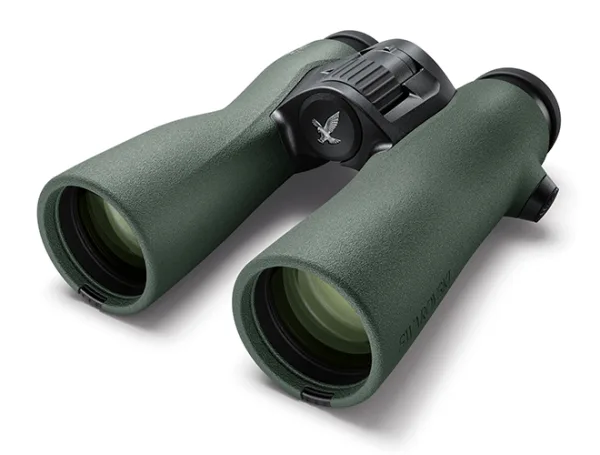
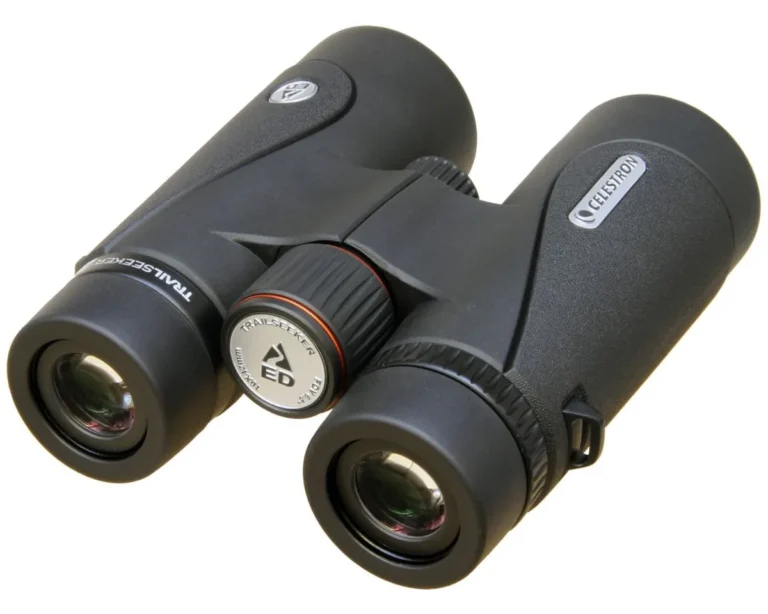
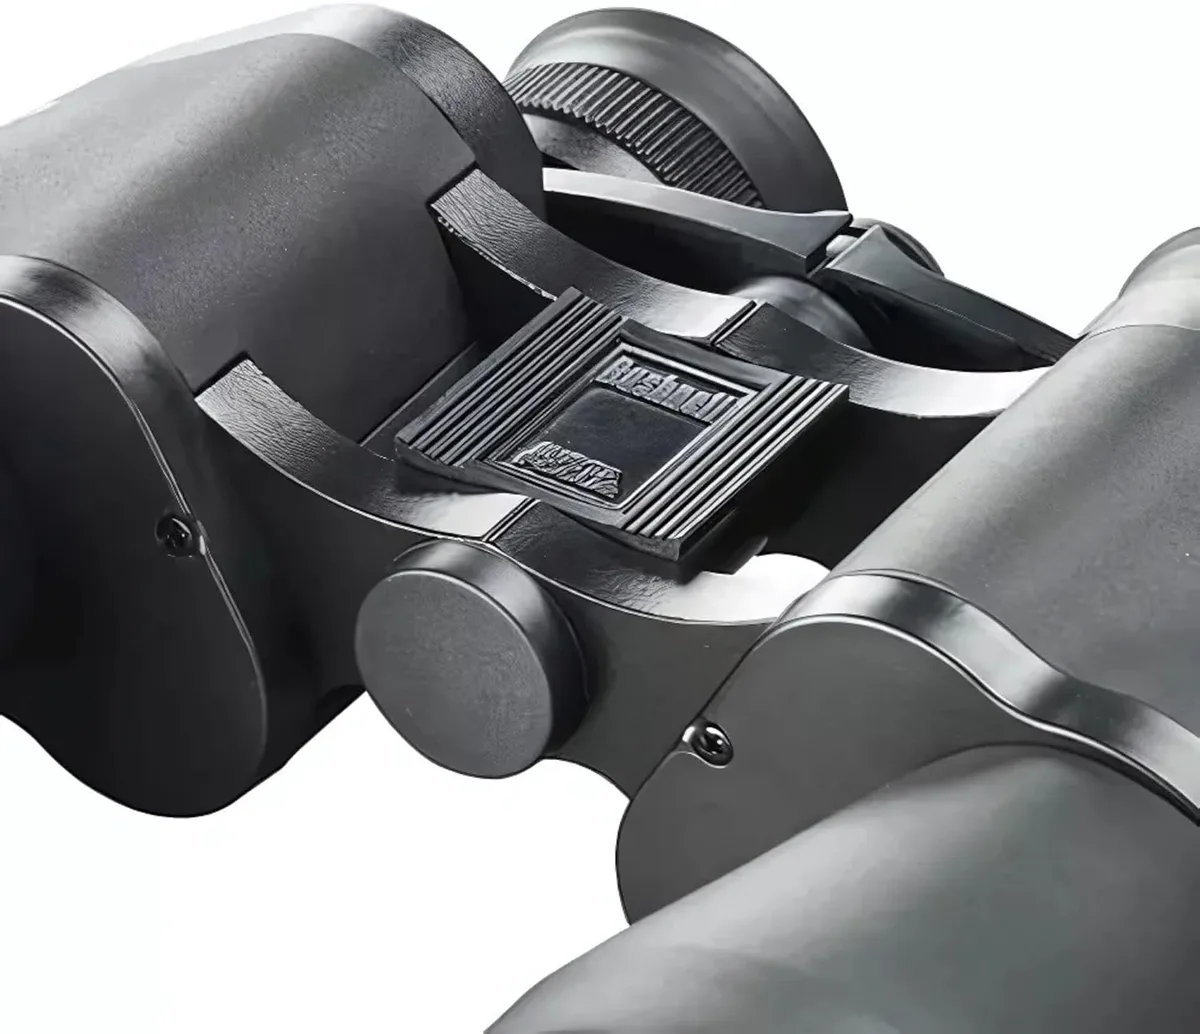
Center focus (CF) is the most common design. You'll see a large wheel between the two barrels. That wheel moves both eyepieces together.
Almost all modern birding, hiking, and general-purpose binoculars use center focus. If you have a center wheel, you're in the standard workflow.
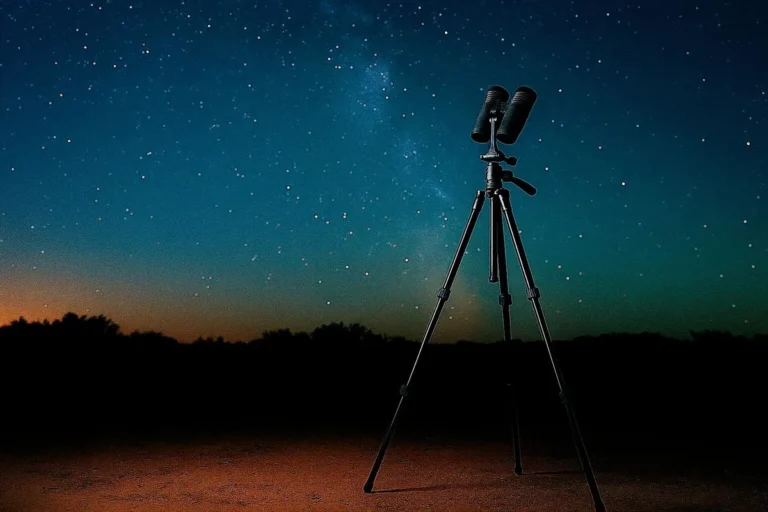
Individual eyepiece focus (IF) is rarer but still found in some marine, military, and astronomy binoculars. There is no center wheel. Each eyepiece rotates independently.
You focus each eye separately by turning the eyepiece barrel. IF binoculars are usually waterproof and rugged. They don't shift focus when dunked in water.
How do you tell which type you have? Look at the hinge area. If you see a wheel between the barrels, it's CF.
If the barrels connect without a wheel and the eyepieces have knurled rings, it's IF. Some binoculars have a hybrid design with a center wheel and a separate diopter on the right eyepiece. That's still center focus with a diopter compensation mechanism.
If you own a pair of binoculars and you're not sure, check the manufacturer's label. Most brands list the focus type in the user manual or on the product page. If you lost the manual, you can usually find it online by searching the model number.
How to Focus Center-Focus Binoculars: The Full Workflow
Once you've confirmed you have center-focus binoculars, follow this exact sequence. Do not skip steps. The order matters.
Step 1: Set the Interpupillary Distance (IPD)
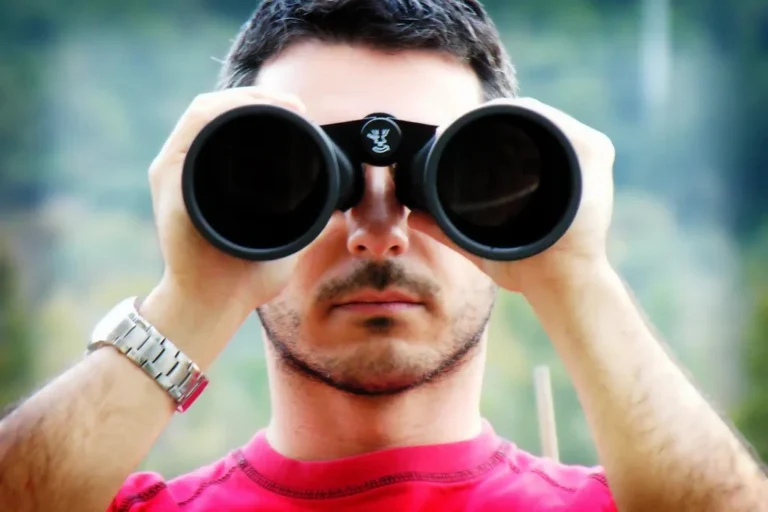
Hold the binoculars up to your eyes. Look at a distant object. Move the two barrels closer together or farther apart until you see a single, clear circle of light.
No dark crescents. No double image. This takes about five seconds.
Step 2: Adjust the Eyecups
If you wear glasses, twist the eyecups down or roll them down. This brings your eyes closer to the lenses. If you don't wear glasses, twist the eyecups up.
This blocks stray light and keeps your eyes at the correct distance. The wrong eyecup position can cause blackouts or kidney bean shapes.
Step 3: Focus the Left Eye
Close your right eye. Look through the left eyepiece only. Turn the center focus wheel until the image is sharp.
Take your time. Get it as crisp as possible.
Step 4: Set the Diopter for the Right Eye
Now, close your left eye. Look through the right eyepiece only. Do not touch the center wheel.
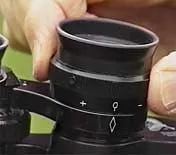
Instead, turn the diopter ring on the right eyepiece. This is usually a small ring just below the eyecup. Turn it until the image is sharp.
If you have a locking diopter, unlock it first, then adjust, then lock it again.
Step 5: Fine-Tune Both Eyes
Open both eyes. Look at the same object. The image should be sharp and comfortable.
If it's slightly off, use the center wheel to fine-tune for both eyes together. Do not touch the diopter again unless you're adjusting for a different person.
| Step | Action | Tool | Typical Mistake |
|---|---|---|---|
| 1 | Set IPD | Hinge | Skipping this step |
| 2 | Adjust eyecups | Eyecups | Wrong position for glasses |
| 3 | Focus left eye | Center wheel | Using center wheel for both eyes |
| 4 | Adjust diopter | Diopter ring | Turning center wheel instead |
| 5 | Fine-tune both | Center wheel | Readjusting diopter |
How to Focus Individual Eyepiece (IF) Binoculars: A Different Beast
If your binoculars have no center wheel, you're working with individual eyepiece focus. The process is simpler in some ways but requires more patience.
Step 1: Set the IPD
Same as with center focus. Move the barrels until you see a single circle of light. This is always the first step.
Step 2: Adjust the Eyecups
Same as above. Up for no glasses. Down for glasses.
Step 3: Focus the Left Eyepiece
Close your right eye. Rotate the left eyepiece barrel until the image is sharp. Most IF eyepieces have a knurled ring or a small lever.
Turn it slowly. The focus range is usually large, so it takes several full rotations.
Step 4: Focus the Right Eyepiece
Close your left eye. Rotate the right eyepiece barrel until the image is sharp. Do not touch the left eyepiece again.
Step 5: Check Both Eyes
Open both eyes. The image should be sharp and comfortable. If it's not, repeat steps 3 and 4.
You may need to adjust in small increments. IF binoculars are very precise. Tiny adjustments make a big difference.
IF binoculars are best for fixed distances. If you change your target distance, you have to adjust both eyepieces again. That's why they're common in marine and astronomy settings where the target stays at a consistent distance.
For birding or sports, center focus is much faster.
The Diopter Adjustment: The Step Almost Everyone Gets Wrong
The diopter ring is the most misunderstood feature on any binocular. It's a small ring, usually on the right eyepiece, that compensates for the difference in vision between your left and right eyes. Without it, the image will never be sharp in both eyes at the same time.
What the Diopter Actually Does
Your left eye might need a slightly different focus than your right eye. The center focus wheel moves both eyepieces together. The diopter ring fine-tunes only the right eyepiece.
It's a one-time adjustment for your eyes. Once set, you should never need to touch it again unless you share the binoculars.
The Most Common Mistake
Most people try to set the diopter while looking through both eyes. That doesn't work. Your brain naturally compensates for the blurry eye.
You think the image is sharp. The only way to set the diopter correctly is to close one eye at a time.
Another common mistake is turning the center wheel after setting the diopter. If you move the center wheel, the diopter setting is still valid. The center wheel shifts both eyes together.
The diopter compensates for the difference. They work independently. But many people turn the diopter, then turn the center wheel, then wonder why the image is still blurry.
How to Set the Diopter Correctly
Find a distant object with fine detail. A license plate, a sign, or a tree branch works well. Follow the steps from the center focus workflow.
Close your right eye. Focus with the center wheel for your left eye. Then close your left eye.
Adjust the diopter for your right eye. Do not touch the center wheel during the diopter step.
What If the Diopter Won't Stay in Place
Some binoculars have a locking diopter. You push the ring in, or you twist a lock ring to secure it. If your diopter drifts during use, check if yours has a lock mechanism.
If it doesn't, you can use a small piece of electrical tape to hold it in place. That's a field fix, not a permanent solution. If the diopter is loose, it may need service.
The Reset to Zero Rule
If you share your binoculars with other people, always reset the diopter to zero before handing them over. Set the diopter ring to the center mark or the 0 position. Then let the next person set it for their eyes.
This prevents confusion and ensures everyone gets a sharp view.
5 Common Focus Mistakes (And How to Fix Each One)
Even after reading the full workflow, people still make the same errors. Here are the five most common focus mistakes and the exact fix for each.
Mistake 1: Adjusting the Diopter While Looking Through Both Eyes
Your brain compensates for the blurry eye. You think both eyes are sharp, but one is still off. This is the most frequent mistake we see in aggregate user feedback.
The fix is simple. Close one eye at a time. Always.
Set the left eye with the center wheel. Then close the left eye and set the diopter for the right eye. Never skip this step.
Mistake 2: Moving the Center Wheel After Setting the Diopter
The diopter compensates for the difference between your eyes. The center wheel moves both eyes together. If you move the center wheel after setting the diopter, the diopter setting is still correct.
Many people think they need to reset the diopter every time they refocus. You don't.
Once the diopter is set for your eyes, it stays set. Only use the center wheel for distance changes. The diopter stays untouched.
Mistake 3: Ignoring the IPD Adjustment
A double image or dark crescent is almost always an IPD problem. People blame the focus mechanism, but the barrels are simply too wide or too narrow for their face.
Move the barrels until you see a single, clear circle. That's it. If you see two circles or a partially blacked-out view, you haven't set the IPD correctly.
Mistake 4: Using the Wrong Eyecup Position
Eyecups control the distance between your eye and the lens. If you wear glasses and leave the eyecups extended, you're too far from the lens. You lose field of view and see black edges.
If you don't wear glasses and leave the eyecups retracted, your eyelashes smear the lens. You also get stray light from the sides. Twist or roll the eyecups to the correct position for your situation.
Mistake 5: Focusing on a Moving Target First
When you try to focus on a bird in flight or a runner on a field, you're chasing a moving target. You never get a stable image. Start with a stationary object at a known distance.
A license plate, a sign, or a tree trunk works perfectly. Get the focus dialed in on a static target. Then switch to moving subjects.
Your brain and hands will thank you.
When Nothing Works: Collimation, Cleaning, and Knowing When to Repair
Sometimes you've done everything right and the image is still blurry or double. That's when the problem is mechanical, not user error.
What Is Collimation?
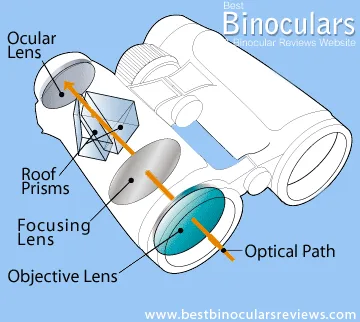
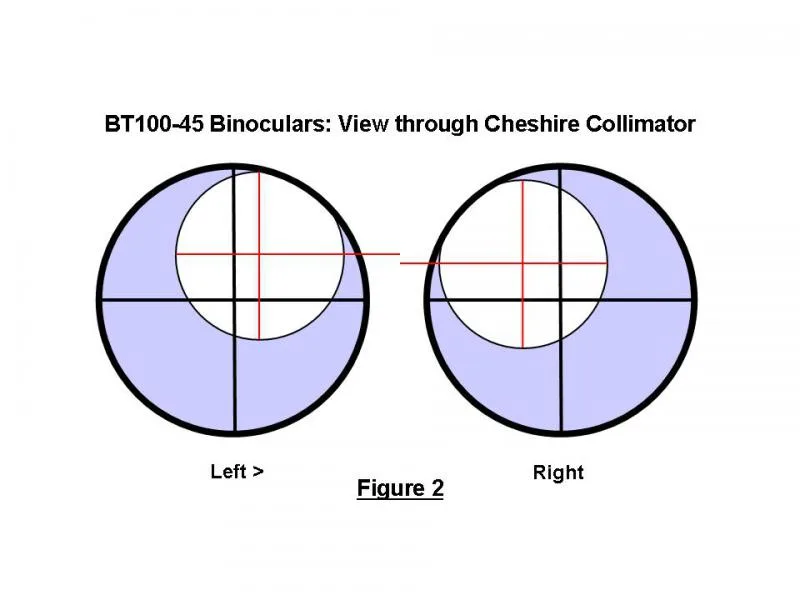
Collimation is the alignment of the optical elements inside the binoculars. The prisms and lenses must be perfectly aligned to produce a single image. When collimation is off, you see a double image or a blurry image that won't focus.
Collimation problems are rare in new binoculars. They happen after a drop, a hard bump, or years of rough use. If you drop your binoculars on concrete, there's a good chance the collimation is off.
How to Test for Collimation
Look at a distant object with both eyes. If you see a clear double image, collimation is the likely culprit. You can also try looking through each eyepiece individually.
If each eye sees a sharp image alone, but the image is double when you use both eyes, collimation is off.
Another test: look at a straight line, like a power line or a building edge. If the line appears split or wavy, the prisms are misaligned.
Can You Fix Collimation at Home?
No. Do not attempt to adjust the prisms yourself. Collimation requires specialized tools and training.
Most binoculars have sealed prisms that are factory aligned. Opening them without proper equipment can make the problem worse.
Send the binoculars to the manufacturer or a professional repair service. Many brands offer lifetime warranties that cover collimation. Check your warranty before paying for repairs.
When to Clean Instead of Repair
Before you assume collimation is broken, check the lenses. A smudge, a fingerprint, or a speck of dust can cause a soft, hazy image. Clean both objective lenses and eyepieces with a microfiber cloth and lens cleaning solution.
Use a blower brush to remove loose dust first. Then apply a small amount of solution to the cloth. Wipe in a circular motion from the center outward.
Never spray liquid directly onto the lens.
When to Give Up
If the binoculars are very old or very cheap, repair costs may exceed replacement value. A $50 pair of binoculars with a collimation problem is not worth repairing. A $500 pair is worth the service call.
Check the manufacturer's repair policy. Some brands have flat-rate repair fees. Others charge by the hour.
If the cost is more than half the replacement price, it's time to upgrade.
How to Keep Your Focus Mechanism Running Smoothly
Your focus mechanism is a precision mechanical system. With proper care, it will last for decades. With neglect, it will get stiff, gritty, or loose.
Store Them Correctly
Store binoculars in a dry, temperature-stable place. Avoid leaving them in a hot car or a damp basement. Heat can dry out lubricants.
Moisture can cause fungus on the lenses.
Always use the objective lens caps and the eyepiece cover. Dust and grit are the enemies of smooth focus mechanisms. A grain of sand in the focus wheel can cause scratching.
Clean the Focus Wheel
The center focus wheel collects dirt and debris over time. Use a soft brush to clean the grooves. A clean toothbrush works well.
Be gentle. You don't want to push debris into the mechanism.
If the focus wheel feels stiff, do not force it. Forcing it can strip the internal gears. Instead, send it to a professional for lubrication.
Lubrication: Don't DIY
The internal lubrication of a binocular focus mechanism is a factory job. The grease is specialized. It's designed to work at different temperatures.
Adding WD-40 or any household lubricant will damage the mechanism.
If the focus wheel is too tight or too loose, the binoculars need service. Some high-end binoculars have adjustable focus tension. Check your manual.
Most don't.
Check the Diopter Lock
If your binoculars have a locking diopter, check it regularly. A loose diopter lock can cause the setting to drift. You'll notice the image slowly getting blurry during use.
Tighten the lock mechanism if it's loose. If it's broken, contact the manufacturer. Some brands sell replacement parts.
Protect Against Drops
Drops are the most common cause of mechanical failure. Use a neck strap or a harness. Keep the binoculars in a padded case when not in use.
A single drop on pavement can knock the collimation off permanently.
If you're hiking or birding, a chest harness distributes the weight and keeps the binoculars secure. It's a cheap investment compared to a repair bill.
Frequently Asked Questions About Focusing Binoculars
Why are my binoculars blurry even after I focus?
The most common cause is an incorrect diopter setting. Close one eye at a time and follow the full workflow. If that doesn't fix it, check the IPD and clean the lenses.
If the image is still blurry, collimation may be off.
How do I focus binoculars with glasses?
Twist the eyecups down to bring your eyes closer to the lenses. Then follow the standard center focus workflow. Long eye relief is important for eyeglass wearers.
Look for binoculars with at least 15mm of eye relief.
What is the diopter ring on binoculars?
The diopter ring is a small adjustment ring on the right eyepiece. It compensates for the difference in vision between your left and right eyes. It's a one-time setting for your eyes.
Once set, you only use the center wheel for focusing.
Can I use binoculars if I have astigmatism?
Yes. Astigmatism affects the shape of your cornea. Binoculars focus by adjusting the distance between the lens and the eyepiece.
The diopter adjustment can compensate for mild to moderate astigmatism. For severe astigmatism, wearing your glasses while using binoculars is recommended.
How do I know if my binoculars need collimation?
Look at a distant object with both eyes. If you see a double image, collimation is likely off. Test each eye individually.
If each eye sees a sharp image alone but the image is double with both eyes, the prisms are misaligned.
How often should I clean my binoculars?
Clean the lenses when they appear dirty. Smudges and dust reduce image quality. Use a blower brush for loose dust.
Use a microfiber cloth with lens cleaning solution for smudges. Clean the focus wheel and body as needed to remove dirt and debris.