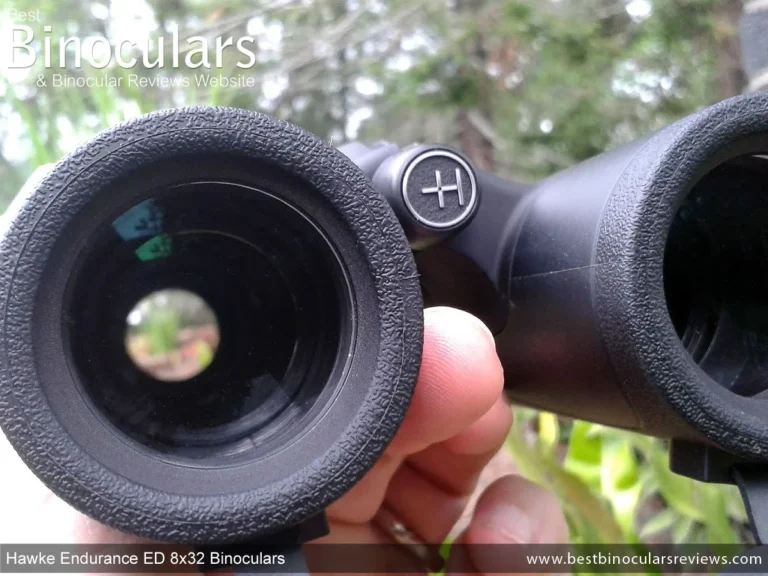
Can Binoculars Be Used for Stargazing
Can binoculars be used for stargazing? Yes, and for many people they are the smartest first purchase in astronomy. But the honest answer is conditional.
It depends on the numbers on the barrel, the darkness of your sky, and whether your hands can hold steady. This is a decision tree, not a yes or no question.
The single most useful number is the exit pupil. It is the objective lens diameter divided by the magnification. A classic 7×50 pair gives a 7mm exit pupil, which matches a fully dark-adapted eye.
Manufacturer specifications and the ISO 14132-1 standard define these measurements. Once you know yours, you can decide in about thirty seconds.
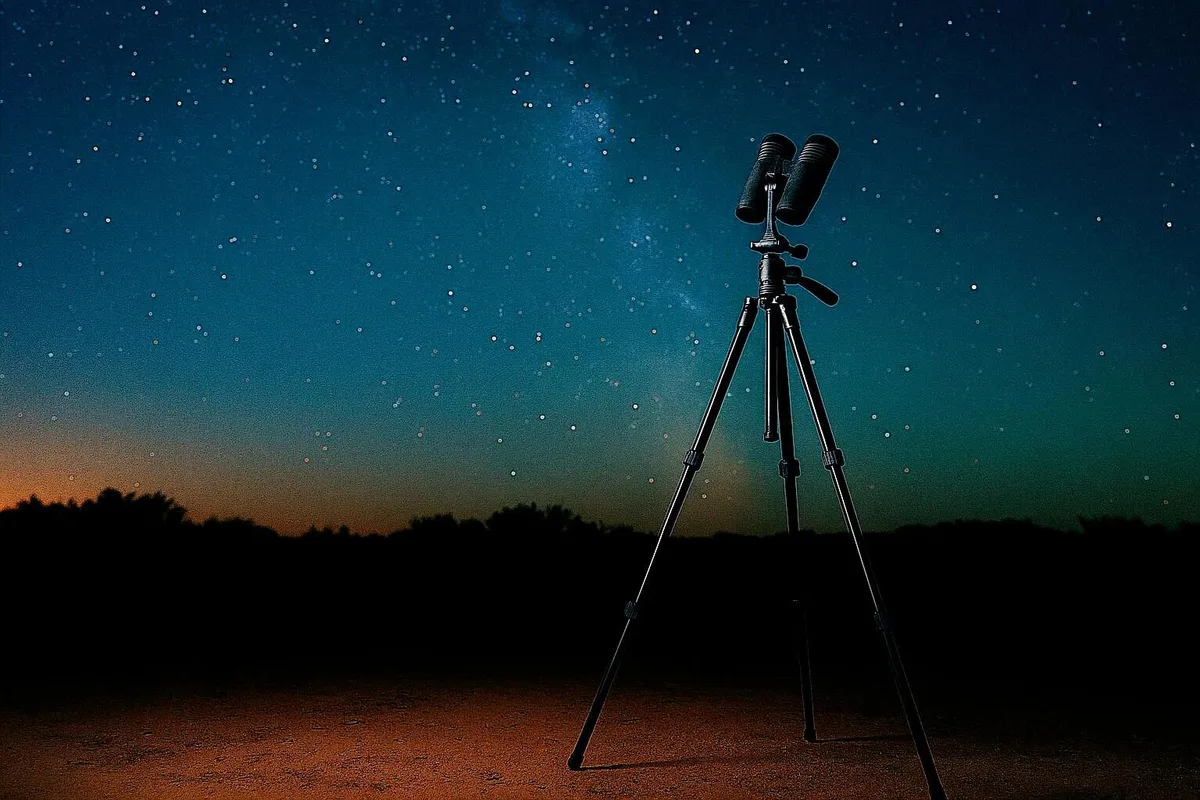
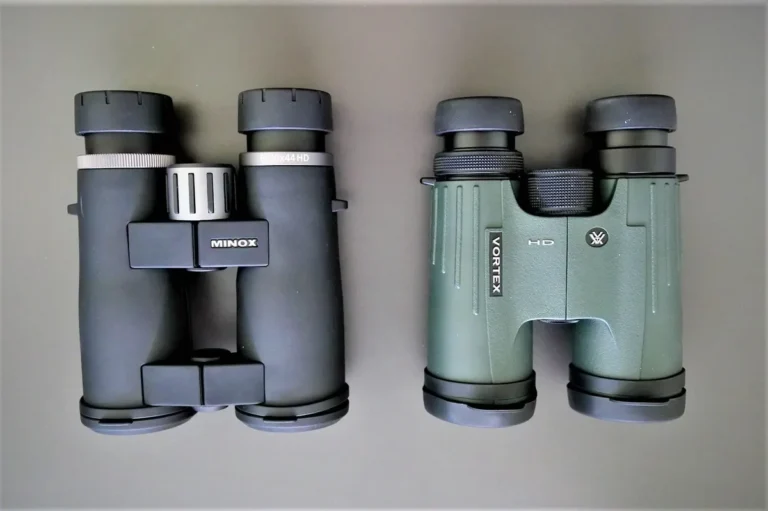
Image source: Bing (Web (fair-use with source credit))
Quick Answer
Yes, binoculars can be used for stargazing. They reveal dozens of stars hidden to the naked eye. The Moon, Jupiter's moons, and the Orion Nebula look great.
A steady hand or a cheap tripod makes the difference. Bigger objective lenses collect more light. Lower magnification keeps the view sharp.
The Real Reason You're Asking This
You are not asking whether binoculars physically work at night. Of course they do. You are asking whether the view is worth the effort.
That answer changes with your situation. A 10×50 in dark countryside reveals star clusters that look like tiny diamonds. The same pair under streetlights might only show the Moon and a few planets.
Human hands add another variable. Magnification magnifies movement too. A small tremor at 7x turns into a noticeable jump at 12x.
That is why experienced observers treat 10x as the realistic handheld ceiling.
Our research and aggregate feedback from astronomy clubs point the same direction. People who match their binoculars to a realistic target come away impressed. People who expect telescope views through a shaky compact pair come away disappointed.
The fault is not the binoculars. The fault is the match between tool, target, and technique.
As of 2026, the market is full of affordable large binoculars. Fifteen by seventy models are everywhere, often priced below two hundred dollars. They are cheaper than a decent telescope and far easier to store.
But they weigh more than three pounds and almost always need a mount. If you are not prepared to set up a tripod, a 7×50 or 10×50 will make you happier.
There is also a lingering myth that binoculars are just a compromise until you buy a telescope. That misses what they are good at. Binoculars give a wide, upright, two-eyed view that no telescope can match.
For sweeping the Milky Way or following a comet over several nights, they are the better tool. They only fail at making tiny objects look big, which is the one thing telescopes do well.
So the question gets a conditional answer. Yes, when the aperture is large enough, the exit pupil is bright enough, and the mount matches the magnification. No, when any one of those fails.
A dark-sky observer in Arizona swears by a 7×50 pair. A city dweller with a tiny 8×25 pair calls binoculars useless. Both are right about their own situation.
Neither is right about yours.
The good news is that you do not need to guess. You can check three numbers on the barrel and know your answer in under a minute.
The Quick Decision Tree
Run through four questions in order. Each one branches to a recommendation. If you already own binoculars, start with the first question.
If you are shopping for a first pair, skip to question three.
Question 1: Do you already own binoculars?
If no, look for an objective lens diameter of 40mm or more. If yes, keep going. Existing binoculars are always worth trying, even if the spec sheet looks small.
The Moon and the Pleiades look good through almost anything.
Question 2: Is the objective lens at least 35mm?
If no, limit yourself to the Moon, bright planets, and open clusters. There is not enough light grasp for faint nebulae or galaxies. If yes, continue.
At 35mm, you can find the Orion Nebula and Andromeda Galaxy from a reasonably dark sky.
Question 3: Is the exit pupil above 3.5mm?
Divide objective diameter by magnification. A 10×50 gives 5mm. A 12×25 gives 2.1mm.
For night work, aim for 4mm or higher unless you are under bright city lights. In town, a smaller exit pupil can actually sharpen the view by cutting glare. In the country, a 5 to 7mm exit pupil reveals deep-sky objects.
Question 4: Can you hold them steady for a full minute?
Test it right now. Raise the binoculars and hold them on a distant streetlight or tree. If the image dances, you are at your personal limit.
More magnification makes the dance worse. Either choose a lower power or plan to mount the binoculars.
Once you have your answers, the branches resolve. If you got four yeses, you have a capable stargazing setup. If you failed question three, your binoculars will still work for the Moon and the brighter clusters.
If you failed question four, fix the mount before you replace the glass. A shaky 10×50 shows less than a steady 7×35.
| Condition | Verdict | Recommended move |
|---|---|---|
| Owned, objective 35mm or larger | Good to go | Scan for clusters, doubles, and the Moon |
| Objective 25 to 35mm | Limited but usable | Stick to Moon, Pleiades, Jupiter's moons |
| Objective under 25mm | Not worth the effort | Upgrade if you want more than a moon glimpse |
| Exit pupil under 3.5mm | Dim views | Use in town, not at a dark site |
| Hand shake at 10x | Frustration | Drop to 7x or 8x, or add a tripod |
| Large aperture (15×70 plus) | Heavy and shaky | Mount required for comfortable viewing |
One more branch deserves mention. If you are buying new and plan to hold the binoculars, choose a 7×50 for maximum brightness or a 10×50 for closer looks at the Moon. Both are classic stargazing sizes for a reason.
If you are willing to carry a tripod, a 15×70 or 20×80 opens up a much richer set of targets. The cost is setup time, weight, and a stable mount.
In our research, most beginners pick the 10×50 as the best balance. It magnifies enough to show Jupiter's four Galilean moons lined up like tiny pearls. It collects enough light to reveal the Andromeda Galaxy as a pale smudge.
And it stays light enough to hold steady for short sessions.
The Three Numbers That Make or Break Your Night Sky View
Turn your binoculars over and look at the numbers printed on the body. You will see something like "10×50" or "7×35". Those two numbers drive everything.
The third number is not printed, but you can calculate it in seconds.
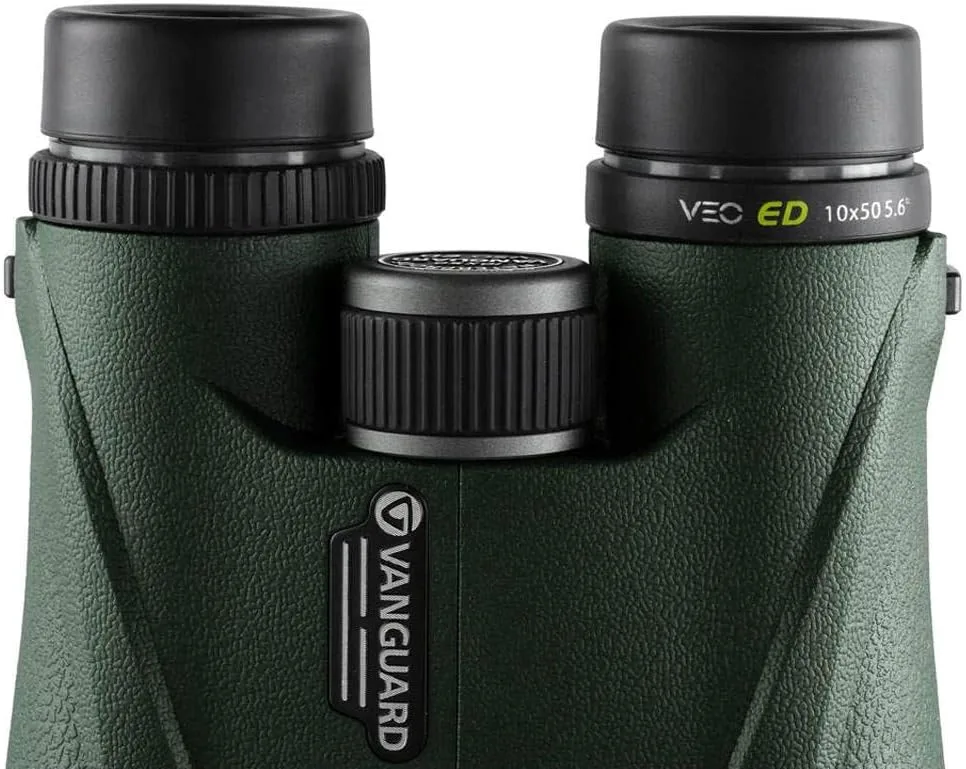
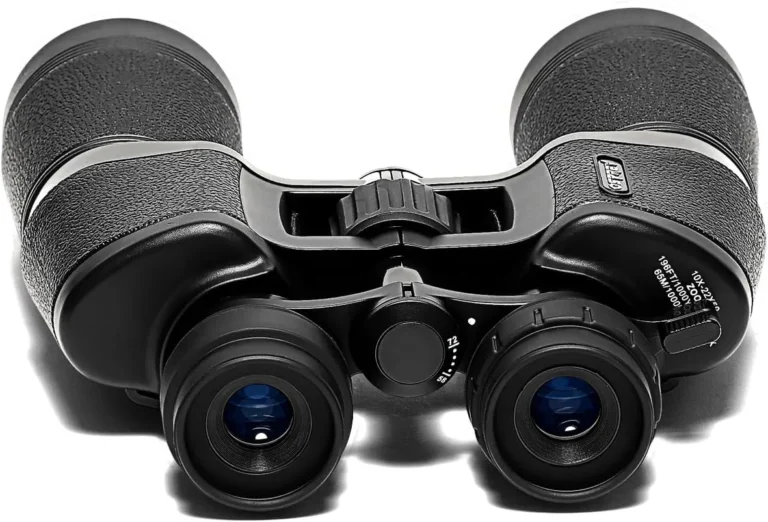
Image source: Bing (Web (fair-use with source credit))
Magnification. The first number tells you how much larger things appear. A 10×50 magnifies ten times. That sounds great, but high magnification narrows the field and magnifies shake.
For handheld stargazing, 7x to 10x is the sweet spot. Above 10x, a mount helps dramatically.
Objective lens diameter. The second number is the diameter of the front lenses in millimeters. A 50mm lens collects roughly four times more light than a 25mm lens. Light gathering is what matters most at night.
This is why big glass beats high magnification for faint objects.
Exit pupil. Divide the second number by the first. A 10×50 gives 5mm. A 7×50 gives 7mm.
This is the diameter of the beam of light entering your eye. On a dark night your pupil may open to 5 or 7mm. If your exit pupil matches that, you are using the full aperture.
If it is smaller, you are wasting light.
| Spec | Exit pupil | Night-sky character |
|---|---|---|
| 7×50 | 7.0mm | Bright, wide view, great for dark skies |
| 10×50 | 5.0mm | Good brightness, closer views, mild shake |
| 8×42 | 5.3mm | Compact, bright enough, versatile |
| 12×50 | 4.2mm | Higher magnification, shakier image |
| 15×70 | 4.7mm | Excellent light grasp, needs a mount |
| 10×25 | 2.5mm | Dim, poor night choice |
Those numbers also explain why small binoculars fail at night. A 10×25 has a 2.5mm exit pupil. It passes only a fraction of the light your eye could use.
The image looks dim, gray, and frustrating. Meanwhile, a 7×50 delivers a beam that matches your fully open pupil. The difference is dramatic.
Also check the field of view, even though it is not one of the three core numbers. Wide fields make hunting for objects easier. A 7×50 with a 7 degree field is better for sweeping the Milky Way than a 10×50 with 5 degrees.
The trade-off is magnification. More magnification, less context.
One more spec deserves respect. Coatings. The barrel may say "fully multi-coated" or "FMC".
That means all glass surfaces have anti-reflection layers, and more light reaches your eye. In our research, fully multi-coated optics matter more at night than any other accessory. Cheap coatings lose up to 15 percent of light at each glass surface.
That adds up across a dozen surfaces. Good coatings push transmission above 90 percent. The difference between a dim, washed-out star and a crisp bright one is often just the coatings.
Where Handheld Works and Where You Need a Mount
Here is the most practical rule in binocular astronomy. If you can hold the image still for ten seconds, you are fine. If your arms shake before that, you need a mount.
It is that simple.
The shake threshold follows a predictable pattern. At 7x, most people can hold steady for a full minute. At 10x, that drops to about thirty seconds.
At 12x, the jitter is noticeable within seconds. At 15x, you will see your own heartbeat in the image. That is not a metaphor.
Your pulse moves the binoculars, and the stars dance in tiny circles.
Handheld sweet spot. Binoculars up to 7x or 8x with a 42mm to 50mm objective are the most forgiving. They are light enough to hold, wide enough to find objects, and bright enough to show detail. A 7×50 is the classic.
It weighs about two pounds. You can hold it for long stretches without fatigue.
The borderline. A 10×50 works for many people some of the time. If you brace your elbows against your chest or lean against a wall, the image stabilizes. If you try to stand free and hold it, you will wish for a tripod.
The trick is to sit in a reclining chair and use a neck strap pulled tight. That creates tension that dampens shake.
The mount zone. Anything above 10x or any binocular heavier than three pounds should go on a tripod. A 15×70 or 20×80 is a different beast. It reveals much more than smaller binoculars, but it will not cooperate with your hands.
The weight alone makes holding it painful after a minute. The magnification makes every tremor visible.
There is a middle option that many people miss. Image stabilized binoculars. They use gyroscopes or electronics to cancel shake.
A 10×42 or 12×42 stabilized pair lets you see detail that a normal 10x only shows on a tripod. The downside is cost. Good stabilized pairs start around five hundred dollars and go up to two thousand.
If you are serious about handheld stargazing, they are worth the money.
Tripod basics. You do not need an expensive astronomy mount. A standard photography tripod with a fluid head or a sturdy ball head works. The key is stiffness.
A wobbly tripod is worse than no tripod. Look for a center column that does not flex and legs that lock solid. The tripod should weigh at least as much as the binoculars.
A binocular adapter is the other piece. It screws into the tripod's quick release plate and clamps onto the binoculars' center hinge. These cost fifteen to forty dollars.
They are simple and effective.
The real question is convenience. A tripod kills the grab-and-go advantage of binoculars. You have to set it up, level it, tighten everything, and then take it down.
For some people, that is a deal breaker. For others, the steady view is worth the extra minute. Only you know which camp you belong to.
What You Will Actually See Through Binoculars
This is where expectations meet reality. Binoculars will not show you the Hubble Space Telescope images. They will show you things that surprise you with their beauty, if you aim them at the right targets.
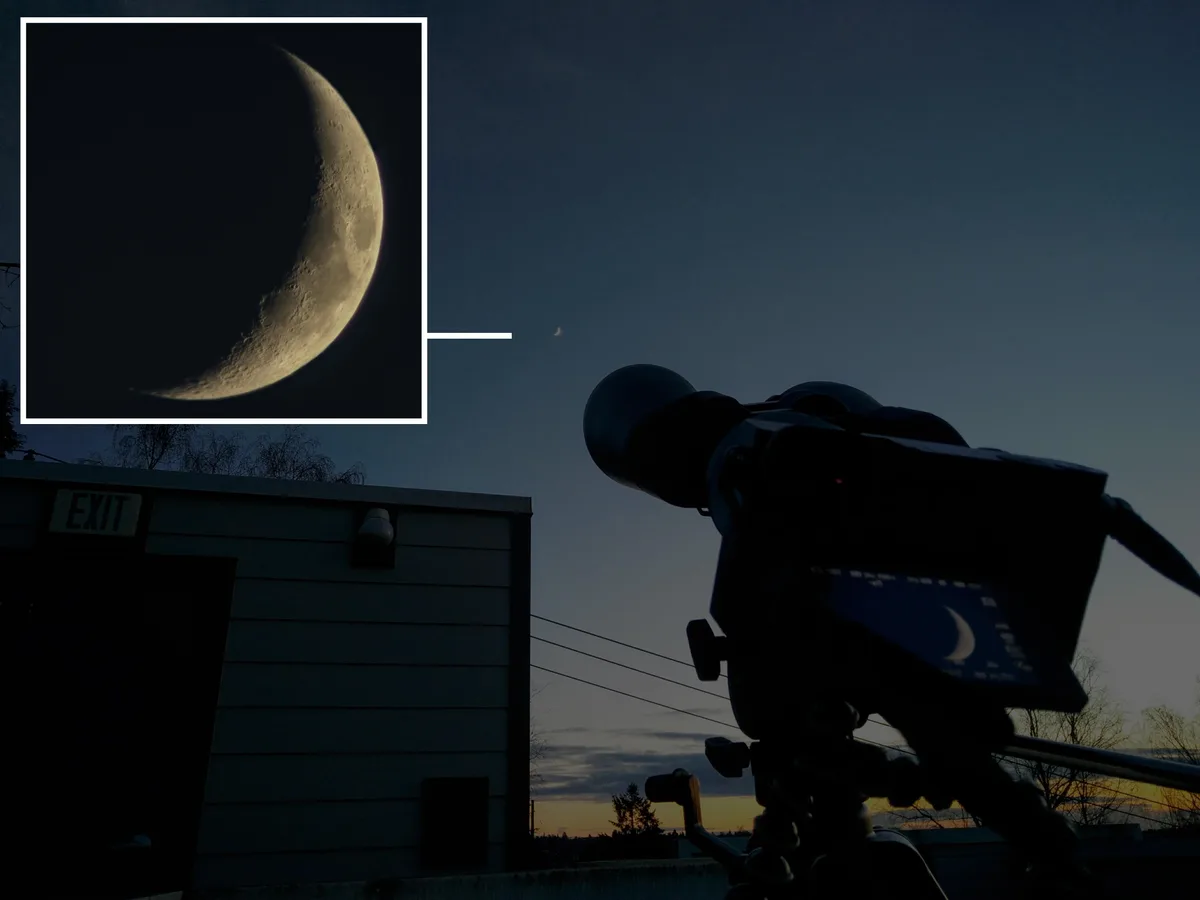
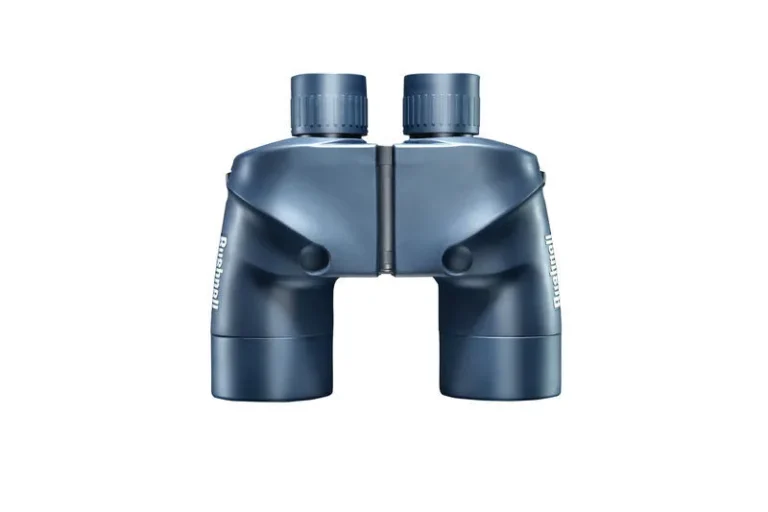
Image source: Bing (Web (fair-use with source credit))
The Moon. This is the best target for any binocular. Craters, mountain ranges, and the dark flat plains called maria are all visible. A 10×50 shows details as small as a few miles across.
The terminator line, where day meets night, is the most dramatic view. Shadows are long, and craters pop out in three dimensions.
Jupiter. Through binoculars, Jupiter looks like a bright disk. What you can see are its four largest moons. Io, Europa, Ganymede, and Callisto appear as tiny dots in a line.
They shift positions from night to night. That is a satisfying thing to watch. You will not see Jupiter's cloud bands or the Great Red Spot.
Those need a telescope. The moons alone are worth the look.
Saturn. The rings are visible through a steady 15×70 or 20×80. Through a 10×50, Saturn looks like an oval, not a circle. You might guess the rings are there, but you will not see them clearly.
Do not expect the Cassini division. That is a telescope target.
The Orion Nebula. This is the best deep-sky object for binoculars. Even from suburban skies, a 10×50 shows it as a fuzzy patch below Orion's belt. The three stars of the sword are visible, and the nebula wraps around the middle one.
In dark skies, the nebula shows a greenish tinge and a hint of structure. It is spectacular.
The Pleiades. This star cluster looks like a tiny dipper to the naked eye. Through binoculars, it explodes into dozens of blue stars. The cluster covers more than a degree of sky, so it fits perfectly in a wide field.
It is one of the most beautiful sights in small binoculars.
Andromeda Galaxy. From a dark site, Andromeda appears as an elongated smudge about the size of the full Moon. You will not see spiral arms. You will see the bright core and the overall shape.
That is a faint echo of the galaxy's true grandeur, but knowing it is two million light years away makes the view emotional.
What you will not see. Galaxies with detail. The colorful nebula photos from telescopes. The rings of Saturn clearly.
The Red Spot on Jupiter. Surface detail on Mars. Any object smaller than a few arcminutes across.
If you want those, get a telescope.
What binoculars do better than telescopes. They show the whole scene. A telescope at high power points at one star cluster. Binoculars show the cluster in its context, surrounded by the star field.
That context is what makes sweeping the Milky Way so rewarding. You see the river of stars, the dark lanes of dust, and the rich patches of unresolved stars. No telescope can give you that in one view.
The scattered star clusters. The Double Cluster in Perseus, the Beehive Cluster in Cancer, the Wild Duck Cluster in Scutum. These are pure binocular treasures. They fill the field with stars at different brightnesses.
Each one is worth a long look.
The Right Binoculars for the Job
If you are buying binoculars specifically for stargazing, the choice comes down to three common paths. Each path suits a different observing style.
Path one: The all-rounder 10×50. This is the most popular choice for good reasons. It gives 5mm exit pupil, which works in most conditions. It is light enough to hold for a few minutes.
It shows the Moon, planets, clusters, and bright nebulae. It costs anywhere from sixty to four hundred dollars. The jump in quality between cheap and mid-range is big.
A two hundred dollar pair with fully multi-coated optics and BAK4 prisms will outperform a sixty dollar pair by a wide margin.
Path two: The bright wide-field 7×50. This is the best choice for dark skies and deep-sky scanning. The 7mm exit pupil matches your fully dark-adapted eye. The wide field makes finding objects easy.
The low magnification means you can hold it steady for a long time. The downside is that everything looks smaller. The Moon will not fill the view.
Jupiter's moons are visible but tiny. This is a sweeping tool, not a magnifier.
Path three: The giant 15×70 or 20×80. These are for people who are willing to carry a tripod. They collect a lot of light. They show fainter stars and more detail on the Moon and planets.
The 15×70 is the most popular giant size. It weighs about three and a half pounds. It needs a sturdy tripod and a good binocular adapter.
The 20×80 is heavier and shows even more, but it is harder to use. The field of view is narrow, and finding objects takes practice.
Path four: Image stabilized. These are expensive but transformative. A 10×42 IS pair lets you see detail that a normal 10x only shows on a tripod. The image is rock steady.
The downside is that optics this good cost more. Entry-level stabilized binoculars start around five hundred dollars. Premium models exceed two thousand.
What to look for in any pair. Fully multi-coated optics. BAK4 prisms, not BK7. A tripod mounting thread on the center hinge.
A field of view of at least 5 degrees. Eye relief of at least 15mm if you wear glasses. A weight under two and a half pounds if you plan to hold them.
What to avoid. Zoom binoculars. They are convenient but compromise on image quality and brightness. Compact binoculars with objective lenses under 30mm.
They simply do not collect enough light for night work. Extremely cheap pairs under fifty dollars. They often have poor coatings, misaligned prisms, and plastic lenses that produce a dim, blurry image.
Six Mistakes That Ruin the Experience
1. Skipping dark adaptation. Your eyes need about twenty minutes to reach full night sensitivity. If you walk outside and immediately raise the binoculars, you are seeing only a fraction of what is there.
Give your eyes time. Avoid looking at phone screens. Use a red light if you need to read a chart.
2. Using too much magnification. A 12x handheld pair sounds impressive. In practice, the jitter makes it hard to see anything.
The image jumps around, and you spend more time fighting the shake than looking at stars. A steady 7x will show you more than a shaky 12x every time.
3. Ignoring the exit pupil. Many people buy binoculars based on magnification alone. They pick up a 12×25 because it says "high power" on the box.
The exit pupil is 2.1mm. The image is dim and disappointing. You can see the Moon, but that is about it.
The exit pupil is the single most important number for night use.
4. Observing from a light-polluted backyard. Streetlights, porch lights, and glow from nearby cities wash out faint objects. The Moon and planets are still visible.
Deep-sky objects like nebulae and galaxies disappear. Drive to a darker location if you can. Even a few miles can make a huge difference.
5. Forgetting to adjust the focus properly. Binoculars have a central focus wheel and a diopter adjustment on one eyepiece. The diopter compensates for differences between your eyes.
Set it once during the daytime. Then, at night, you only need to adjust the central focus. If you skip the diopter, the image will never be sharp in both eyes.
6. Expecting too much. Binoculars will not show you the rings of Saturn clearly. They will not show you the Whirlpool Galaxy.
They will not show you color in nebulae. If you expect those, you will be disappointed. If you expect to see dozens of stars where you saw none before, and bright fuzzy patches that are actually galaxies, you will be thrilled.
The Night-by-Night Workflow
Step one: Pick your night. Check the weather forecast. Clear skies are essential. Check the moon phase.
A full moon washes out faint objects. New moon to first quarter is ideal. Check the Bortle scale for your location.
Class 4 or darker is excellent. Class 6 or higher limits you to the Moon and planets.
Step two: Pick your target. Start with the Moon. It is easy to find and always impressive. Then move to Jupiter.
Its moons are a satisfying sight. Then try the Orion Nebula if it is visible in your season. The Pleiades is another beginner favorite.
Write down what you see. It helps you track progress.
Step three: Get comfortable. A reclining chair or a zero-gravity chair is the best companion for binocular astronomy. You can lean back and relax. Your arms and neck do not fatigue as quickly.
Wrap a blanket around yourself if it is cold. Dress warmly. You will last longer and see more.
Step four: Let your eyes adjust. Turn off all white lights. Wait twenty minutes. Do not look at your phone.
If you need to check a star chart, use a red light or a red-light app. Your eyes will thank you.
Step five: Find the target. Hold the binoculars steady. Use your hand to block stray light from the side if needed. Scan slowly.
Large objects like the Pleiades or Andromeda can be found by sweeping. Small objects like the Orion Nebula need a more careful approach. Use a star chart or a planetarium app to pinpoint the location.
Step six: Focus and observe. Turn the focus wheel until the stars are sharp. If the image is blurry, you are not focused accurately. Once focused, hold still and look.
Let your eyes wander across the field. The edges of your vision are more sensitive to faint light. You may see more detail in indirect vision than by staring directly at the target.
Step seven: Take breaks. Your arms get tired. Your eyes get tired. Put the binoculars down.
Look at the naked-eye sky. Then come back for another look. Short sessions are better than one long exhausting one.
Step eight: Clean and store. Wipe the lenses with a microfiber cloth if they got dusty. Use a blower to remove grit before wiping. Store the binoculars in a dry case.
If you used them in cold weather, let them warm up in the case to prevent condensation.
Frequently Asked Questions
Can I use any binoculars for stargazing?
You can use any binoculars, but the experience depends on the specs. Binoculars with objective lenses under 30mm and exit pupils under 3mm will show the Moon and a few bright stars. For nebulae and galaxies, you need at least 35mm objectives and a 4mm exit pupil.
What is the best magnification for stargazing binoculars?
For handheld use, 7x to 10x is ideal. 7x gives a wider field and steadier image. 10x gives closer views but adds shake. Above 10x, you need a tripod. The best magnification depends on your ability to hold steady.
Can I see planets with binoculars?
Yes, but not in detail. Jupiter shows its four largest moons as tiny dots. Saturn looks like an oval through 10x binoculars and shows rings through 15x or 20x.
Venus shows its crescent phase. Mars is just a reddish dot.
Do I need a tripod for binocular stargazing?
Not always. Binoculars up to 10×50 can be held steady with practice. Elbows braced, neck strap tight, and a reclining chair help.
Above 10x or above three pounds, a tripod makes the experience much better.
What is the exit pupil and why does it matter?
The exit pupil is the objective diameter divided by magnification. It is the diameter of the light beam entering your eye. A larger exit pupil means a brighter image.
For night use, aim for 4mm to 7mm. Smaller exit pupils produce dim images.
Can I see galaxies with binoculars?
Yes, the brightest ones. Andromeda Galaxy is visible as an elongated smudge from dark skies. The Triangulum Galaxy is fainter but visible.
The Magellanic Clouds are bright in the southern hemisphere. For the rest, you need a telescope.