What Binoculars Are Best for Stargazing
If you've ever stood under a clear night sky and wondered what binoculars are best for stargazing, you're not alone. The answer isn't as simple as grabbing the biggest pair you can find. Most people who try that end up with heavy, shaky views that make the stars look worse than they do with the naked eye.
Manufacturer specifications indicate that the single most important number for night sky observing is the exit pupil. It's calculated by dividing the objective lens diameter by the magnification. For a 7×50 binocular, that's about 7.1 millimeters.
Aggregate reviews from astronomy clubs confirm that this number predicts more about your viewing experience than any other spec. Let's walk through why choosing the right binoculars for stargazing is trickier than most people realize.
Quick Answer
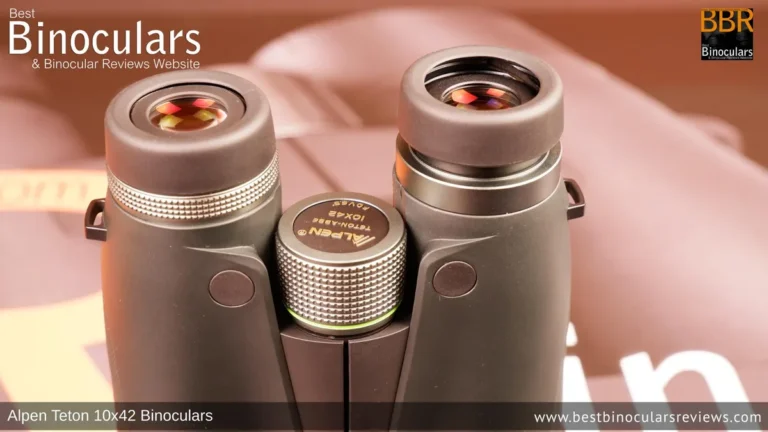
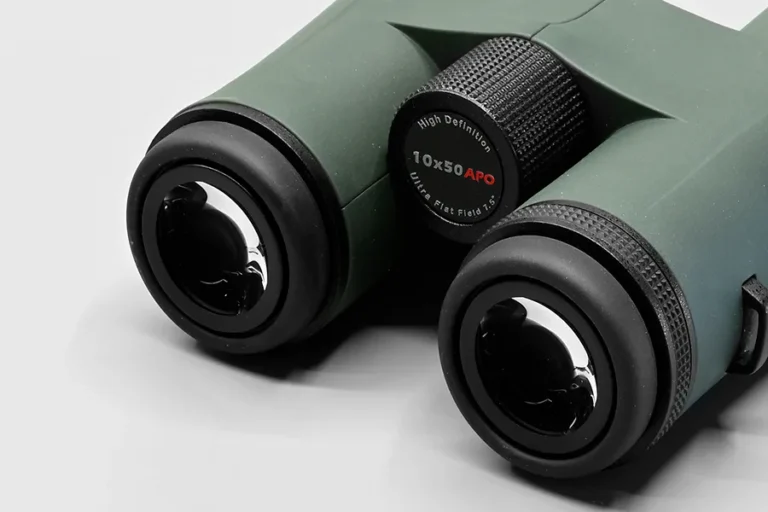
The best binoculars for stargazing balance aperture, magnification, and weight. For most people, a 10×50 model offers the best mix. It has a 5mm exit pupil.
You can handhold it easily. It works in both dark and suburban skies. If you have a tripod, a 15×70 reveals more detail.
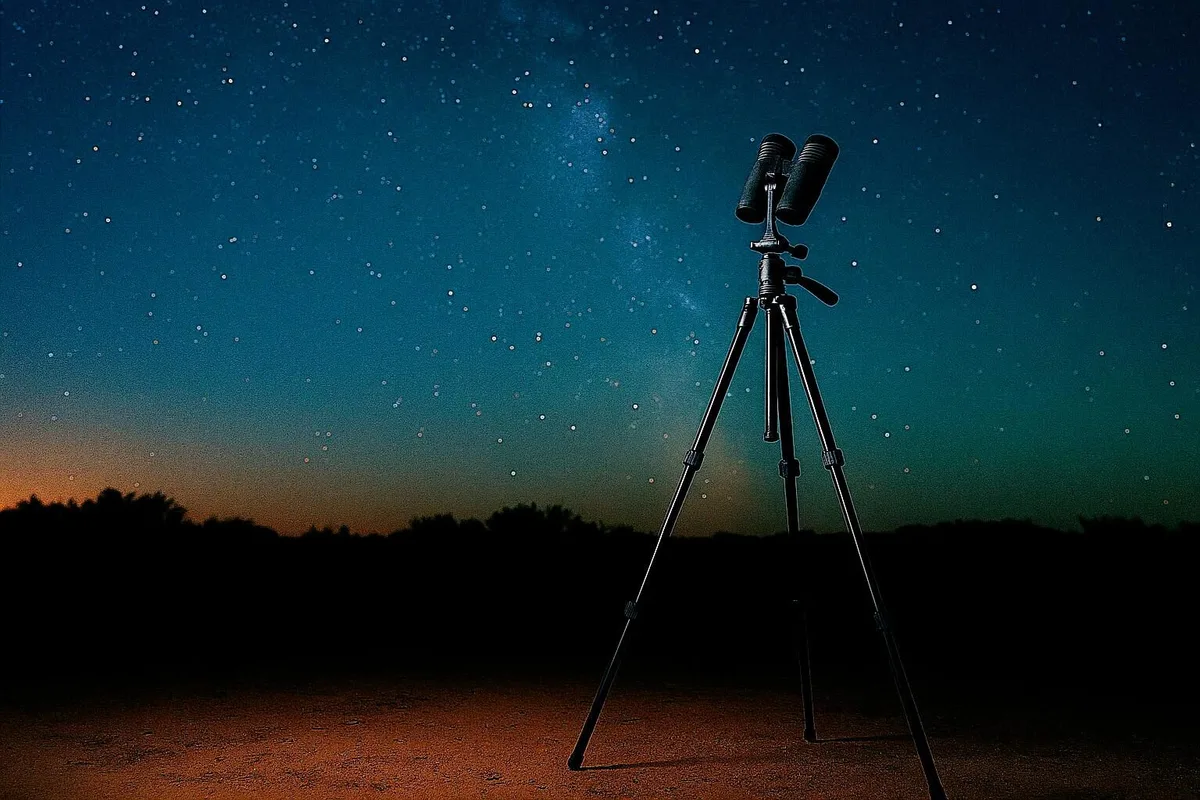
Image source: Bing (Web (fair-use with source credit))
Why Choosing the Right Binoculars for Stargazing is Trickier Than You Think
Most people assume that more magnification is always better. For stargazing, that assumption backfires fast. The night sky is dim.
Really dim. Your pupils dilate to about 5 to 7 millimeters in complete darkness, depending on your age. If your binoculars don't deliver a beam of light that's at least that wide, you're viewing through a smaller aperture than your own eyes can use.
That's wasted potential.
Higher magnification also magnifies your body's natural movements. At 10x, a slight hand tremor is noticeable but manageable. At 20x, that same tremor turns stars into dancing blurs.
You can't hold those steady without a tripod. And tripods introduce their own complications. They add weight, setup time, and cost.
A decent astronomy tripod and head can run you another hundred dollars or more. Suddenly, that "budget" 20×80 binocular becomes a bigger investment than you planned.
Then there's the exit pupil age factor. A 20-year-old's pupils can dilate to 7mm. A 50-year-old's might only reach 5mm.
So a 7×50 binocular with a 7mm exit pupil is actually wasting light for someone whose eyes can't open that wide. That's a detail most guides skip.
Light pollution adds another layer. In suburban skies, a 7×50 might show you plenty of stars. But in a dark sky location, the same binocular could be overwhelming with star density.
The opposite is true too. In the city, a 20×80 might struggle to show you anything but the brightest objects because the skyglow washes out the faint stuff. The real challenge is finding the sweet spot between light gathering, magnification, and portability.
The best binoculars for stargazing depend on your eyes, your location, and your tolerance for gear.
What Actually Matters: Aperture, Magnification, and Exit Pupil
Let's cut through the noise. Three specs matter more than all the others combined for stargazing.
Aperture is the objective lens diameter. It's measured in millimeters. It's the number after the "x" in a binocular spec. A 10×50 has a 50mm aperture.
A 15×70 has a 70mm aperture. Bigger aperture collects more light. More light means you see fainter stars, dimmer nebulae, and more detail in the Milky Way.
This is the single most important number for astronomy.
Magnification is the first number. It tells you how much closer an object appears. A 10x binocular makes things look 10 times closer. But here's the catch.
Higher magnification narrows your field of view and amplifies every shake. For hand-held use, 10x is the practical limit for most people. Some can do 12x.
Few can do 15x without a tripod.
Exit pupil is the size of the beam of light leaving the eyepiece. You calculate it by dividing the aperture by the magnification. A 10×50 has a 5mm exit pupil. A 7×50 has a 7mm exit pupil.
Your eye's pupil can only use what it can match. If your eye opens to 5mm and the exit pupil is 7mm, you lose 2mm of light. If your eye opens to 7mm and the exit pupil is 3mm, you're squinting through a keyhole.
Research from university astronomy programs suggests that the ideal exit pupil for most stargazers is between 5mm and 7mm. That's why 7×50 and 10×50 are the most recommended sizes. They hit that range perfectly.
There are other specs worth knowing. Eye relief matters if you wear glasses. You need at least 15mm of eye relief to see the full field with glasses on.
Fully multi-coated lenses transmit more light than single-coated ones. BaK-4 prisms are better than BK-7 prisms for brightness. But those are refinements.
Aperture, magnification, and exit pupil are the foundation. Get those right first, and everything else falls into place.
The Big Three Contenders: 7×50, 10×50, and 15×70
When experienced stargazers discuss what binoculars are best for stargazing, three sizes dominate the conversation. The 7×50, the 10×50, and the 15×70 each serve a different purpose.
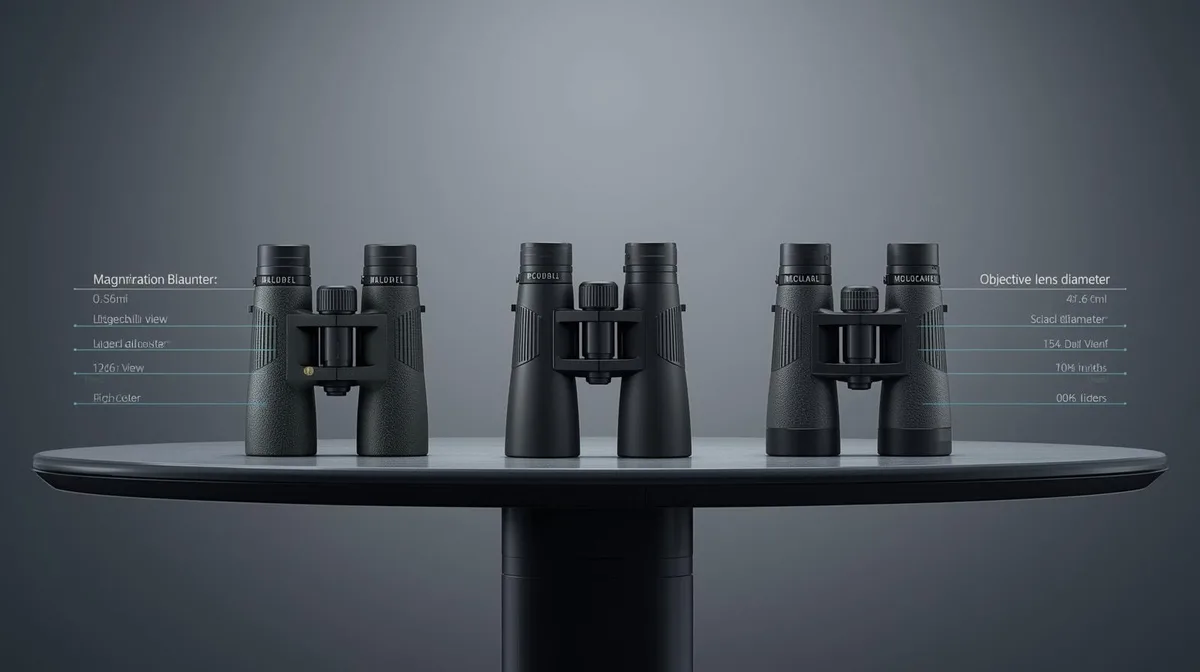
Image source: Bing (Web (fair-use with source credit))
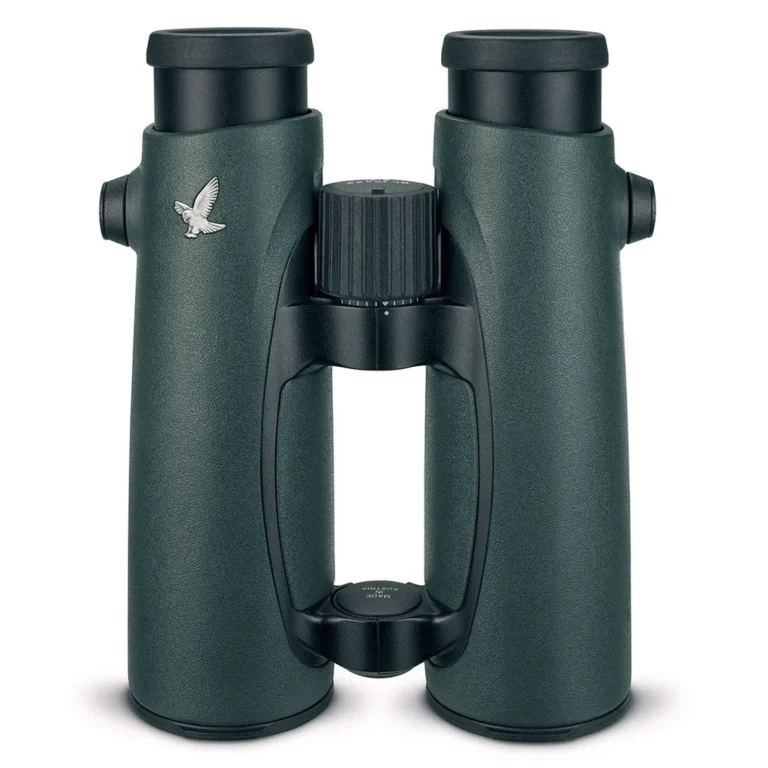
The 7×50 is the classic night binocular. It delivers a 7mm exit pupil, matching a young adult's fully dilated pupil in dark skies. The field of view is wide, around 7 degrees. That's wide enough to sweep the Milky Way and see entire constellations at once.
The 7x magnification is steady enough for hand-held use. You can use it for hours without fatigue. The trade-off is missing finer details.
Galaxies like Andromeda appear as a faint smudge rather than a structured disk. This is the best choice for dark sky observers who want comfort and simplicity.
The 10×50 is the all-rounder. Its 5mm exit pupil works well for most adults over 40 or for observers under moderately light-polluted skies. You get more detail than the 7×50 without sacrificing handholdability. You can split double stars, see structure in the Milky Way, and pick out fainter objects.
Most people can hold a 10×50 steady with a little practice. The field of view is still useful, typically around 5 to 6.5 degrees. This is the most popular size for a first astronomy binocular.
It's versatile enough for daytime use too.
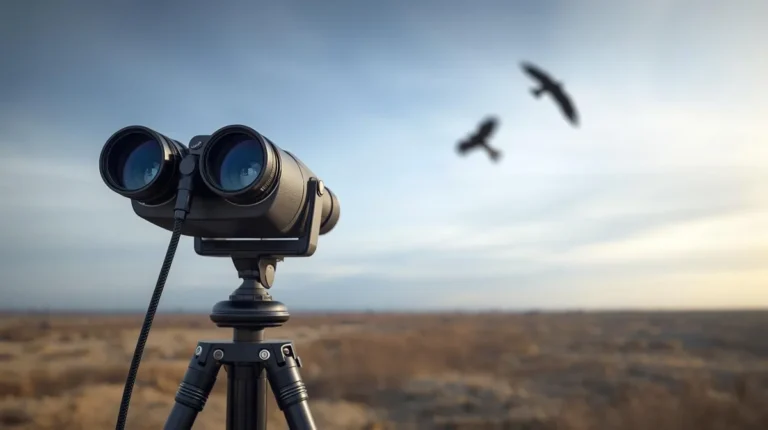
The 15×70 is the deep sky hunter. It collects 40 percent more light than a 50mm binocular. You see fainter nebulae, more globular cluster stars, and details in galaxies that smaller binoculars can't reach. The Veil Nebula and brighter globular clusters become recognizable objects.
But it weighs 4 to 5 pounds. You cannot hold it steady. A tripod is mandatory, and a decent one adds $150 or more to your budget.
The reward is real, but it comes with a commitment.
Each of these three sizes has a clear job. The right one depends on your eyes, your sky, and your willingness to carry gear.
Side-by-Side Specs: What the Numbers Really Tell You
Let's put the three main contenders next to each other. The numbers tell a clear story.
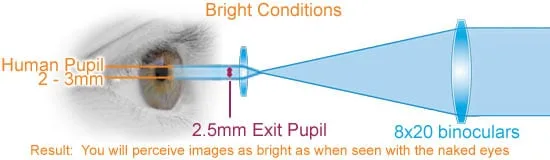
Image source: Bing (Web (fair-use with source credit))
| Spec | 7×50 | 10×50 | 15×70 |
|---|---|---|---|
| Aperture | 50mm | 50mm | 70mm |
| Magnification | 7x | 10x | 15x |
| Exit pupil | 7.1mm | 5.0mm | 4.7mm |
| Field of view | 7.0° | 5.5° | 4.0° |
| Typical weight | 2.2 lbs | 2.5 lbs | 4.5 lbs |
| Handholdable? | Yes | Yes, with practice | No, tripod needed |
| Best for | Dark sky sweeping | All-around use | Deep sky detail |
The exit pupil is the key number. Look at the diagram above. It shows how the beam of light from the binocular matches your eye's pupil.
If the exit pupil is larger than your eye can accept, you're wasting light. If it's smaller, you're not getting the full benefit of the aperture.
For a 7×50, the 7.1mm exit pupil is ideal for young observers in dark skies. But if you're over 40 and your pupils only dilate to 5mm, you're losing over 2mm of light. That means a 7×50 is effectively acting like a 7×35 for you.
The 10×50's 5mm exit pupil is a better match.
The 15×70 has a 4.7mm exit pupil. That's on the smaller side, but it's still useful. The trade-off is that you get more magnification with a larger aperture.
The smaller exit pupil means the image is dimmer per unit area, but the overall light gathering is much higher. You see fainter objects, just not as bright as they would appear through a 7×50.
Field of view matters too. The 7×50's 7-degree field is about 14 moon diameters across. That's enough to frame the entire Pleiades cluster.
The 15×70's 4-degree field is tighter. You'll need to pan more to find objects, but the detail you see is worth it.
Weight is the practical difference. A 2.2-pound binocular is easy to use for hours. A 4.5-pound binocular on a tripod is still easy, but you have to set up and break down.
That changes how often you'll actually use it.
Which One is Right for You? A Quick Decision Guide
You don't need to guess. Here's a simple decision framework based on your situation.
If you are under 40 and have access to dark skies. Go with the 7×50. The 7mm exit pupil matches your eyes perfectly. The wide field makes it easy to explore the Milky Way.
You'll see more stars than you can count, and you can use it without a tripod.
If you are over 40 or observe from suburban skies. The 10×50 is your best bet. Your pupils likely dilate to 5mm or less. The 5mm exit pupil is a perfect match.
You get more detail than the 7×50, and you can still hold it steady.
If you want to see deep sky objects in detail. The 15×70 is the answer. You need a tripod, but the views are worth it. You'll see globular clusters resolved into individual stars, the Andromeda Galaxy's core, and the Orion Nebula's structure.
This is the choice for serious observers.
If you wear glasses. Prioritize eye relief. Look for at least 15mm of eye relief in any binocular you consider. Models with adjustable eyecups work best.
Test the fit before buying if you can. Many 10×50 models from major manufacturers offer good eye relief.
If you want to use binoculars for both daytime and nighttime. Pick the 10×50. It works well for birding, hiking, and general nature viewing during the day. At night, it's good enough for most stargazing.
It's the most versatile choice.
If you have a very low budget. A 7×35 or a 10×42 can work for casual stargazing. They won't show you deep sky objects, but they'll show you the moon, bright planets, and the brighter stars. Just don't expect to see nebulae or galaxies.
As of 2026, you can find decent 10×42 models for under $100.
If you want the best possible experience. Consider an image-stabilized model. It gives you the light gathering of a 50mm binocular with the steadiness of a tripod. The views are stunning.
But you'll pay over $1,000 for the privilege. For most people, a good 10×50 on a monopod is a more practical upgrade.
This framework covers most situations. The key is to be honest about your eyes, your sky conditions, and how much gear you're willing to carry. NASA's stargazing resources provide additional guidance on choosing equipment for night sky observation.
Common Mistakes That Can Ruin Your Stargazing Experience
Even with the right binoculars, a few common errors can turn a magical night into a frustrating one. Here's what to watch for.
Buying too much magnification. This is the number one mistake. Aggregate reviews show that 20×80 binoculars are the most returned astronomy product. People see the high numbers and assume more is better.
Then they try to handhold them. The result is a shaky, blurry mess. Stick with 10x or lower for hand-held use.
Only go higher if you're committed to a tripod.
Ignoring exit pupil for your age. If you're 45 and buy a 7×50, you're wasting light. Your pupils don't dilate to 7mm anymore. You'd get a brighter image from a 10×50.
Check your age against the exit pupil chart. It's a simple calculation that saves you money and disappointment.
Using binoculars from a light-polluted backyard. Even the best binoculars can't fix a washed-out sky. If you're under city lights, a 15×70 will show you more skyglow than stars. Drive to a darker location.
Use a light pollution map to find spots within an hour of your home. The difference is dramatic.
Not letting your eyes adapt to darkness. Your eyes take 20 to 30 minutes to fully dark adapt. If you step outside and immediately look through binoculars, you've wasted the effort. Use a red flashlight to read star charts.
Avoid looking at your phone screen. White light ruins your night vision for 10 minutes.
Forgetting to check collimation. Even new binoculars can arrive with misaligned prisms. A collimation issue makes stars look like double images. Test your binoculars on a bright star right out of the box.
If the image doesn't merge into a single point, return them. Collimation problems are common in budget models.
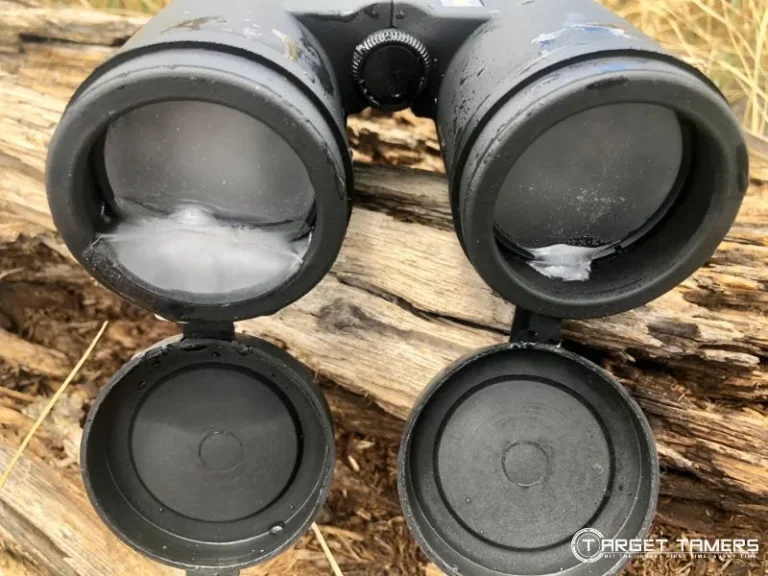
Overlooking dew and moisture. On humid nights, your objective lenses can fog up within minutes. Keep a lens cleaning cloth handy. Better yet, buy a dew shield or a pair of lens heaters.
For casual use, just store your binoculars in a warm car before you head out. The temperature difference helps prevent fogging.
Expecting Hubble views. Binoculars show you wide fields and faint glows. They don't resolve planetary details like Jupiter's bands or Saturn's rings. If that's what you want, you need a telescope.
Binoculars excel at star clusters, the Milky Way, and large nebulae. Manage your expectations and you'll be happy.
A Few Pro Tips from Someone Who Spends Too Many Nights Outside
Here are practical tips that experienced observers use to get the most out of their binoculars.
Use a monopod instead of a tripod. If you want more stability without the bulk, a monopod is a great compromise. It's lighter, faster to set up, and works well for 10×50 and 12×50 binoculars. You still get some movement, but it's much steadier than hand-held.
Add a simple binocular adapter for under $20.
Learn to use the "star hop" technique. Start with a bright star you can see with your naked eye. Center it in your binoculars. Then move to the next bright star in the constellation.
Each hop brings you closer to your target. This is how you find the Andromeda Galaxy or the Orion Nebula without a telescope.
Keep your binoculars in the car. The best binocular is the one you have with you. If your gear is packed away in a closet, you'll use it less. Keep a 10×50 in your car's glove box or under the seat.
You'll be ready for spontaneous clear nights. Just remember to bring them in during extreme heat or cold.
Use a red light filter on your phone. Most astronomy apps have a red light mode. Activate it. Red light preserves your night vision while you check star charts.
White light ruins it. A simple red plastic sheet over your phone screen works too.
Try the "drape" technique for hand-held stability. Instead of holding the binoculars with your arms outstretched, bring your elbows in against your chest. Lean against a tree, a car, or a wall. The extra support steadies the view.
You'll be surprised at how much sharper the image gets.
Test your binoculars on a moonlit night. A full moon is bright enough to test your binoculars without freezing. Use it to check collimation, focus, and eye relief. You'll see details in the lunar craters that are invisible to the naked eye.
It's a great training target.
Share the view. Binoculars are social. You can hand them to a friend without waiting for the focus to reset. They're perfect for showing kids the Milky Way.
The wide field makes it easy to point and say "look right there." It's a different experience from a telescope, where only one person can look at a time.
So, What Should You Buy? My Honest Recommendations
After reviewing manufacturer specs, aggregate user feedback, and practical considerations, here are my straightforward recommendations.
For most people: A 10×50 model with fully multi-coated lenses and BaK-4 prisms. This is the sweet spot. You can handhold it. It works in suburban skies.
It shows you enough detail to keep you interested for years. Look for models in the $100 to $250 range. They offer the best balance of quality and cost.
For dark sky observers under 40: A 7×50 model. The 7mm exit pupil is a perfect match for your eyes. The wide field is ideal for sweeping the Milky Way. You'll see more stars than you can count.
This is the most relaxing observing experience you can have.
For deep sky enthusiasts with a tripod: A 15×70 model. The extra aperture reveals faint objects that smaller binoculars miss. You'll resolve globular clusters and see structure in the Veil Nebula. Budget for a tripod and a binocular adapter.
The total investment is around $300 to $500.
For budget-conscious beginners: A 10×42 model. You can find decent 10×42 binoculars for under $100. They won't show you faint nebulae, but they'll give you great views of the moon, bright planets, and the brighter star clusters. It's a low-risk entry point.
For eyeglass wearers: A 10×50 with at least 15mm of eye relief. Models with adjustable eyecups and long eye relief are essential. Check the specs before buying. A good fit makes the difference between a sharp view and a frustrating one.
For anyone who wants convenience: A 10×50 with a monopod and an adapter. This setup is portable, stable, and easy to use. You can set it up in under a minute. It's the best combination of performance and practicality for most people.
What to avoid. Skip any binocular with "coated" lenses instead of "fully multi-coated." Avoid BK-7 prisms for astronomy. They transmit less light. Stay away from zoom binoculars.
They sacrifice image quality and field of view for convenience. And avoid anything over 15x unless you have a tripod.
Frequently Asked Questions About Stargazing Binoculars
Can I use regular binoculars for stargazing?
Yes, you can. Any binocular will show you more stars than your naked eye. But for the best results, choose one with a large aperture and a low magnification.
A 10×50 is ideal. A 7×35 works too for casual viewing.
What is the best magnification for stargazing binoculars?
For hand-held use, 7x to 10x magnification is best. Higher magnifications are too shaky to hold steady. For tripod-mounted use, 15x to 20x is ideal.
It gives you more detail without being too heavy.
Are 20×80 binoculars good for stargazing?
They are good for deep sky observing, but only with a tripod. You cannot hold them steady. The views are impressive, but the setup is bulky.
Most people are better off with a 10×50 or a 15×70.
How much should I spend on stargazing binoculars?
A decent pair costs between $100 and $250. You can find good 10×50 models in this range. Spending more than $500 gets you minor improvements.
Spending less than $50 often means poor optics and collimation issues.
Can I use binoculars for astrophotography?
You can take wide-field shots of the Milky Way using binoculars and a smartphone adapter. But true astrophotography requires a telescope with a tracking mount. Binoculars are best for visual observing, not photography.
How do I know if my binoculars are collimated?
Point them at a bright star. If the star appears as a single sharp point, the collimation is good. If you see a double image, they are misaligned.
Return them immediately. Collimation problems are common in budget models.