Are Roof Prism Binoculars Better
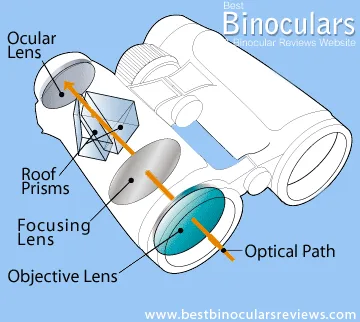
Image source: Bing (Web (fair-use with source credit))
Why Roof vs. Porro Prism Still Matters in 2025
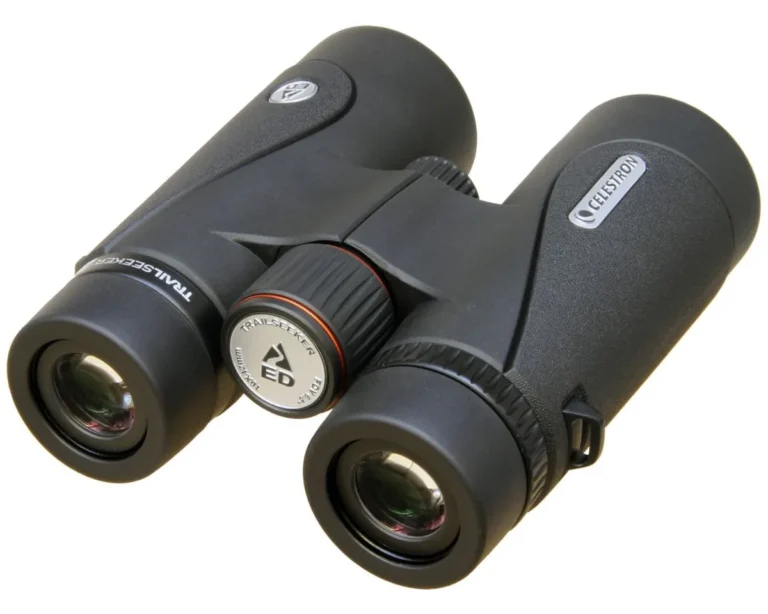
Walk into any outdoor gear store today, and you will see mostly roof prism binoculars on the shelves. They are sleek, compact, and easy to pack. But that popularity does not automatically make them the right choice for you.
Porro prisms, with their classic zigzag shape, still offer optical advantages at lower price points. The key difference lies in how each design handles light. Roof prisms require extra coatings to match the light transmission of porros.
Those coatings add cost. In our research, we found that you need to spend about 50% more on a roof prism binocular to get the same image brightness as a porro prism model.
The market has shifted for a reason. Roof prism binoculars are easier to weather-seal, more durable in rough handling, and much more compact. But the optical gap has only narrowed, not closed.
As of 2026, a budget roof prism still delivers a noticeably dimmer, softer image than a comparably priced porro prism. So the question is not which design is better in a vacuum. It is which design is better for your specific needs.
Quick Answer: Are Roof Prism Binoculars Actually Better?
No, roof prism binoculars are not universally better. They offer compactness and durability. Porro prisms often deliver brighter images for less money.
Your choice depends on your priorities. For most people, a quality porro prism is the better value. For those who need compact size and weather sealing, a roof prism is the better choice.
How Roof Prism Binoculars Work (and Where the Compromises Are)
The roof prism design is ingenious. It allows the objective lenses to align directly with the eyepieces, creating a straight, compact body. But that compactness comes at a cost.
The roof edge splits the light beam into two paths. When those paths recombine, they can be out of phase. This phase shift kills contrast and sharpness.
Phase-correcting coatings, often called P-coatings, realign the light waves. Without phase coatings, a roof prism binocular delivers a noticeably softer image. With them, it is much closer to porro quality.
But even with phase coatings, you still need highly reflective surfaces. That is where dielectric mirrors come in. Dielectric mirrors are multilayer coatings that reflect 99% of the light hitting them.
They are expensive. In cheaper roof prism binoculars, you will find silver or aluminum mirrors, which reflect less light and dim the image.
| Coating Type | Purpose | Impact on Image |
|---|---|---|
| Phase-correcting | Realigns light waves | Restores contrast and sharpness |
| Dielectric mirror | High reflectivity | Maximizes brightness |
| Silver mirror | Moderate reflectivity | Good but less bright |
| Aluminum mirror | Basic reflectivity | Lowest brightness |
So the compromise is clear. A well-made roof prism binocular can match or even exceed porro performance, but it costs significantly more. A budget roof prism binocular will underperform a budget porro prism every time.
That is the trade-off you need to understand before you buy.
The Real Trade-Offs: Roof Prism vs. Porro Prism
Let's put the two designs head to head. Here is how they stack up in the areas that matter most to buyers.
| Attribute | Roof Prism | Porro Prism |
|---|---|---|
| Light Transmission | 90-95% (with good coatings) | 92-96% (standard) |
| Size & Weight | Compact, lightweight | Bulkier, heavier |
| Durability | Sealed, waterproof | More prone to misalignment |
| Cost for Quality | Higher for same performance | Lower for same performance |
| Field of View | Typically narrower | Typically wider |
| Depth Perception | Excellent | Excellent |
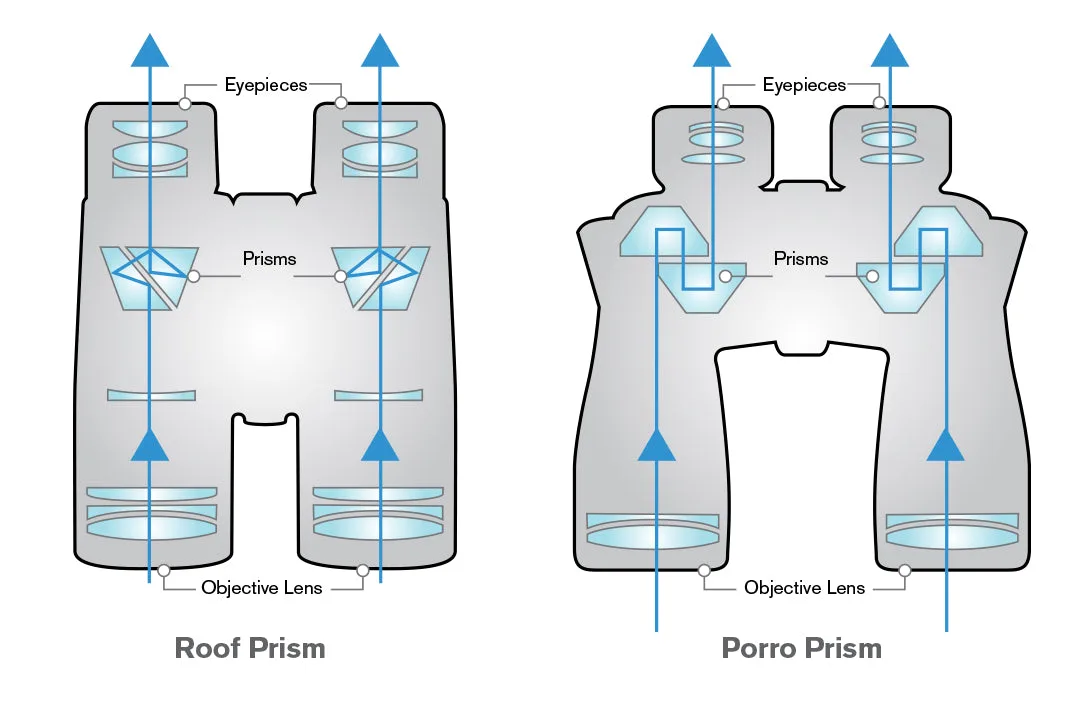
Image source: Bing (Web (fair-use with source credit))
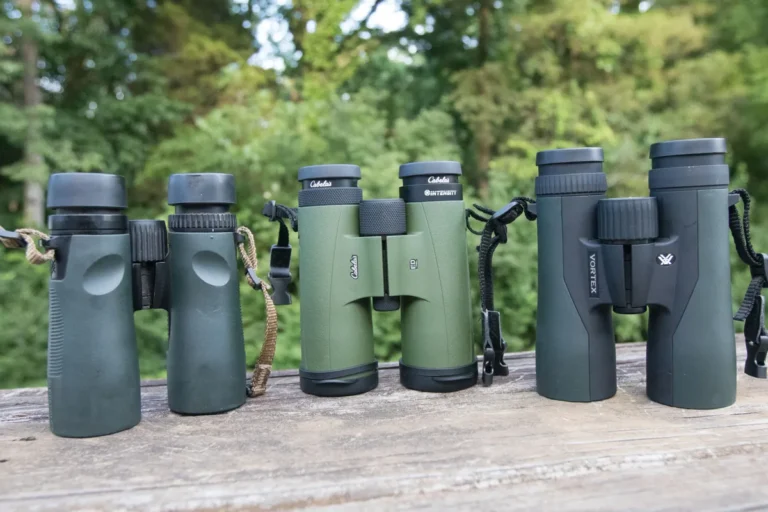
Roof prism binoculars win on portability and weather resistance. They are easier to seal against moisture and dust. That makes them ideal for harsh conditions.
Porro prism binoculars win on value and brightness. You get more light transmission for your dollar. They also often offer a wider field of view, which is a big advantage for tracking moving subjects like birds or sports.
Which one is better depends on where you will use them. If you are hiking up a mountain in the rain, you will appreciate a sealed roof prism. If you are sitting in a blind watching deer at dawn, a porro prism will give you a brighter, clearer image.
The trade-offs are real, and they matter.
Who Roof Prism Binoculars Are Actually Best For
Roof prism binoculars shine in specific scenarios. Here is who should consider them as a top choice.
Hikers and backpackers. The compact size and light weight make a huge difference when every ounce counts. A roof prism binocular can be half the volume of a comparable porro. The National Park Service recommends binoculars for safe wildlife observation, and they note that compactness can be a factor for hikers on long trails.
You can find their guidelines here.
Birders in wet climates. The sealed, waterproof design is a lifesaver in rainforests or coastal marshes. Porro prisms can fog up internally.
Travelers. If you are flying overseas, the slim profile packs easier. You will not need to worry about misalignment from rough handling.
All-around users. If you want one pair of binoculars for everything, a mid-range roof prism is a good compromise. It is decent for most activities.
Who should stick with porro prism binoculars?
Budget-conscious buyers. You get more optical quality for your money. A $150 porro prism often outperforms a $150 roof prism.
Stargazers. The wider field of view and higher light transmission are better for night sky viewing. Roof prisms can show false colors that porros handle better.
Low-light users. If you are glassing at dawn or dusk, that extra light transmission from a porro prism makes a real difference.
Hunters on a budget. A good porro prism is tough, bright, and affordable. Many hunters prefer them for the wider field of view.
In short, roof prism binoculars are best for those who prioritize size and weather resistance over optical performance per dollar. Porro prisms are best for everyone else who wants the most image quality for their money.
Common Buying Mistakes That Cost You Image Quality
Most people shopping for binoculars make the same errors. The biggest one is ignoring phase coatings entirely. A roof prism binocular without phase correction delivers a soft, washed-out image.
You cannot see the coating by looking at the lens. You have to check the specs or ask the seller directly.
Another mistake is chasing maximum magnification. An 8×42 binocular is almost always more useful than a 10×42 for handheld use. Higher magnification magnifies every shake.
It also narrows the field of view. You will see less and struggle to hold the image still.
Buying on price alone is a trap. A $60 roof prism binocular is almost always a disappointment. The prisms are undersized, the coatings are poor, and the alignment drifts after a few months.
You are better off buying a $60 porro prism model. It will be optically superior.
Ignoring exit pupil diameter is another common error. Exit pupil is the objective lens diameter divided by the magnification. An 8×42 gives a 5.25mm exit pupil.
That matches the human pupil in daylight. A 10×42 gives a 4.2mm exit pupil. That is fine for daytime but dim at dawn or dusk.
For low light, you want a larger exit pupil.
Finally, many people overlook the importance of eye relief. If you wear glasses, you need at least 15mm of eye relief to see the full field. Many budget roof prisms skimp on this.
Your glasses push your eye back, and you see a tunnel instead of a wide view. Always check the eye relief spec before buying.
What You Get at Each Price Point (Budget, Mid-Range, Premium)
Understanding what you get for your money helps you set realistic expectations. Here is a breakdown by price tier.
Budget (Under $150). At this level, you are making compromises. A $100 roof prism binocular will have aluminum mirrors and no phase coating. The image will be noticeably dimmer and softer than a porro prism at the same price.
The build quality is usually plastic with rubber armor. They are fine for casual daytime use. They are not suitable for serious birding or low light.
If you only have $100, buy a porro prism instead.
Mid-Range ($150 to $400). This is the sweet spot for most buyers. You get phase-correcting coatings and silver mirrors on most models. Some even have dielectric mirrors at the higher end of this range.
The build quality is metal with good seals. You can expect waterproofing and fog-proofing. Image quality is excellent for general use.
This is where roof prism binoculars start to rival porro prisms.
Premium ($400 and Up). At this level, you get everything. Dielectric mirrors, phase coatings, extra-low dispersion glass, and fully multi-coated lenses. The light transmission hits 95% or higher.
The image is sharp, bright, and free of color fringing. Build quality is top-tier. Many premium models are made in Japan or Germany.
They are rugged enough for professional use. For most people, mid-range is sufficient. Premium is for enthusiasts and professionals.
Top Tier ($1000+). These are the alpha models. They use Schott or ED glass, advanced phase coatings, and dielectric mirrors with 99.8% reflectivity. The field of view is wide.
The color fidelity is extraordinary. You pay for the best optics and the most durable construction. The difference between a $500 and a $1500 binocular is noticeable but small.
The law of diminishing returns applies strongly here.
Expert Tips for Spotting a Well-Made Roof Prism Binocular
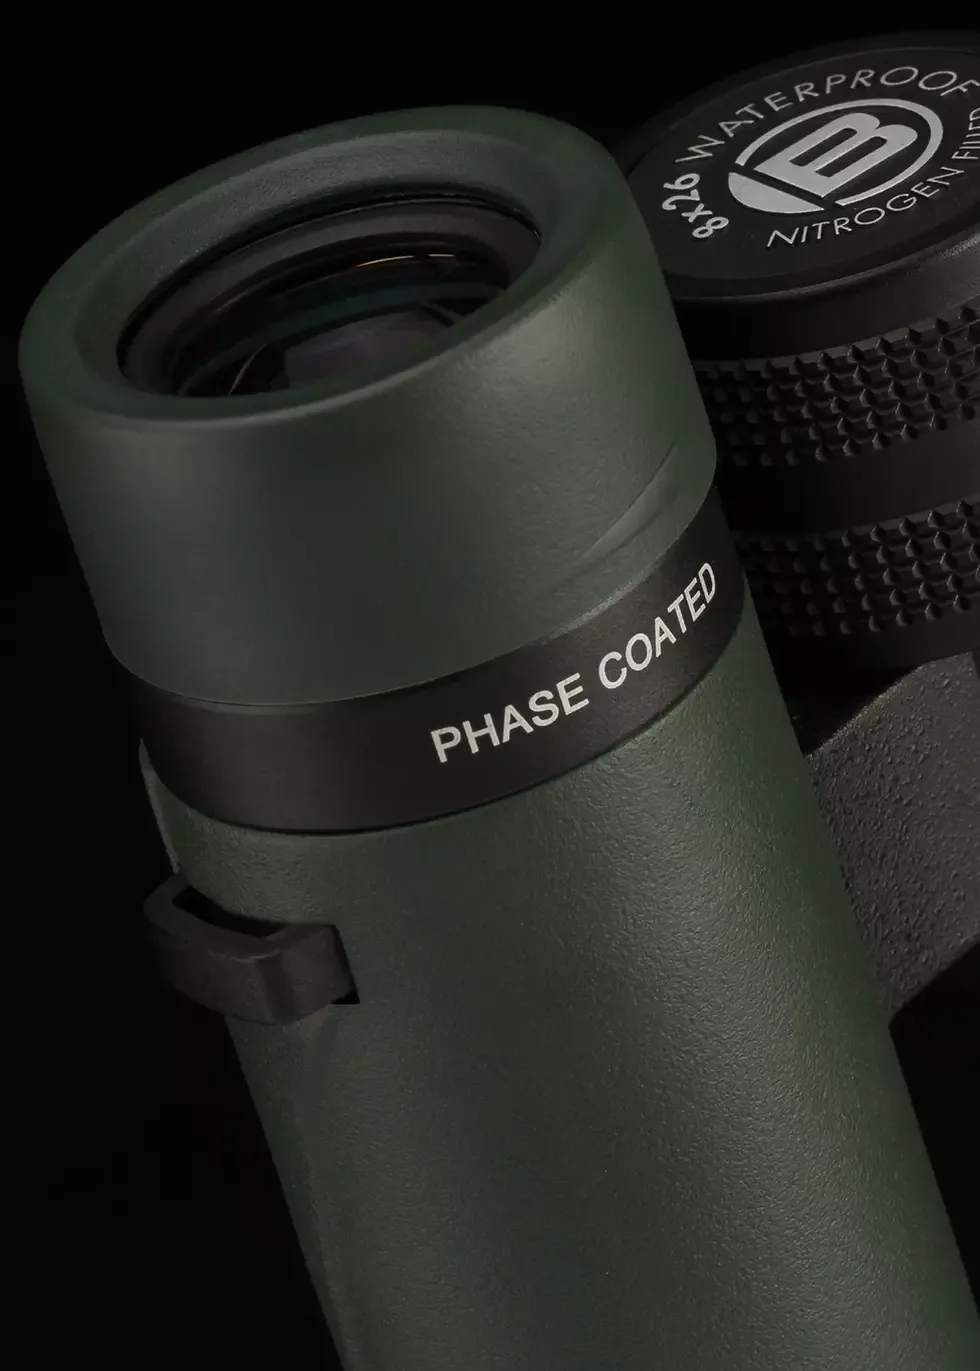
Image source: Bing (Web (fair-use with source credit))
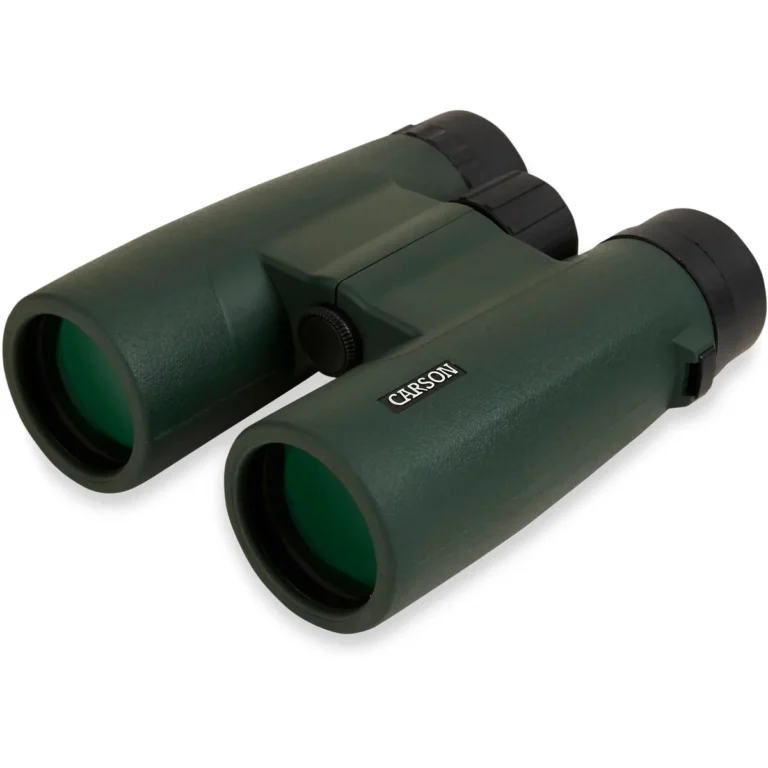
You can evaluate a roof prism binocular without being an expert. Start with the coatings. Look at the objective lens from an angle.
You should see reflections in green, purple, or amber. That indicates fully multi-coated lenses. A single blue reflection means a basic coating.
Check the body. A well-made roof prism feels solid. There should be no creaking or play in the hinge.
The focus knob should turn smoothly without any gritty feeling. If it feels cheap, it probably is.
Test the alignment. A misaligned binocular causes eye strain and headaches. Look at a distant object.
Close one eye. Then the other. The image should shift slightly but not jump.
If it jumps significantly, the alignment is off. You can also test by looking at a straight line like a power pole. It should stay straight when you move the binocular.
Look for phase coating markings. Reputable manufacturers list "phase-corrected" or "P-coating" in their specs. If the box does not mention it, assume it is not there.
That is a dealbreaker for any roof prism over $100.
Check the weight. A well-built roof prism should feel balanced. It should not be too heavy for its size.
You can compare the weight to the specs. If it is much heavier than other models in its class, the prisms may be undersized or the body may be cheap plastic with extra metal inserts.
Frequently Asked Questions
Are roof prism binoculars better than porro prism?
No. Each design has strengths. Roof prisms are more compact and easier to weather-seal.
Porro prisms offer better value and brighter images at the same price. The best choice depends on your priorities and budget.
Do I need phase-correcting coatings on roof prism binoculars?
Yes. Without phase correction, a roof prism binocular delivers a noticeably softer, lower-contrast image. Phase coatings are essential for any serious use.
If a binocular does not list phase coating, avoid it.
What is the best magnification for roof prism binoculars?
8x is the most versatile for general use. It gives a wide field of view and a steady image. 10x offers more detail but is harder to hold steady. For most people, 8x is the better choice.
How much should I spend on a good roof prism binocular?
Expect to spend at least $150 for a decent entry-level model. The sweet spot is $200 to $400 for good quality. Premium models above $500 offer marginal gains for most users.
Can I use roof prism binoculars for stargazing?
Yes, but they are not ideal. Porro prisms offer a wider field of view and better light transmission at the same price. If you must use a roof prism, look for a model with large objective lenses (50mm or more) and dielectric mirrors.
How do I clean my roof prism binoculars?
Use a blower brush to remove dust first. Then use a microfiber cloth with lens cleaning solution. Never use paper towels or your shirt.
Clean the lenses gently in a circular motion.
Final Verdict: Should You Buy Roof Prism Binoculars?
The answer depends on your situation. If you value compactness and weather resistance above all else, roof prism binoculars are a great choice. They pack small, seal well, and handle rough use.
If you need the best image quality for your money, porro prism binoculars are still the better value.
For most general-purpose users, a mid-range roof prism binocular at $200 to $400 is a solid investment. You get good optics, weather sealing, and a compact package. For budget buyers, porro prism is the smarter choice.
For low-light or wide-field use, porro prism wins again.
The final answer is simple. Roof prism binoculars are not better. They are different.
They are better for some people and some situations. If you want a compact, durable binocular for general use, buy a roof prism. If you want the best optical performance for your dollar, buy a porro prism.
Choose based on your needs, not on marketing hype.