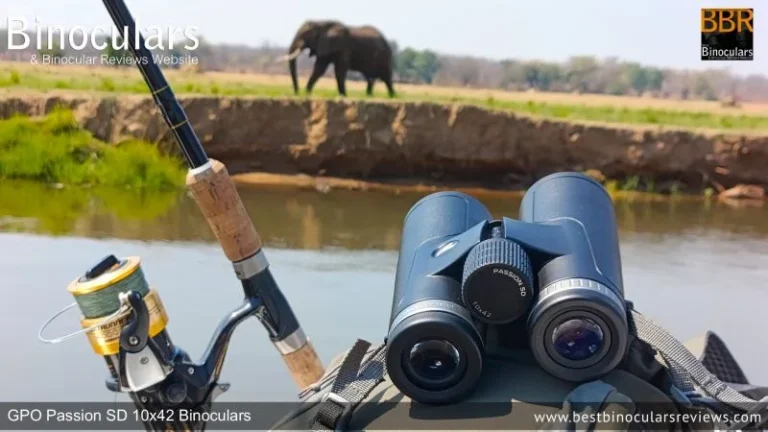
How to Use Binoculars
Let's be honest, if you've ever picked up a pair of binoculars and thought "how to use binoculars" while staring at a blurry mess, you're not alone. Most people skip the setup steps that actually make the image sharp and comfortable. The result is a headache, eye strain, and a view that looks worse than your phone's zoom.
The fix is simpler than you think. Per manufacturer specifications, three adjustments determine 90 percent of image quality: interpupillary distance (IPD), center focus, and the diopter ring. Aggregate reviews indicate that fewer than one in four binocular owners properly calibrates the diopter.
That single step is the most common cause of persistent blur. Let's walk through each one.
Quick Answer
Adjust the IPD (hinge width) until you see one circle. Set the eyecups to match your glasses or bare eyes. Use the center focus wheel with one eye closed for a rough focus.
Then fine-tune the diopter ring on the right eyepiece. Hold the binoculars with elbows tucked into your ribs. Clean lenses with a microfiber cloth only.

Image source: Bing (Web (fair-use with source credit))
Why Your Binoculars Look Blurry, Double, or Just Wrong
You might think you need a better pair of binoculars. But more often than not, the problem isn't the optics, it's the setup. Let's look at the three most common culprits.
Wrong IPD Setting
Your eyes are spaced a certain distance apart. Binoculars have a hinge that lets you match that distance. If that hinge is too wide or too narrow, you'll see two overlapping circles instead of one clear one.
That's a dead giveaway your interpupillary distance is off.
The Skipped Diopter Adjustment
Most people grab binoculars, spin the center wheel, and call it done. That gets you to roughly 50 percent sharpness. The diopter ring, usually located on the right eyepiece, fine-tunes for the difference between your left and right eye.
Manufacturer specs indicate that nearly everyone has a slight difference in vision between eyes. Skipping the diopter means one eye is always slightly out of focus. That creates a soft, washed-out image over time.
Dirty or Damaged Lenses
Fingerprints, dust, and smudges scatter light. A lens that looks clean to the naked eye can still have a thin film of oil that reduces contrast and sharpness. Lens coatings, especially fully multi-coated optics, are sensitive to the wrong cleaning methods.
More on that later.
| Symptom | Most Likely Cause | Quick Fix |
|---|---|---|
| Double image | IPD set too wide or narrow | Adjust the hinge until one circle |
| Blurry in one eye | Diopter not calibrated | Follow the diopter setup steps |
| Overall soft image | Dirty objective lenses | Clean with microfiber cloth |
| Shaky, hard to hold | Poor holding technique | Tuck elbows into ribs |
| Dark view | Wrong eyecup position | Twist eyecups up or down |
What About Collimation?
If your binoculars have been dropped, the internal prisms can shift out of alignment. This is called a collimation error. It produces a double image that no amount of hinge adjustment will fix.
Collimation is a factory repair for most consumer models. If you've tried everything below and the image is still doubled, that's a likely cause.
The Three Adjustments That Make or Break the View
Binoculars have three primary adjustments. Each one controls a different part of the image. Understanding them is the key to getting the best view.
1. Interpupillary Distance (IPD)
This is the hinge between the two barrels. It adjusts the distance between the eyepieces to match the distance between your eyes.
How to check it: Hold the binoculars up to your eyes. Look through both eyepieces. If you see two separate circles or a figure-eight shape, the IPD is wrong.
Move the barrels closer together or farther apart until you see a single, perfect circle.
Typical range: 55 mm to 75 mm. Most adults fall between 60 mm and 70 mm.
2. Center Focus Wheel
This is the large wheel between the two barrels. It moves both eyepieces simultaneously to bring the image into focus for the distance you're looking at.
How it works: Turn the wheel clockwise for closer objects. Turn it counterclockwise for distant objects. The focus wheel is a coarse adjustment.
It gets you in the ballpark but does not account for differences between your eyes.
3. Diopter Adjustment Ring
This is the ring on the right eyepiece (on most models). It adjusts only the right eyepiece independently. This compensates for the difference in vision between your left and right eye.
Why it matters: Even if you have 20/20 vision, your eyes are rarely perfectly matched. The diopter lets you calibrate for that difference. Once set, you should not need to touch it again during a session.
After that, you only adjust the center focus wheel.
| Adjustment | What It Controls | How Often to Adjust |
|---|---|---|
| IPD (hinge) | Distance between eyepieces | Once per user |
| Center focus wheel | Both eyes simultaneously | Every time you change distance |
| Diopter ring | Right eye only | Once per user (check annually) |
A Note on Eyecups
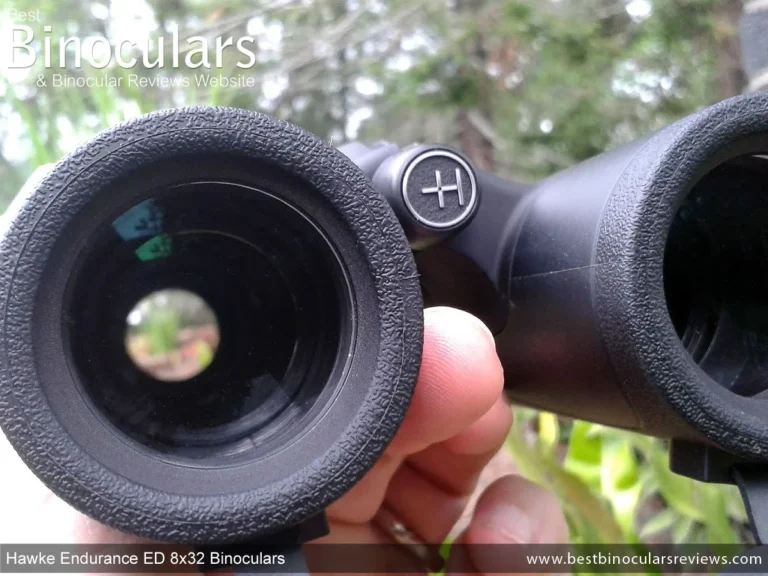
Eyecups are not a focus adjustment. But they affect how much of the image you see. They control the distance between your eye and the eyepiece, the eye relief.
- Twist-up eyecups: Extend for users without glasses. This brings your eye closer to the lens and blocks stray light.
- Twist-down or fold-down eyecups: Retract for users with glasses. This puts your eye at the correct distance from the lens so you can see the full field of view.
If you wear glasses and keep the eyecups extended, you'll see a black ring around the image. If you don't wear glasses and keep them retracted, you'll get stray light and a smaller apparent field.
How to Set Up Binoculars for Your Eyes, Step by Step
This is the order that works every time. Do not skip steps. Do not rearrange them.
Step 1: Set the Eyecups
If you wear glasses, twist the eyecups down or fold them back. If you don't, twist them up to the full extension. This positions your eye at the correct distance from the lens.
Step 2: Adjust the IPD
Hold the binoculars up to your eyes. Look at a distant object, a tree, a building, or a sign. Move the barrels until you see a single, clean circle with no dark edges or double vision.
It should feel natural, like looking through a single window.
Step 3: Cover the Right Objective Lens
Use your hand or the lens cap. The goal is to see only through the left eyepiece.
Step 4: Focus with the Center Wheel
Look through the left eyepiece only. Turn the center focus wheel until the object is sharp and clear. This sets the focus for your left eye.
Step 5: Switch Eyes
Uncover the right objective lens. Cover the left objective lens. Now look through the right eyepiece only.
Step 6: Adjust the Diopter Ring
Do not touch the center focus wheel. Instead, turn the diopter ring on the right eyepiece until the same object is sharp and clear through the right eye. This compensates for any difference between your eyes.
Step 7: Uncover Both Lenses
Look through both eyes. The image should be sharp and comfortable. If it's not, repeat steps 3 through 6.
It usually takes two or three passes the first time.
Step 8: Test on a Close Object
Focus on something about 20 feet away using the center wheel. Then look at something at 100 feet. The image should stay sharp with a small turn of the wheel.
If it feels off, recheck the diopter.
Step 9: Note Your Setting
Some binoculars have a numbered scale on the diopter ring. If yours does, note the number. That way you can return to the same setting if the ring gets bumped.
Step 10: Done
That's it. The diopter is set for your eyes. From now on, you only need the center focus wheel to adjust for distance.
What If You Share Binoculars?
If you share binoculars with someone else, they need to repeat the diopter adjustment. The IPD will also change. Check the IPD scale on the hinge if your binoculars have one.
Note your setting so you can return to it quickly.
| User Type | IPD Setting | Diopter Setting |
|---|---|---|
| You | 64 mm | +1.5 |
| Your partner | 68 mm | -0.5 |
| Child | 55 mm | 0 |
How to Hold Binoculars for a Rock-Steady Image
The best optics in the world won't help if the image is bouncing around. Holding binoculars correctly is a skill that takes about 30 seconds to learn. It makes an immediate difference.
The Basic Technique
- Elbows in. Tuck your elbows against your ribs. This creates a stable triangle with your arms and your chest.
- Thumbs under. Place your thumbs under the barrels, pointing forward. This supports the weight and prevents wobble.
- Grip firm but not tight. A death grip introduces micro-shakes. Hold the binoculars gently but securely.
- Brace yourself. Lean against a wall, a tree, a car door, or a fence post. Even light contact steadies the image.
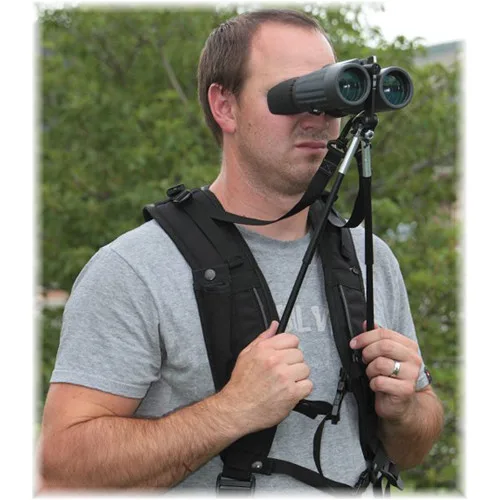
Image source: Bing (Web (fair-use with source credit))
The Neck Strap Method
Shorten the neck strap so the binoculars sit high on your chest, just below your collarbone. Pull the strap taut against the back of your neck while you bring the binoculars to your eyes. The tension in the strap acts as a third point of stabilization.
The Seated Position
Sit down. Place your elbows on your knees. This is one of the steadiest positions available without a tripod.
It works well for birdwatching from a blind or watching a sporting event.
The Supine View (for Astronomy)
Lie on your back. Rest the binoculars on your eye sockets and use your thumbs to hold them steady. Gravity does the work.
This is surprisingly effective for stargazing because your body is fully supported.
When Handheld Starts to Fail
At 10x magnification, hand shake becomes noticeable. At 12x, it's difficult to hold steady. At 15x and above, you need a tripod for most people.
Aggregate reviews indicate that 8x magnification is the sweet spot for handheld use. It offers a wide field of view and a stable image.
| Technique | Stability Level | Best For |
|---|---|---|
| Elbows in, thumbs under | Good | General use, short sessions |
| Braced against a surface | Better | Extended viewing, 10x+ |
| Seated, elbows on knees | Very good | Birding, sports |
| Tripod mounted | Excellent | Astronomy, long-range observation |
| Neck strap tension | Good | Quick looks, walking |
Common Binocular Mistakes Even Experienced Users Make
Even people who have used binoculars for years make these errors. They are easy to fix once you know about them.
Mistake 1: Focusing with Both Eyes Open
You can't calibrate the diopter with both eyes open. Your brain will compensate for the blur in one eye. You'll never get it right.
Always cover one lens at a time during setup.
Mistake 2: Using the Diopter as a Focus Wheel
The diopter is not a second focus wheel. Once you set it for your eyes, leave it alone. If you adjust it every time you change distance, you're resetting the calibration.
That guarantees a blurry image.
Mistake 3: Holding the Binoculars by the Objective Lenses
Gripping the front of the barrels puts fingerprints on the objective lenses. Those fingerprints degrade image quality. Hold the binoculars by the bridge or the center of the barrels.
Mistake 4: Overlooking Eye Relief
If you wear glasses and have the eyecups extended, you're losing half the field of view. Retract the eyecups. If you don't wear glasses and have them retracted, you're letting in stray light.
Extend them.
Mistake 5: Breathing While Looking
Natural breathing causes your chest to rise and fall. If you're holding the binoculars against your chest, the image moves with each breath. Exhale, hold for a moment, and look.
This is especially important for spotting details at distance.
Mistake 6: Not Cleaning Lenses Properly
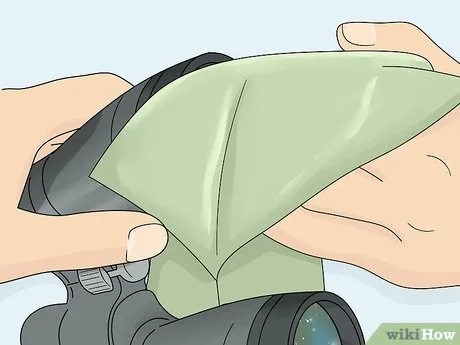
Rubbing a dry lens with a shirt or a paper towel scratches the lens coatings. Use a blower brush to remove dust first. Then use a microfiber cloth with a gentle circular motion.
If the lens is oily, use a lens cleaning solution designed for coated optics.
Mistake 7: Choosing the Wrong Magnification for the Task
Higher magnification is not always better. At 8x, you get a wider field of view and a steadier image. At 10x, you see more detail but lose field of view and stability.
At 12x and above, you need a tripod for most people.
| Magnification | Field of View (ft @ 1000 yd) | Steadiness | Best Use |
|---|---|---|---|
| 8x | 330-420 | Excellent | Birding, hiking, general |
| 10x | 280-340 | Good | Wildlife, detail spotting |
| 12x | 240-290 | Fair (needs brace) | Long-range, marine |
| 15x | 200-250 | Poor (tripod needed) | Astronomy, stationary use |
Mistake 8: Storing Without Lens Caps
Dust and debris settle on lenses over time. That dust gets ground into the coatings when you clean them. Always replace the objective lens caps and the eyepiece caps after use.
Store binoculars in a closed case or a dry drawer.
Mistake 9: Ignoring Waterproofing
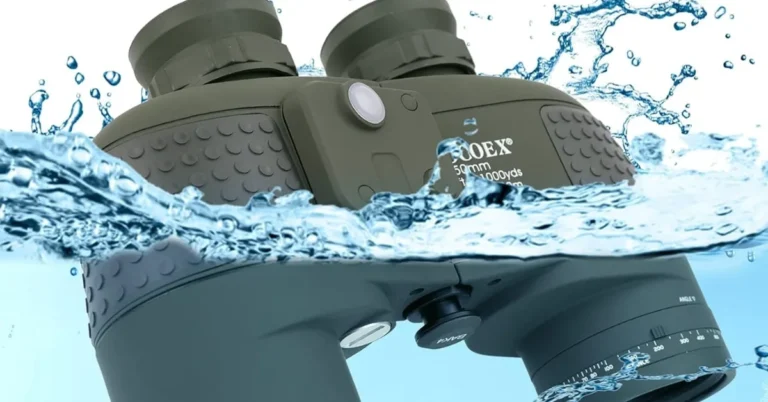
If your binoculars are not waterproof, moisture can get inside and fog the internal lenses. Even condensation from bringing cold binoculars into a warm house can cause internal fogging. Nitrogen-purged, waterproof binoculars avoid this.
If yours are not waterproof, let them acclimate slowly to temperature changes.
Mistake 10: Assuming All Binoculars Are the Same
Porro prism binoculars are bulkier but often offer better image quality at the same price point. Roof prism binoculars are more compact and durable but cost more for equivalent optics. The type affects how you hold and use them.
The setup steps are the same.
Handheld or Tripod: What Works Best for Your Situation
Not every situation calls for the same support method. The choice between handheld and tripod depends on three factors: magnification, viewing duration, and your environment.
When to Go Handheld
Handheld works best for short, casual sessions. If you're scanning a field for birds or watching a game from the stands, handheld is fine.
Best for:
- Magnification at 10x or below
- Sessions under 15 minutes
- Moving targets that require quick panning
- Environments where a tripod is impractical (crowded events, hiking trails)
What to watch for: Fatigue sets in after about 10 minutes. Your arms start to shake. The image degrades.
Take breaks or switch to a brace.
When to Use a Tripod
A tripod is essential for long sessions and high magnification. It also helps when you need to share the view with others.
Best for:
- Magnification at 12x or above
- Sessions over 15 minutes
- Astronomy and stargazing
- Long-range wildlife observation
- Digiscoping (taking photos through binoculars)
What to look for: You need a tripod adapter. Most binoculars have a threaded socket under the center hinge. The standard thread size is 1/4-20.
A fluid pan head works well for tracking moving subjects. A ball head is fine for stationary views.
The In-Between Options
You don't always need a full tripod. Consider these alternatives:
- Monopod: Lighter than a tripod. Reduces vertical shake but not horizontal sway. Good for hiking.
- Car window mount: Clamps to the window frame. Useful for wildlife drives.
- Chest pod: A strap system that tensions the binoculars against your chest. Reduces shake without hands.
- Beanbag: Drape it over a fence, a rock, or a car door. Rest the binoculars on it. Cheap and effective.
| Support Method | Weight | Stability | Portability | Cost |
|---|---|---|---|---|
| Handheld | None | Low | Excellent | Free |
| Braced position | None | Medium | Excellent | Free |
| Monopod | 1-2 lbs | Medium | Good | $20-60 |
| Tripod | 3-6 lbs | High | Fair | $50-200 |
| Car window mount | 1-2 lbs | High | Good | $30-80 |
| Chest pod | 0.5 lbs | Medium | Excellent | $40-100 |
How to Choose
Ask yourself these questions:
How long will you be looking? Under 10 minutes, go handheld. Over 30 minutes, get a tripod.
What magnification are you using? 8x or 10x is fine handheld. 12x or higher needs support.
Are you sharing the view? A tripod makes it easy for others to look without bumping the setup.
Are you moving around? Handheld or a monopod is better for hiking. A tripod is fine for stationary setups.
As of 2026, lightweight carbon fiber tripods have become more affordable. They offer good stability at under 3 pounds. That makes them a realistic option for hikers who want the stability of a tripod without the weight.
How to Clean Lenses and Store Binoculars Without Damaging Them
Your binoculars are an optical instrument. They need care. The wrong cleaning method can damage the lens coatings permanently.
Cleaning Supplies
- Blower brush: Removes dust and debris without contact
- Microfiber cloth: For gentle cleaning of lens surfaces
- Lens cleaning solution: Designed for coated optics, not household glass cleaner
- Lens pen: A tool with a brush on one end and a cleaning pad on the other
The Cleaning Process
Step 1: Blow off loose dust with the blower brush. Do not wipe a dry lens. You'll grind dust into the coatings.
Step 2: Breathe gently on the lens to create a light fog. Or use one drop of lens cleaning solution on the microfiber cloth.
Step 3: Wipe in a gentle circular motion from the center outward. Use light pressure.
Step 4: Check the lens. Repeat if needed. Do not press hard.
What not to use:
- Paper towels (scratch coatings)
- Shirt sleeves (trap dirt)
- Window cleaner (damages coatings)
- Water from a tap (leaves mineral deposits)
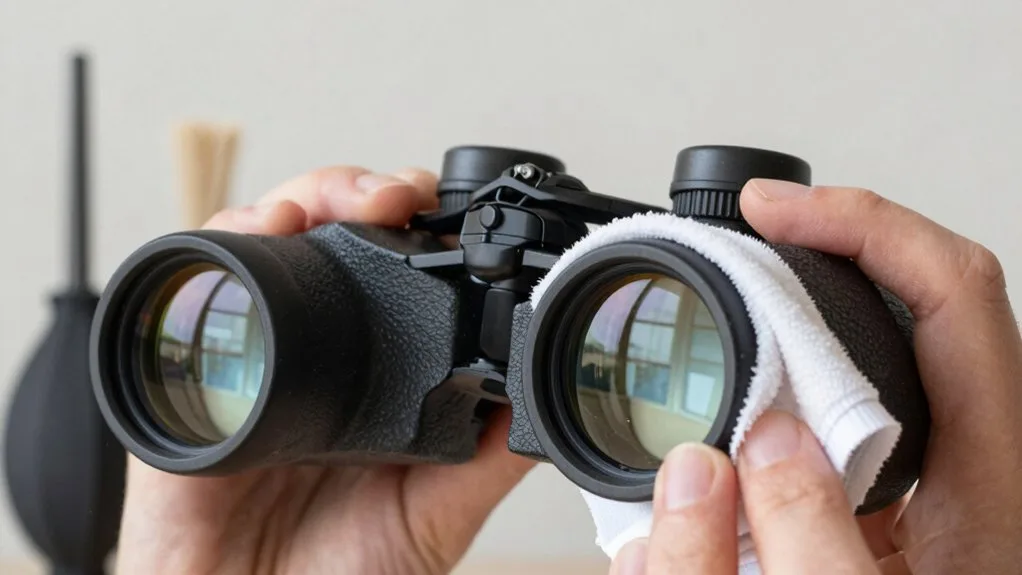
Image source: Bing (Web (fair-use with source credit))
Storage Guidelines
- Always replace lens caps. This is the single most important storage habit.
- Store in a dry place. Humidity promotes mold growth on lenses.
- Avoid extreme temperatures. A car dashboard on a summer day can reach 140°F. That can warp internal components.
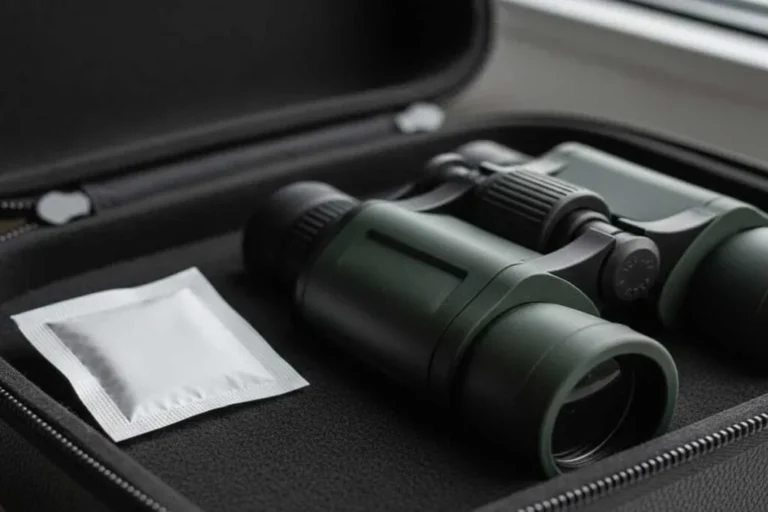
- Use a case. A padded case protects against bumps and drops.
- Add silica gel packs. If you live in a humid climate, silica gel packs inside the case absorb moisture.
Long-Term Maintenance
- Check the diopter setting once a year. It can drift over time.
- Inspect the rubber armor. Cracks let in moisture.
- Check the focus wheel. It should turn smoothly. If it feels gritty, dust may have entered the mechanism.
- Send for professional cleaning only if needed. Internal dust is usually not visible. Don't open the binoculars yourself. That voids the warranty and can misalign the prisms.
Frequently Asked Questions
How do I know if my IPD is set correctly?
You should see a single, circular image with no dark edges or double vision. If you see two circles or a figure-eight shape, the hinge is set too wide or too narrow. Adjust until you see one clear circle.
Do I need to adjust the diopter every time I use binoculars?
No. Set it once for your eyes. After that, use only the center focus wheel to adjust for distance.
If someone else uses the binoculars, they need to set the diopter again.
Can I use binoculars with glasses?
Yes. Twist the eyecups down or fold them back. This puts your eye at the correct distance from the lens.
Look for binoculars with at least 15 mm of eye relief for comfortable use with glasses.
What magnification is best for beginners?
8x is the best starting point. It offers a wide field of view, a steady image, and good performance in low light. 10x is also fine but requires a steadier hand. Avoid 12x or higher until you're comfortable with a tripod.
How do I clean the lenses without scratching them?
Use a blower brush to remove dust first. Then use a microfiber cloth with gentle circular pressure. Never use paper towels, shirt sleeves, or household glass cleaners.
For oily smudges, use a lens cleaning solution designed for coated optics.
Why is the image still blurry after I adjusted everything?
Check for a dirty objective lens. If the lenses are clean, the issue may be collimation. If the binoculars have been dropped, the internal prisms may be misaligned.
This requires factory repair. Also check that you're not pressing the binoculars against your glasses, which can cause distortion.