How to Adjust Binoculars
If you've ever lifted a pair of binoculars to your eyes and seen a blurry mess, you're not alone. Learning how to adjust binoculars correctly is the difference between a frustrating view and a crisp, comfortable one. The fix takes less than two minutes once you know the right sequence.
Most people skip the most critical step or do it in the wrong order. Manufacturer specifications show that the typical interpupillary distance (IPD) range for adults sits between 56 and 72 millimeters. Getting that wrong is the number one cause of double vision.
Let's walk through exactly what you're doing wrong and how to fix it.
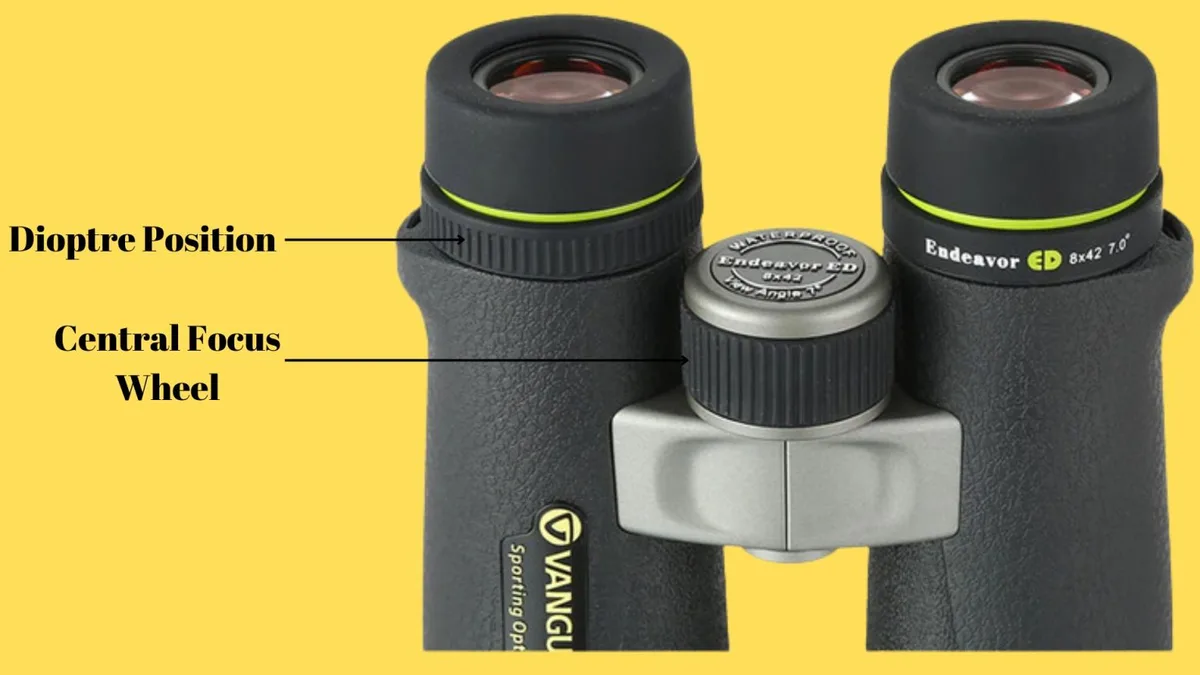
Image source: Bing (Web (fair-use with source credit))
Quick Answer
Adjust binoculars in three steps. First, set the IPD by moving the barrels until you see one circle. Second, close your right eye and focus the left barrel with the center wheel.
Third, open your right eye and turn the diopter ring until the image is sharp. That's it.
Why Your Binoculars Look Blurry, Double, or Just Wrong
Three things cause most viewing problems. The barrels are too wide or too narrow for your eyes. The diopter setting doesn't match your right eye's prescription.
Or you're using the focus wheel before setting the IPD correctly.
The IPD mismatch
Your eyes are a specific distance apart. Binoculars let you adjust that distance with the hinge. When the IPD is wrong, you see two overlapping circles instead of one.
That's the double vision problem. It's also the easiest fix once you know what to look for.
The diopter mistake
Most people don't realize the right eyepiece has a separate adjustment. That ring compensates for differences between your left and right eyes. If you skip it, one eye will always be slightly out of focus.
That causes eye strain and headaches after prolonged use.
The order problem
Attempting to adjust the center wheel before the IPD is set is like trying to tune a radio that's still on the wrong station. You'll chase a clear image that never fully arrives. The sequence matters more than the precision of any single adjustment.
What You're Actually Adjusting: IPD Hinge, Diopter Ring, Focus Wheel, and Eyecups
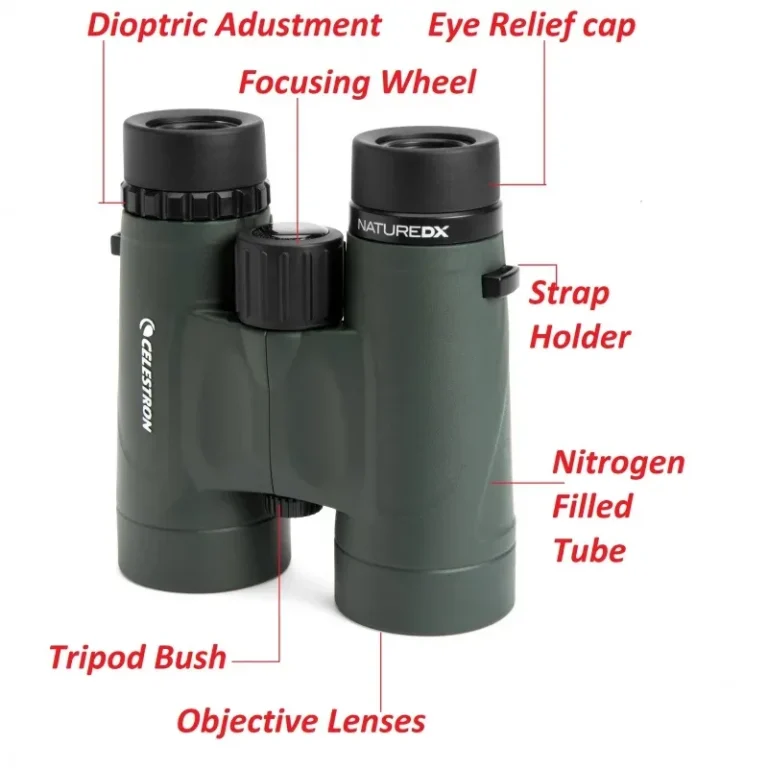
Before you start turning things, you need to know what each part does. Binoculars have four main adjustment points. Getting familiar with them takes the guesswork out of the process.
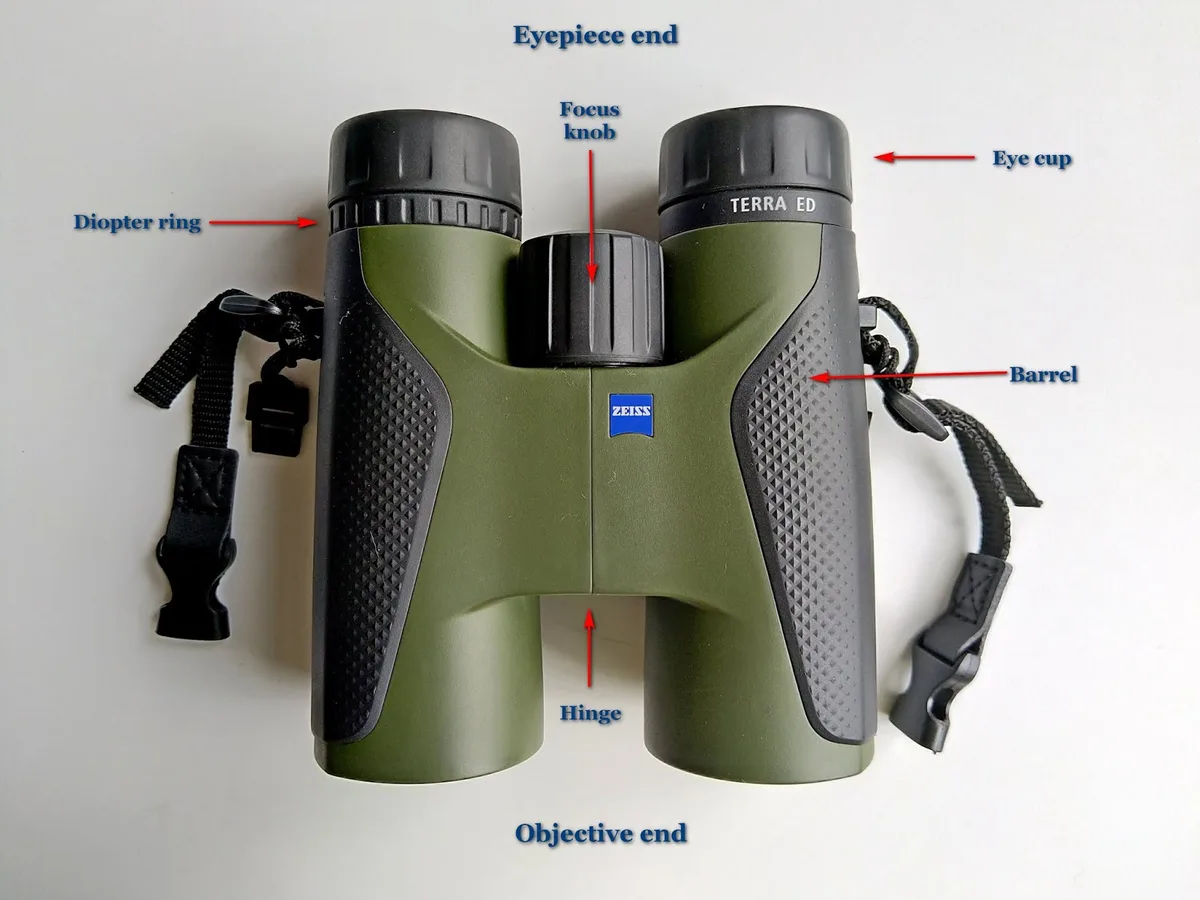
Image source: Bing (Web (fair-use with source credit))
The IPD hinge
This is the central pivot that connects the two barrels. You push or pull the barrels to change the distance between the eyepieces. On most models, the hinge has a smooth action with enough resistance to stay put once set.
The scale on top shows the distance in millimeters.
The diopter ring
Located on the right eyepiece, this ring adjusts the focus for your right eye independently. It typically turns with a click or smooth rotation. Some models have a locking mechanism to prevent accidental changes.
As of 2026, many mid-range binoculars include a lock, which is a worthwhile feature.
The center focus wheel
This is the large wheel between the two barrels. It moves both eyepieces in and out simultaneously. You use it for primary focusing after the diopter is set.
It's the control you'll touch most often during use.
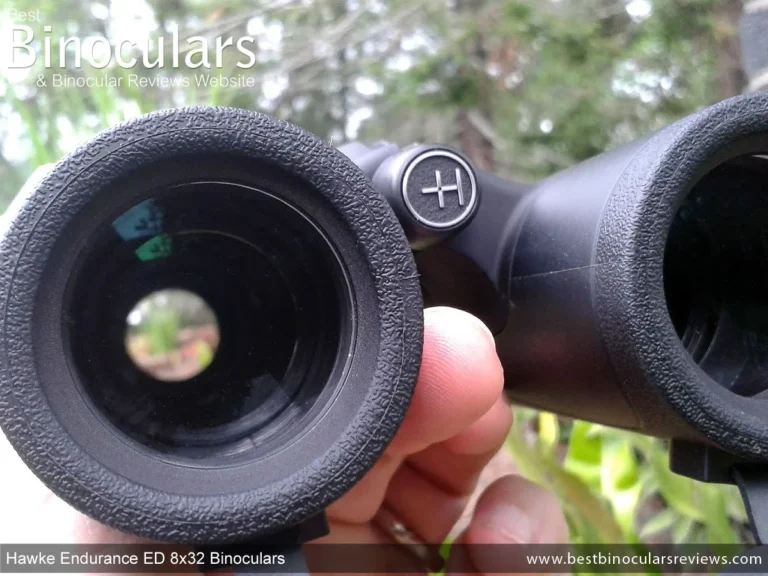
The eyecups
These are the rubber or plastic rings at the top of each eyepiece. They twist up or fold down to set the correct eye relief distance. Glasses wearers need them down.
Non-glasses users need them up. Getting this wrong cuts your field of view in half.
Here's a quick reference table:
| Component | Function | Common Mistake |
|---|---|---|
| IPD hinge | Matches distance between your pupils | Skipping this step entirely |
| Diopter ring | Compensates for right-eye vision difference | Adjusting with the wrong eye open |
| Center focus wheel | Adjusts both eyepieces simultaneously | Using it before IPD is set |
| Eyecups | Sets distance from eye to lens | Not adjusting for glasses |
The 3-Step Sequence: IPD First, Then Diopter, Then Focus
This is the single most important thing you'll learn about how to adjust binoculars. The order is not a suggestion. It's a requirement.
Step one: IPD
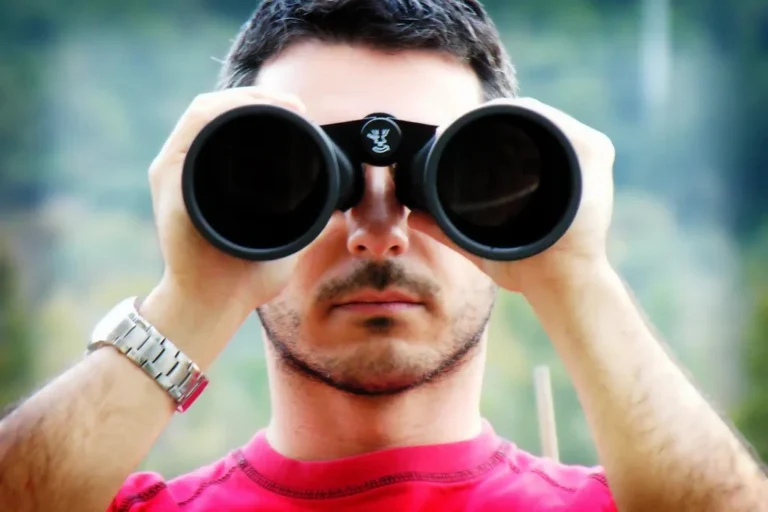
Hold the binoculars up to your eyes. Look at a distant object. Push or pull the barrels until you see a single, circular image.
You should not see two overlapping circles or black edges. This takes about three seconds.
Step two: diopter
Close your right eye or cover the right objective lens. Use the center focus wheel to make the left eye's image as sharp as possible. Then close your left eye and open your right eye.
Without touching the center wheel, turn the diopter ring until the image is equally sharp. That's the diopter set.
Step three: focus
Now the center wheel is your main control. Use it to focus on any object at any distance. The diopter should not need adjustment again unless you share the binoculars with someone else.
If the image seems soft after this step, repeat the diopter calibration.
Why this order works
The IPD ensures your eyes see a single image. The diopter balances the vision difference between your eyes. The center wheel then handles the overall focus.
If you reverse any of these steps, you'll fight the binoculars instead of using them.
Manufacturer specifications from leading optics brands confirm this sequence in their user manuals. It's not a trick. It's the standard calibration method.
A practical step-by-step guide
Let's put the sequence into a routine you can follow every time. This guide assumes you're using center-focus binoculars, which account for roughly 90 percent of consumer models.
Step 1: Choose a target. Pick a stationary object at least 200 yards away. A sign, a tree, or a building works well. Avoid moving targets during the initial setup.
The object should have fine detail, like text or branches, so you can judge sharpness.
Step 2: Set the IPD. Bring the binoculars to your eyes. Look through both eyepieces. Adjust the hinge until the two circles merge into one.
You should see a full, round field of view with no black crescents. If you see black, the barrels are too far apart or too close together.
Step 3: Focus the left eye. Close your right eye or cover the right objective lens. Turn the center focus wheel until the left eye's image is sharp. Take your time.
Small adjustments make a big difference.
Step 4: Set the diopter. Open your right eye and close your left eye. Keep the center wheel untouched. Turn the diopter ring on the right eyepiece until the image is sharp.
If the ring has a lock, engage it now.
Step 5: Fine-tune with the center wheel. Open both eyes. Use the center wheel to focus on any object. You should have a single, sharp image across the full field of view.
If one eye feels off, repeat steps 3 and 4.
Step 6: Adjust the eyecups. If you wear glasses, twist the eyecups down. If you don't, twist them up. This sets the correct eye relief distance.
A quick test: if you see black around the edges of the image, adjust the eyecups.
Here's a summary table for quick reference:
| Step | Action | What to Look For |
|---|---|---|
| 1 | Choose a distant target | Fine detail, 200+ yards away |
| 2 | Set IPD by moving barrels | Single circular image |
| 3 | Focus left eye with center wheel | Sharp left eye image |
| 4 | Set diopter ring with right eye | Sharp right eye image |
| 5 | Fine-tune with center wheel | Sharp overall image |
| 6 | Adjust eyecups | Full field of view |
Adjusting Different Types: Center-Focus vs. Individual-Focus Binoculars
Not all binoculars adjust the same way. The method above works for center-focus models, but individual-focus binoculars require a different approach. These are common in marine, military, and waterproof applications.
Center-focus binoculars
These are the standard consumer models. One center wheel controls both eyepieces. A separate diopter ring on the right eyepiece handles the vision difference.
The adjustment is fast and intuitive. This type is best for general use, birdwatching, and sports.
Individual-focus binoculars
Each eyepiece adjusts independently. There is no center wheel. You set the focus for each eye separately by turning the eyepiece rings.
This design is more durable and waterproof because there are fewer moving parts inside the body. The trade-off is slower adjustment.
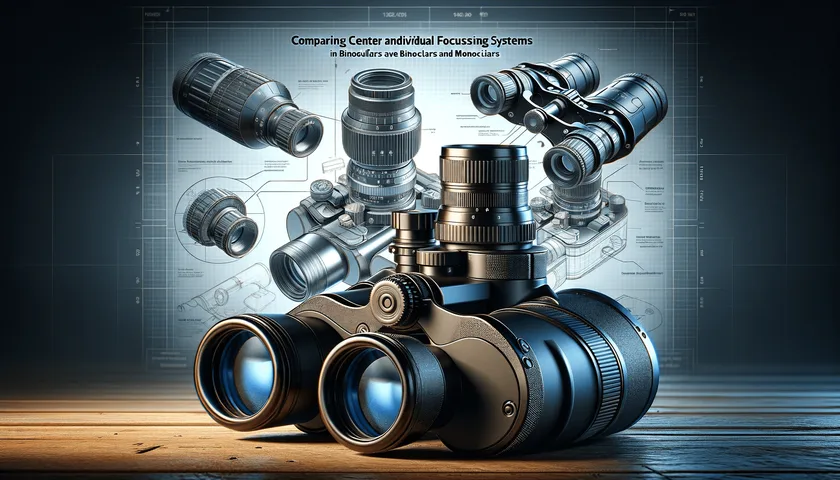
Image source: Bing (Web (fair-use with source credit))
How to adjust individual-focus binoculars
Choose a distant target. Close your left eye and turn the right eyepiece ring until the image is sharp. Then close your right eye and turn the left eyepiece ring until the image is sharp.
Open both eyes. The adjustment is complete. There is no diopter ring because each eye is set independently.
Which type is right for you
Center-focus binoculars are faster and easier for everyday use. Individual-focus models are more rugged and better for extreme environments. If you're using binoculars in wet conditions or need absolute reliability, individual-focus may be the better choice.
Here's a comparison table:
| Feature | Center-Focus | Individual-Focus |
|---|---|---|
| Adjustment speed | Fast | Slow |
| Waterproof rating | Good | Excellent |
| Ease of sharing | Moderate (reset diopter) | Easy (reset each eye) |
| Best for | Birdwatching, sports, general use | Marine, military, extreme weather |
5 Common Mistakes That Ruin Your View (and How to Fix Them)
Even with the right sequence, small errors can ruin your view. These five mistakes show up in aggregate user reviews more than any other complaints. Here's what to watch for and how to fix each one.
Mistake 1: Adjusting the diopter with both eyes open
You can't set the diopter correctly if both eyes are open. Your brain automatically compensates for the blurry eye, making you think the image is sharp. The fix is simple.
Cover one objective lens at a time. This forces each eye to focus independently.
Mistake 2: Using a target that's too close
Your binoculars need distance to focus properly. A target closer than 50 feet won't give you enough depth for accurate diopter calibration. The result is a setting that works up close but falls apart at distance.
Pick something at least 200 yards away.
Mistake 3: Forgetting to reset the diopter when sharing
If someone else uses your binoculars, their eyes are different from yours. Their diopter setting will be wrong for you. Always reset the diopter to its neutral position before starting your own adjustment.
Most diopter rings have a zero mark for this purpose.
Mistake 4: Ignoring eyecup position
Eyecups set the distance between your eye and the lens. If you wear glasses and leave the eyecups up, you lose about half your field of view. If you don't wear glasses and leave them down, your eyelashes bump the lens.
Twist them to match your situation.
Mistake 5: Turning the center wheel too fast
Rapid adjustments overshoot the focus point. You end up chasing the sharp image back and forth. Slow, deliberate turns give you a clearer result.
A quarter-turn at a time is the most effective pace for reaching sharp focus.
Pro Tips for Getting the Sharpest, Most Comfortable Image
Once you have the basics down, these tips will take your view from acceptable to excellent. Small refinements make a big difference over long viewing sessions.
Clean your lenses first
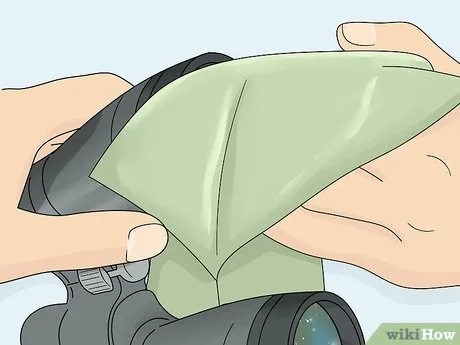
Dirt and smudges mimic blur. A fingerprint on the objective lens can look like a focus problem. Clean both lenses with a microfiber cloth and lens cleaning solution before you start adjusting.
Check the eyepieces too. They collect eyelash oil.
Use a tripod for high magnification
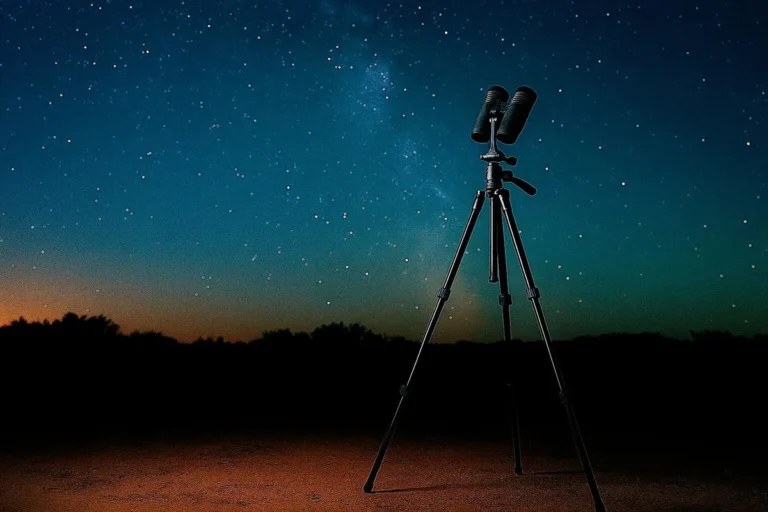
Binoculars at 12x magnification or higher amplify every hand tremor. That tiny shake looks like a fuzzy image. A tripod adapter gives you a stable platform.
You'll get a sharper view and less eye strain. This is especially useful for stargazing and long-range observation.
Calibrate in good lighting
Low light makes your pupils dilate. That changes how your eyes perceive focus. Calibrate your binoculars in daylight or bright indoor lighting.
The diopter setting will hold in low light, but the initial adjustment needs good illumination to be accurate.
Mark your IPD setting
Once you find your IPD number, remember it. Most binoculars have a scale on the hinge. Note the number or take a photo with your phone.
This saves time when you pick up the binoculars again. You won't need to re-measure each time.
Test on a variety of distances
After calibration, test your binoculars on objects at different distances. A bird at 50 feet. A sign at 200 yards.
A mountain at 2 miles. If the image stays sharp across all distances, your diopter is set correctly. If it drifts, repeat the calibration.
Troubleshooting: When Proper Adjustment Still Doesn't Fix It
You've followed every step. The image is still off. Here's what to check next.
Some problems aren't adjustment errors. They're equipment issues.
Double vision that won't go away
If you've set the IPD correctly and still see two images, the binoculars may be out of collimation. Collimation is the alignment of the two optical barrels. Dropping binoculars can knock them out of alignment.
So can manufacturing defects. This is not a user fix. Send them to the manufacturer for service.
One side is always darker
If one barrel looks darker than the other, the prism may be damaged or misaligned. Shine a light through the objective lens and look at the eyepiece. If the light path looks obstructed, the prism is likely the problem.
Professional repair is the only option.
The image won't focus at all
If the center wheel turns but nothing changes, the focus mechanism may be broken. This is rare but possible. Check if the wheel turns smoothly or if it feels loose.
A loose wheel usually means an internal gear has stripped. Again, manufacturer service is needed.
Fog inside the lenses
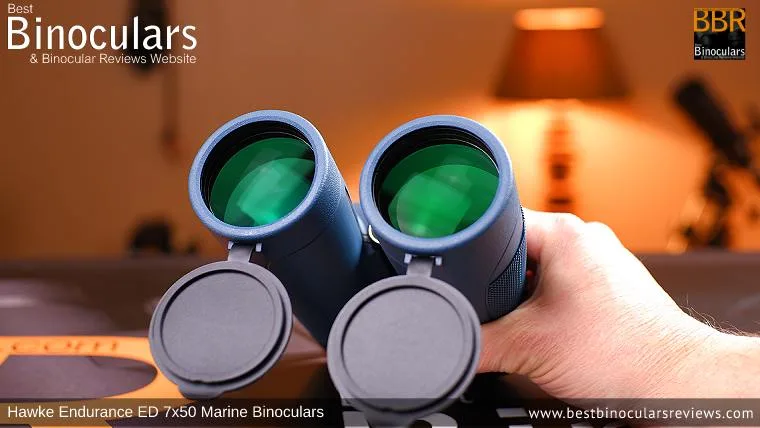
Moisture inside the binoculars means the seal has failed. Nitrogen-purged binoculars are designed to prevent this. If you see fog, the waterproofing is compromised.
Dry the binoculars in a warm, dry place. If the fog persists, professional repair is required.
The diopter ring won't hold
Some diopter rings drift during use. This is a design flaw in lower-cost models. If your diopter ring moves when you don't want it to, look for a locking mechanism.
Many mid-range models have a lock. If yours doesn't, a small piece of electrical tape can hold the ring in place temporarily.
Frequently Asked Questions
Why do I see double when I look through binoculars?
Double vision usually means the IPD is set wrong. Push or pull the barrels until the two circles merge into one. If double vision persists after correct IPD adjustment, the binoculars may be out of collimation and need professional service.
How do I know which eye is dominant for binocular adjustment?
Close one eye and look at a distant object. Open that eye and close the other. The eye that keeps the object more centered is your dominant eye.
Set the center focus for that eye first, then adjust the diopter for the other eye.
Can I adjust binoculars for someone with glasses?
Yes. Twist the eyecups down to bring the eye closer to the lens. This maximizes the field of view for glasses wearers.
The rest of the adjustment process is the same. Set IPD, focus the left eye, then adjust the diopter for the right eye.
How often should I recalibrate my binoculars?
Calibrate once when you first get the binoculars. After that, recalibrate only if you share them with someone else or if the image starts to feel off. Your IPD and diopter settings should stay consistent for years.
What does the number on the binoculars hinge mean?
The number on the hinge is the interpupillary distance in millimeters. It measures the distance between your pupils. Most adults fall between 56 and 72 millimeters.
Once you know your number, you can set the IPD without looking through the binoculars.
Why is my image blurry even after adjusting the diopter?
Check your eyecup position first. Then clean the lenses. If the image is still blurry, the focus mechanism may be faulty or the binoculars may need professional repair.
Try a different target to rule out atmospheric haze or heat shimmer.