How to Reduce Smoke From a Fire Pit
If your fire pit is smoking more than it should, you are not alone. The question of how to reduce smoke from a fire pit is one of the most common frustrations for backyard burners. The biggest factor is moisture in the fuel.
Research from the Environmental Protection Agency Burn Wise program confirms that wood with a moisture content above 20 percent produces far more smoke than seasoned wood. The same fire with the same logs can produce very different smoke levels depending on how you build it and where you place it. Let us walk through the real reasons smoke happens and what you can do about it.
Quick Answer
Dry wood is the single most important factor. Use wood with moisture content below 20 percent. Ensure good airflow under and around the fire.
Build your fire using the top-down method. Place the pit in an open area away from walls. These four steps eliminate most smoke problems.
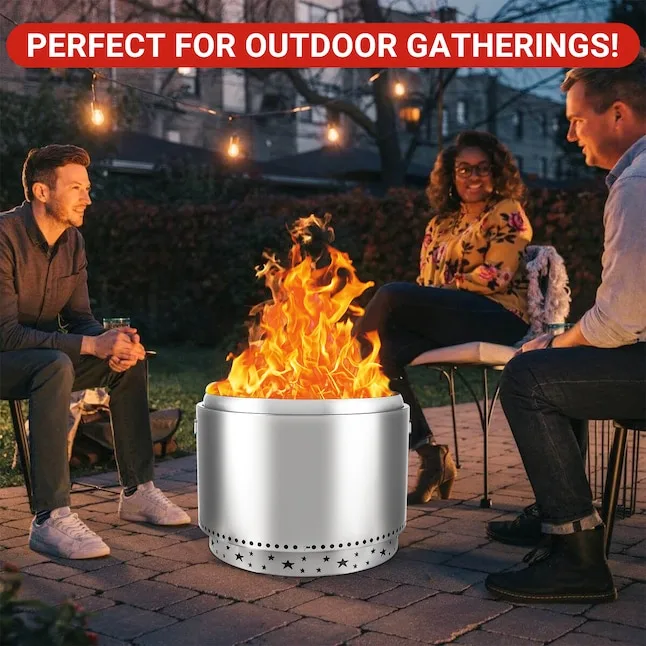
Image source: Bing (Web (fair-use with source credit))
Why Your Fire Pit Smokes (And How to Fix It Fast)
Smoke is simply unburned fuel. When wood heats up, it releases gases. If those gases do not reach a high enough temperature to ignite, they escape as visible smoke.
The same thing happens when airflow is too low to support complete combustion.
The fix comes down to three variables. If your fuel is wet, the fire spends energy boiling off water instead of burning the wood. If your airflow is blocked, the fire smolders instead of burning clean.
If your fire pit design traps smoke instead of releasing it, you will struggle no matter what you do.
The single fastest fix for most people is switching to kiln-dried or well-seasoned wood. That change alone can reduce visible smoke by 50 to 80 percent. If you are using a portable fire pit, check the bottom vents.
Many models designed for cleaner burning rely on secondary air intake holes that can get clogged with ash.
The Real Reason Smoke Happens – Airflow, Fuel, and Fire Design
Complete combustion requires three things: heat, fuel, and oxygen. Remove any one, and you get smoke. The process is straightforward.
Wood burns in two stages. First, the heat drives off moisture and volatile gases. Second, those gases ignite and produce the flame.
If the gases cool down before they ignite, they become visible smoke. A well-built fire reaches temperatures above 1100 degrees Fahrenheit inside the flame zone. At that temperature, the gases ignite completely.
Fire pit design plays a role here. An open bowl fire pit relies on natural draft. A double-wall design pulls air through the bottom, then preheats it before it reaches the fire.
That secondary combustion re-burns the smoke. If you are shopping for a new pit, models that use this secondary burn principle are worth looking at. They are not magic, but they reduce smoke significantly compared to a basic bowl.
Step 1: Diagnose Your Setup – What Kind of Fire Pit Do You Have?
The fix depends on what you are working with. If you have a basic metal bowl fire pit, your main lever is fuel quality and fire building technique. If you have a gas fire pit, the smoke is likely coming from debris or the wrong type of lava rock.
If you have a model with adjustable air vents, you may simply need to open them fully.
Here is a quick diagnostic checklist:
- Basic open bowl: Focus on dry wood, good airflow underneath, and a top-down fire build.
- Double-wall smokeless design: Ensure the air holes are not blocked by ash. These pits need a clear path for secondary air.
- Gas fire pit: Check for debris, grease, or dust on the burner. Turn the gas up slightly. Low flame settings produce incomplete combustion.
- Chimney-style fire pit: The draft pulls smoke upward. If it is smoking sideways, the wind is pushing it back down. Move the pit or add a wind screen.
If you are unsure, start with the fuel. That is the variable that applies to every wood-burning pit. For a look at budget-friendly options that handle airflow well, you can check out some simple fire pits under $200 that are easy to maintain.
Step 2: Pick the Right Fuel – Wood Type, Moisture, and Storage
This is the most important step. Wet wood is the number one cause of excessive smoke. Wood that is freshly cut contains 40 to 60 percent moisture by weight.
Burning it produces a thick, white, acrid smoke that lingers.
The goal is wood with a moisture content below 20 percent. You can measure this with a moisture meter. They cost about 20 dollars and are worth every penny.
Split the log open and test the fresh face. If the reading is above 20 percent, that wood is not ready to burn.
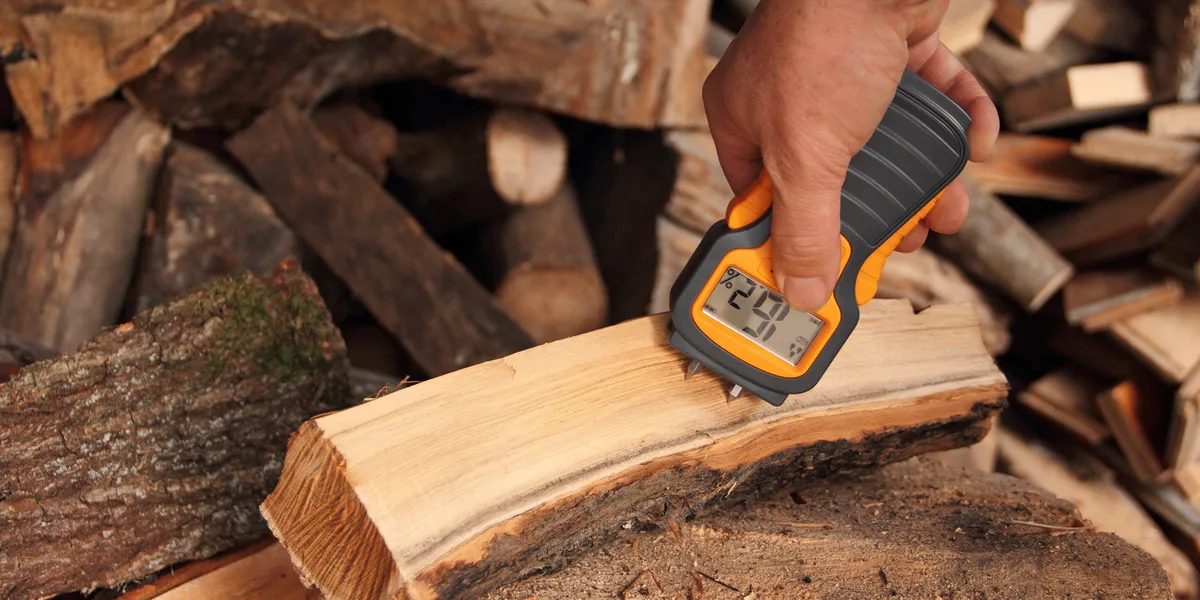
Image source: Bing (Web (fair-use with source credit))
Seasoning takes time. Hardwoods like oak and hickory need 6 to 12 months of drying after splitting. Softwoods like pine dry faster, sometimes in 3 to 6 months, but they burn hotter and faster and produce more creosote.
Kiln-dried wood is ready to burn immediately. It costs more but is nearly guaranteed to be dry.
Storage matters too. Keep wood off the ground, covered on top, and open on the sides. Air circulation is more important than rain protection.
A tarp over the top keeps rain off. Open sides let the wind dry the wood. Stacking wood in a garage or shed works well, but avoid stacking it directly against the house.
Step 3: Build a Low-Smoke Fire – The Top-Down Method and Log Arrangement
How you stack the logs drives how clean the fire burns. The standard method of piling kindling under logs is backwards. It produces a smoky, slow-to-start fire.
The top-down method reverses the order. Place the largest logs on the bottom, parallel to each other with a small gap between them. Add a layer of smaller logs crosswise on top.
Then add a layer of kindling. Finally, place the tinder or fire starter on the very top.
Light the top. The fire burns downward, preheating the lower logs as it goes. This produces a hotter, cleaner burn from the start.
The flames are drawn upward through the fuel, pulling in oxygen from below. It is the same principle used in a rocket stove.
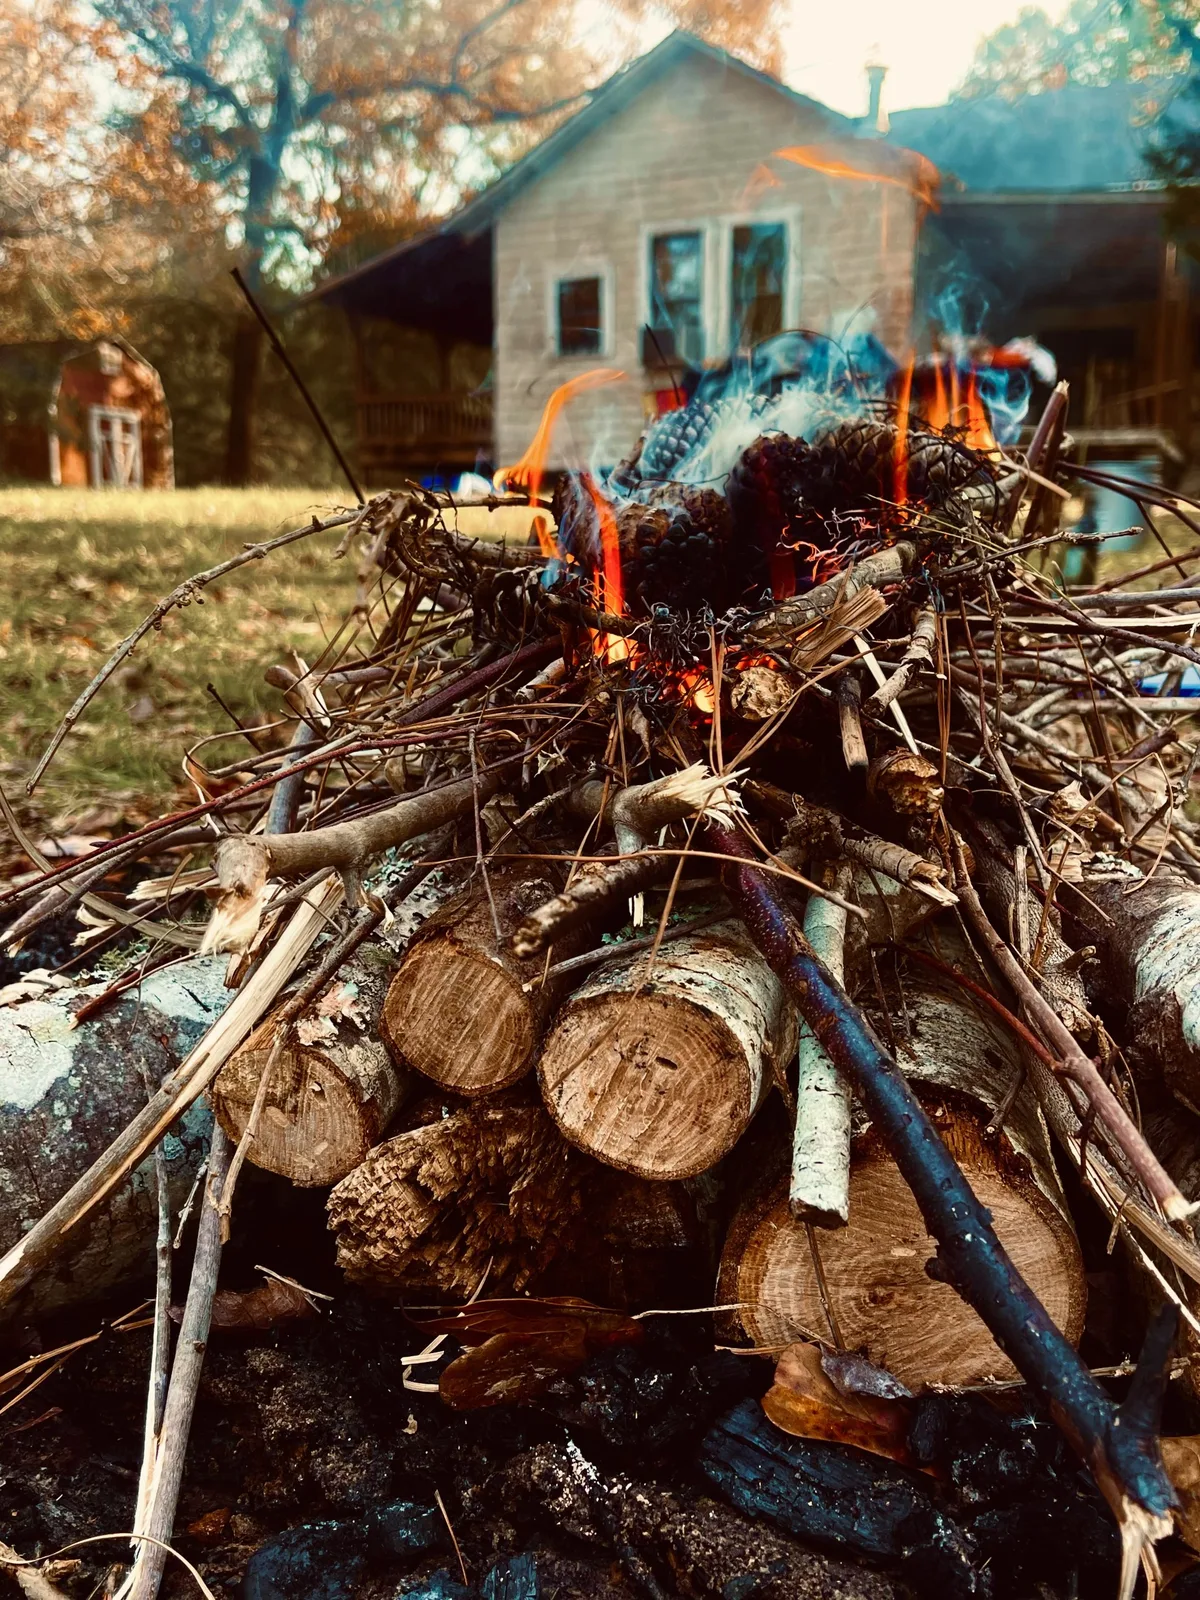
Image source: Bing (Web (fair-use with source credit))
Log arrangement matters too. The log cabin style allows plenty of airflow through the center. The teepee style funnels air upward.
Both work well. Avoid piling logs tightly together. That smothers the fire and produces smoke.
Step 4: Adjust Airflow and Placement – Draft, Wind, and Fire Pit Position
Airflow is the second most important factor after fuel moisture. A fire needs oxygen from below to burn clean. If the bottom of your fire pit sits flat on the ground, the fire starves.
Raise the fire off the floor of the pit. Use a fire grate or a layer of small logs as a base. This creates an air gap underneath.
The gap feeds oxygen directly into the flames. For a basic bowl pit, you can also drill a few small holes in the bottom. Check manufacturer guidelines first if you are modifying a store-bought model.
Wind direction matters more than most people realize. If the wind blows directly into the seating area, it pushes smoke right back at you. Position the pit so the prevailing wind carries smoke away from chairs and tables.
A slight breeze actually helps combustion. Still air lets smoke linger.
If you cannot move the pit, use a wind screen. A simple metal shield placed on the upwind side deflects air over the fire. This creates a pressure difference that pulls smoke upward.
For a permanent setup, consider a model with a built-in chimney. The draft from the chimney pulls smoke up and away naturally.
Common Mistakes That Make Smoke Worse (And How to Avoid Them)
Using green wood. This is mistake number one. Freshly cut wood looks fine but burns terribly. It hisses, smokes, and produces very little heat.
If the wood still has bark that peels easily, it is too wet. Wait at least six months.
Piling logs too tightly. A solid mass of logs blocks airflow. The fire smolders instead of burning. Leave a finger-width gap between each log.
Air needs to move through the stack.
Ignoring ash buildup. Ash insulates the fire bed. It blocks the bottom air intake holes. Remove ash after every few burns.
Leave a thin layer for insulation, but clear the vent holes completely.
Using lighter fluid. Lighter fluid creates a burst of smoky flame. It also leaves residue that produces smoke later. Use a chimney starter, a fire starter block, or natural kindling instead.
Starting from the bottom. The bottom-up method forces the fire to struggle through wet outer layers. The top-down method burns hotter immediately. It is the single biggest change you can make without buying anything.
Safety and Local Rules – Burn Bans, HOA Restrictions, and Good Neighbor Tips
Smoke does not stop at your property line. Excessive smoke can trigger neighbor complaints and HOA violations. Some communities have specific rules about visible smoke or burn times.
Check your local burn ban status before lighting a fire. Many counties issue bans during dry conditions. Fines can range from 100 to 1,000 dollars.
The National Fire Protection Association provides general guidelines for fire pit placement. Keep the pit at least 10 feet from structures and 25 feet from flammable materials.
For HOAs, the rules vary widely. Some ban wood-burning fire pits entirely. Others allow only gas or propane models.
If you live in a neighborhood with restrictions, a low-smoke propane model might be your best option. It produces almost no visible smoke once it warms up.
Be a good neighbor anyway. Avoid burning on windy days when smoke drifts sideways. Keep fires small and clean.
If you have neighbors with respiratory issues, let them know before you light up. A little courtesy goes a long way.
Frequently Asked Questions About Reducing Fire Pit Smoke
Does adding a chimney reduce smoke?
Yes. A chimney creates a draft that pulls smoke upward and away from the seating area. It does not eliminate smoke, but it redirects it.
Chimney-style fire pits work well for patios and decks.
Can I use pine wood in a fire pit?
You can, but pine produces more smoke and creosote than hardwood. It burns hot and fast. Use pine only if it is fully dry and mix it with hardwood.
Avoid pine for cooking fires.
How long does wood need to season?
Hardwoods need 6 to 12 months of drying after splitting. Softwoods need 3 to 6 months. Stack the wood off the ground, cover the top, and leave the sides open for airflow.
Does a gas fire pit produce smoke?
Gas fire pits produce very little smoke compared to wood. The initial startup may produce a small amount of smoke from dust or debris. Once the burner is hot, the flame burns clean.
What is the best way to dry firewood fast?
Split the wood into smaller pieces. Stack it in a single row in a sunny, windy spot. Cover the top only.
Do not use a tarp wrapped around the whole stack. Air circulation is the key.
Why does my fire pit smoke more at night?
Cooler air holds less moisture. As the temperature drops, the air becomes denser. This reduces the natural draft.
Smoke lingers longer at night. A taller fire or a chimney helps.
Quick Decision Guide – What to Try First Based on Your Situation
Use this guide to pick the right fix for your specific problem.
| If your fire pit is… | The first thing to check is… | Then try… |
|---|---|---|
| Smoking heavily with wet-looking smoke | Fuel moisture | Kiln-dried or seasoned wood |
| Smoking with thin, dark smoke | Airflow | Raise the fire, clear ash, open vents |
| Smoking only at startup | Fire building method | Top-down method |
| Smoking but burning hot | Wind direction | Move the pit or add a wind screen |
| Smoking and you have a gas model | Burner cleanliness | Clean debris, turn up the gas |
Start with the simplest fix. Switch to dry wood. If that does not solve it, check your airflow.
Most people can eliminate 80 percent of smoke with just those two changes. If you are still struggling, your fire pit design may be the limiting factor. In that case, consider a model designed for lower smoke output.
Many of the best low-smoke options use secondary combustion or chimney draft to clean up the burn.