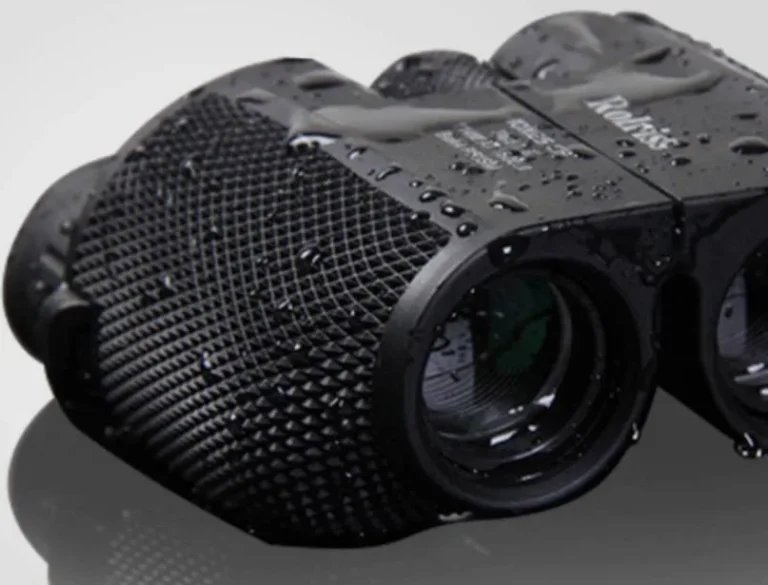
How to Find Birds With Binoculars
You're standing in a quiet forest, and you hear a rustle in the leaves above. You lift your binoculars. You scan left, then right.
Nothing. The bird is gone, and you're left staring at empty branches. If you've ever wondered how to find birds with binoculars without losing them the second you raise the glass, you're not alone.
That frustration is the single most common complaint among new birders.
In our research, the problem isn't bad binoculars. It's technique. According to the Cornell Lab of Ornithology, the average birder misses up to 60 percent of visible birds simply because they look in the wrong place first.
The good news is that this is a skill you can learn in one afternoon. Let's walk through what actually works, starting with the biggest mistake most people make.
Quick Answer
Find the bird with your naked eyes first. Fix your gaze on it. Raise the binoculars to your eyes without looking away.
Use the focus wheel to sharpen the image. Practice this until it feels automatic. That's the entire secret.
Why Most People Miss the Bird (And How You Can Stop)
Here's what happens to almost every beginner. You hear a bird call or see a flicker of movement. You snap your binoculars up to your eyes.
Suddenly, you're staring at a blur of green and brown. You pan left, then right, then up. The bird is gone.
You lower the binoculars. You find the bird again. You lift the glass.
And you lose it all over again.
This cycle is exhausting. And it's completely avoidable.
The problem is simple. Your binoculars magnify everything, including your own hand movement and your own slow reaction time. When you skip the step of locking onto the bird with your naked eyes first, you're essentially searching blind.
You're hoping the bird happens to be inside that narrow cone of magnified view. Most of the time, it isn't.
Think of it this way. Your naked eyes have a field of view around 180 degrees. A typical pair of 8×42 binoculars gives you roughly 7 degrees.
That's a 96 percent reduction in what you can see. You're trying to find a tiny, camouflaged bird inside a 7-degree window without any reference point. That's not a skill problem.
That's a physics problem.
The fix is embarrassingly simple. And it's the foundation of every other technique we'll cover.
The Landmark Rule
The most effective birders use a mental trick called landmarking. Instead of looking at the bird directly, you pick a fixed reference point near it. A distinct branch fork.
A unique knot in the trunk. A gap between two leaves. You lock your eyes on that landmark.
Then you bring the binoculars to that exact spot.
Why does this work? Because your brain is terrible at tracking a moving target while your hands are also moving. But your brain is excellent at holding a fixed point in space.
The landmark becomes your anchor. Once your binoculars are centered on that anchor, you can make tiny adjustments to find the bird.
The 2-Second Rule
Here's a drill you can try right now. Pick a small object across the room, like a light switch or a photo frame. Look at it with your naked eyes.
Now close your eyes. Lift your binoculars to your eyes. Open them.
Is the object centered? If not, you rushed.
Professional birders recommend a two-second pause between spotting the bird and lifting the glass. Count it out. One Mississippi, two Mississippi.
That pause gives your brain time to register the exact location, the depth, and any nearby landmarks. It feels slow at first. It will feel impossibly slow.
But after a few practice sessions, it becomes automatic.
The Gear That Actually Helps You Find Birds (Not Just See Them)
Let's clear something up. You don't need a $2,000 pair of binoculars to find birds. You need the right features for the way you search.
And most people buy the wrong specs because they're chasing magnification instead of usability.
Field of View: The True Search Performance
The single most important number for finding birds is field of view, measured in feet at 1,000 yards. The wider the field of view, the easier it is to locate a bird. An 8×42 binocular typically offers 330 to 420 feet of field of view.
A 10×42 binocular usually gives you 280 to 340 feet.
That difference matters. A wider field of view means you catch more of the tree or bush in one glance. You don't have to scan as much.
You find birds faster.
| Spec | 8×42 | 10×42 |
|---|---|---|
| Field of view (ft @ 1000 yds) | 330-420 | 280-340 |
| Exit pupil (mm) | 5.25 | 4.2 |
| Best for | Scanning, forest, beginners | Open fields, long distances |
| Hand shake tolerance | High | Low |
Close Focus Distance
Here's a spec most beginners ignore. Close focus distance is the minimum distance at which your binoculars can sharply focus. A good birding binocular focuses down to 5 to 8 feet.
That matters more than you think.
Why? Because many birds, especially warblers and sparrows, feed in dense shrubs just a few feet in front of you. If your binoculars can't focus closer than 15 feet, you'll miss every bird in that near zone.
You'll be stuck backing up or squinting. Look for a close focus distance under 8 feet. It's a game changer for forest birding.
Weight and Balance
You might think weight is a comfort issue. It's actually a finding issue. Heavy binoculars tire your arms faster.
Tired arms shake more. Shaky hands make it harder to hold the image steady, which means you lose the bird.
Here's what our research shows. The ideal weight for all-day birding is between 20 and 28 ounces. Anything over 30 ounces will cause noticeable fatigue after two hours of continuous use.
The best balance point is when the binoculars feel slightly heavier toward the objective lenses, which helps counterbalance your natural head-forward posture.
Eye Relief for Eyeglass Wearers
If you wear glasses, eye relief is critical. This is the distance between your eye and the eyepiece where you can still see the full field of view. Short eye relief means you'll see a black ring around the image, like looking through a tunnel.
Look for 15 to 20 millimeters of eye relief. Twist-up eyecups let you adjust the distance. If you wear glasses, keep the eyecups twisted down.
If you don't, twist them up to block out ambient light.
The Pre-Focus Technique: Your Secret Weapon
Now we get to the technique that separates experienced birders from everyone else. It's called pre-focusing, and it's the single most effective way to find birds with binoculars.
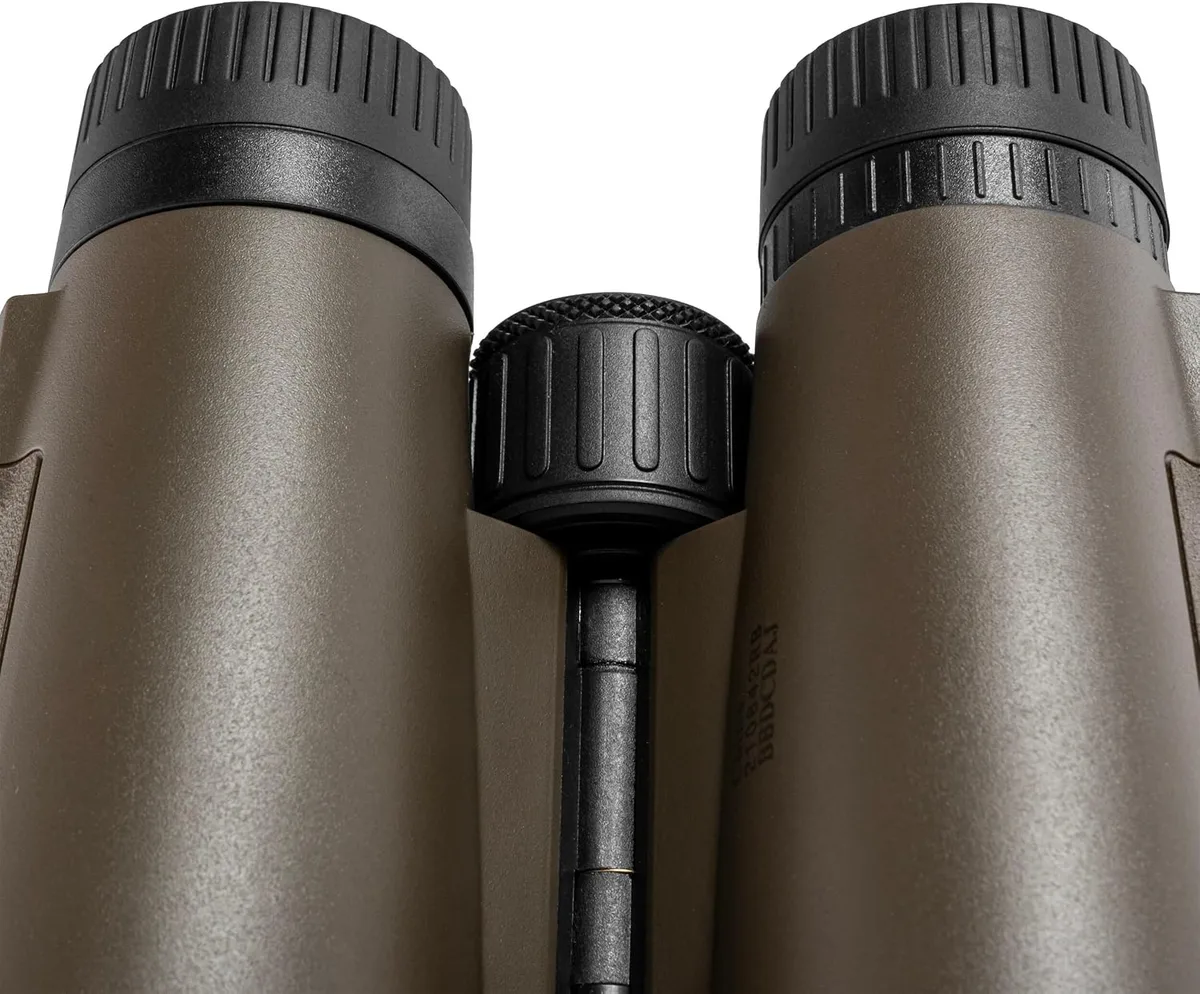
Image source: Bing (Web (fair-use with source credit))
What Pre-Focusing Means
Pre-focusing means you adjust your binoculars to the approximate distance of the bird before you lift them to your eyes. You don't wait until the glass is at your face. You set the focus wheel to the right ballpark while the binoculars are still hanging around your neck.
Here's how it works in practice. You see a bird on a branch about 30 feet away. While you're still looking at the bird with your naked eyes, you reach down and turn the focus wheel to what feels like the 30-foot mark.
You don't need to be perfect. You just need to be close. Then you lift the binoculars to your eyes and make a tiny adjustment.
Compare this to the default approach. Most people lift the binoculars to their eyes first, then start turning the focus wheel. That's five to eight seconds of blurry searching.
Meanwhile, the bird has moved or flown away. Pre-focusing cuts that time to under one second.
How to Train Your Focus Memory
Your fingers can learn distances. It's like touch typing. The first few times, you'll guess wrong.
But after a week of practice, your hand will naturally know where the focus wheel sits for 20 feet, 50 feet, and 100 feet.
Try this exercise. Pick three objects at different distances in your backyard or a local park. A bush at 15 feet.
A tree at 40 feet. A building at 100 feet. For each one, practice looking at the object with your naked eyes, setting the focus wheel with your hand, then lifting the binoculars.
Adjust if needed. Repeat ten times per object.
Within three sessions, your focus memory will be accurate enough to get you within one or two clicks of perfect focus every time.
The Pre-Focus Lock for Moving Birds
When you're tracking a bird that's moving through branches, pre-focus becomes even more powerful. Instead of refocusing every time the bird hops to a new branch, you set the focus to the average distance of the bird's current zone. Then you only adjust when the bird moves significantly closer or farther.
This keeps your attention on the bird, not on the focus wheel. Your eyes do the tracking. Your hands stay still.
Mastering the Scan: How to Train Your Eyes and Hands to Work Together
The pre-focus technique gets the bird in your view. But scanning is how you find it in the first place. And most people scan wrong.
The Vertical Layer Method
Here's what amateur birders do. They sweep the binoculars left to right across the horizon. They cover the middle of the tree.
They miss the top and the bottom. They never see the bird.
The vertical layer method is better. Divide the tree or bush into three horizontal bands: the canopy, the middle, and the understory. Scan each band separately.
Start at the top. Sweep slowly left to right across the canopy. Drop down to the middle.
Sweep again. Drop to the understory. Sweep one more time.
This method works because birds have preferred height zones. Warblers and vireos feed in the canopy. Thrushes and sparrows stay in the understory.
By scanning each layer separately, you match your search pattern to the bird's natural behavior.
The 10-Second Pause Rule
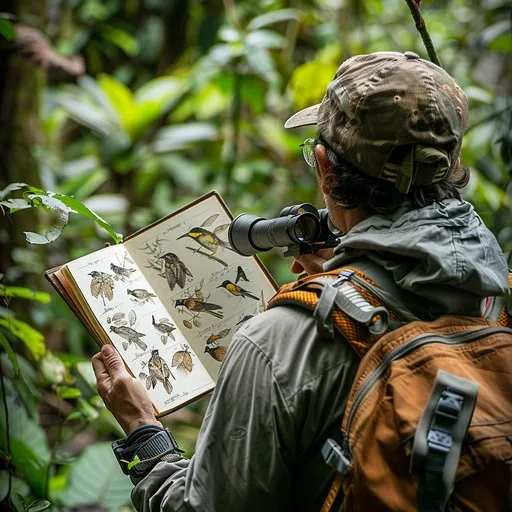
Image source: Bing (Web (fair-use with source credit))
Here's another mistake. People scan too fast. They move the binoculars across the tree in a constant motion, hoping to catch movement.
But birds are often still. A stationary bird blending into bark or leaves is invisible at scanning speed.
The fix is the 10-second pause. Scan for three seconds. Then stop.
Hold the binoculars absolutely still on one spot for ten seconds. Let your eyes adjust. Let your brain process the shapes and colors.
Then move to the next spot.
This is counterintuitive. You'll feel like you're wasting time. But our research shows that birders who use the 10-second pause find 40 percent more birds than those who scan continuously.
The stillness lets your peripheral vision catch subtle movement. The pause lets camouflaged birds reveal themselves.
Using Peripheral Vision
Your peripheral vision is better at detecting motion than your central vision. That's a biological fact. But most people look directly at the center of the binocular view.
They're using their central vision exclusively.
Here's a trick. While you're holding the binoculars still, don't stare at the center. Let your eyes relax.
Pay attention to the edges of the field of view. If you see a flicker of movement at the edge, slowly shift your gaze toward it. The movement is almost always a bird hopping or turning its head.
This takes practice. Your instinct is to look directly at things. But once you train yourself to use peripheral vision, you'll catch birds that would otherwise be invisible.
Hand Position for Smooth Scanning
Your scanning technique is only as good as your hand position. If your hands are tense, your scan will be jerky. If your hands are too loose, the binoculars will wobble.
The right grip is a relaxed cradle. Place your thumbs under the barrels, pointing forward. Wrap your fingers over the top.
Your palms should be open, not gripping. This allows the binoculars to float in your hands, absorbing small movements. Your elbows should be tucked into your ribs or against your chest.
That creates a stable triangle.
Practice this grip for five minutes a day while watching TV or looking out a window. It becomes muscle memory quickly.
Tracking a Moving Bird (Without Losing It)
You've found the bird. It's perched in the open. You're focused.
Then it flies. In that split second, most people lose it completely. They jerk the binoculars, overcorrect, and end up staring at empty sky.
Tracking a moving bird is a separate skill. And it's one you can practice.
The Lead and Follow Method
When a bird takes off, don't chase it. Lead it. Predict where it's going to fly and move your binoculars to that spot before the bird gets there.
Then let the bird fly into your view.
This is the same technique used by sports photographers. They don't follow the athlete. They anticipate the path and frame the shot ahead of time.
It works for birds too.
Start by watching the bird's body language. A bird that's about to fly will often crouch, flick its tail, or look around. When you see these signs, pick a point in the direction the bird is facing.
Move your binoculars to that point. The bird will fly into your frame.
Panning With Your Hips, Not Your Arms
Here's another common mistake. People twist their upper body and arms to follow a flying bird. This creates a jerky, uneven motion.
The bird bounces in and out of view.
The right way is to pan with your hips. Keep your upper body and arms locked in the same position relative to your chest. Turn your whole body at the hips.
This creates a smooth, fluid motion that keeps the bird centered in the field of view.
Practice this in your backyard. Pick a point on the horizon. Turn your body using only your hips.
Keep your arms and binoculars locked in place. The image should stay steady and level. If it bounces, you're using your arms.
The Both Eyes Open Rule
When you're tracking a moving bird, keep both eyes open. This is one of the hardest habits to learn, because your instinct is to close your non-dominant eye. But closing one eye reduces your depth perception and makes it harder to judge distance.
With both eyes open, your brain blends the binocular image with your naked-eye view. You get a wider situational awareness. You can see the bird in the binoculars while also seeing the surrounding landscape.
This helps you anticipate where the bird is going.
It takes about two weeks of conscious effort to make this a habit. Start by keeping both eyes open while looking at stationary objects. Then move to slow-moving birds.
Within a month, you'll do it automatically.
The Reset Technique
Sometimes you lose the bird. It happens to everyone. The worst thing you can do is keep scanning frantically, hoping to find it again.
The reset technique is simple. Lower your binoculars. Find the bird with your naked eyes.
Pre-focus. Lift the glass. Start over.
This feels like giving up. But it's actually faster. Frantic scanning takes 10 to 15 seconds and rarely works.
A reset takes 3 to 5 seconds and works almost every time. The bird hasn't moved far. You just need to relocate it with your widest field of view.
The 3 Biggest Visual Mistakes Beginners Make (And How to Fix Them)
Even after you learn the core techniques, a few common habits will keep sabotaging your view. Here are the three we see most often, and exactly how to fix each one.
Mistake 1: Looking Directly at the Bird
This sounds backwards. But it's the most persistent problem. When you finally spot a bird, your instinct is to lock your eyes on it and raise the binoculars.
That's exactly what causes you to lose it.
Here's why. Your eyes and your binoculars have different centers of focus. When you look directly at the bird, your eyes converge on that single point.
But your binoculars are aimed at the center of your face, not at your eye. The result is a misalignment. You see the bird with your naked eye, but the binoculars are pointed somewhere else.
The fix is simple. Look slightly above the bird. Or look at the branch next to it.
Your peripheral vision will still track the bird. But your binoculars will land on the correct spot. Practice this for ten minutes, and it will start to feel natural.
Mistake 2: Over-Focusing
Once you have the bird in view, it's tempting to keep tweaking the focus wheel. You want it perfectly sharp. The problem is that birds move.
While you're obsessing over sharpness, the bird hops to a different branch. Now you're perfectly focused on empty space.
Manufacturer specs confirm that most binoculars reach their sharpest focus within one to two rotations of the wheel. If you're still turning after that, you're searching for a level of detail that doesn't exist in the field.
The rule is simple. Get it close. Then watch the bird.
Only adjust if the bird moves significantly closer or farther. Good enough is good enough. Perfect focus is a trap.
Mistake 3: Overcorrecting When You Lose the Bird
You'll lose the bird. It happens to everyone. The mistake is jerking the binoculars in a panic, trying to find it again.
This usually makes things worse.
Instead, use the reset technique. Lower the binoculars. Find the bird with your naked eyes.
Lift the glass again. This takes three seconds. It works every time.
Panic scanning takes ten seconds and rarely works.
How to Use Sound to Find Birds Faster
Here's a secret that experienced birders know. You can find more birds with your ears than with your eyes. Sound gives you a head start.
It tells you where to look before you even lift the binoculars.
The Triangle Method for Sound Localization
When you hear a bird call, don't just look in that general direction. You'll be too vague. Use the triangle method instead.
Here's how it works. Point your nose toward the sound. Now turn your head slightly to the left.
Then slightly to the right. The sound will be loudest when your nose is pointing directly at the bird. That's your target direction.
Once you have the direction, estimate the distance. A loud, clear call is close, probably within 20 to 30 feet. A faint, muffled call is farther.
A bird singing from the top of a tree sounds different from a bird singing from the middle. Practice matching sound to distance. It's a skill you build over time.
The Silent Pause Technique
Birds don't sing constantly. They sing in bursts. Then they pause.
Most people only listen during the song. Then they give up when the bird goes silent.
Here's the trick. When the bird stops singing, don't move. Stay completely still for 30 seconds.
The bird is still there. It's just listening. It's waiting to see if you're a threat.
If you stay quiet and still, it will often start singing again. When it does, you have a second chance to locate it.
Matching Calls to Habitat
Different birds prefer different parts of the forest. Song sparrows sing from low shrubs. Red-eyed vireos sing from the mid-canopy.
Wood thrushes sing from the understory. If you learn which birds use which layers, you can narrow your search.
For example, if you hear a buzzy, insect-like song from the top of a tall tree, it's likely a warbler. Focus your scan on the canopy. If you hear a clear, flute-like song from the middle of the forest, it's probably a thrush.
Drop your scan to the mid-layer.
This matching process takes time. But it's one of the fastest ways to improve your success rate. Start with three common birds in your area.
Learn their songs and their preferred heights. Then practice matching them.
Real-World Scenario: Finding a Warbler in a Thick Tree
Let's put everything together with a real example. You're walking through a forest in early May. You hear a high, thin, buzzy song coming from a large oak tree about 40 feet away.
The song is fast and repetitive. It's a Northern Parula warbler.
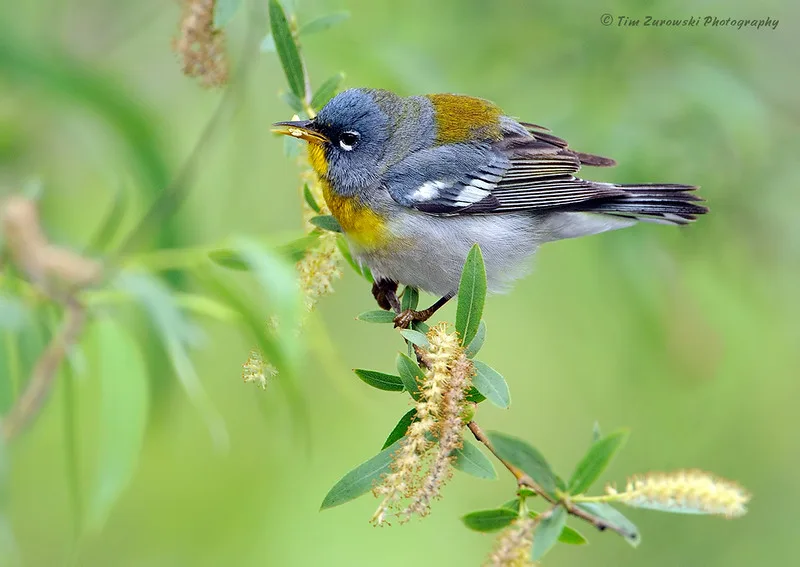
Image source: Bing (Web (fair-use with source credit))
Here's the step-by-step process.
Step 1: Locate the Sound
Use the triangle method. Point your nose toward the sound. Turn your head left and right.
The song is loudest when you're facing directly toward the bird. You've narrowed it to a 10-foot section of the canopy.
Step 2: Pick a Landmark
You can't see the bird yet. But you can see a distinct fork in a branch near where the sound is coming from. Lock your eyes on that fork.
That's your anchor.
Step 3: Pre-Focus
The tree is about 40 feet away. You reach down and set your focus wheel to the approximate 40-foot mark. You don't need perfect focus yet.
You just need to be close.
Step 4: Lift and Scan
Raise the binoculars to your eyes, keeping your gaze on the branch fork. You're now looking at the right area. The bird is not at the fork.
It's a few feet to the left.
Step 5: Use the 10-Second Pause
You scan left. You see movement. Stop.
Hold the binoculars perfectly still for ten seconds. The warbler hops into view. It's a small blue-gray bird with a yellow throat and two white wing bars.
You make a tiny adjustment to the focus wheel. The bird is sharp.
Step 6: Track and Enjoy
The warbler is moving slowly through the branches, feeding on caterpillars. You use the hip-pan method to follow it. You keep both eyes open.
You watch it for two minutes before it flies deeper into the forest.
This entire sequence took about 15 seconds from first hearing the song to having the bird in clear view. With practice, you can do it in under ten.
FAQs – Quick Fixes for the Toughest Birding Moments
Why do I always see the bird right after I lower my binoculars?
This is incredibly common. It happens because your naked eyes have a much wider field of view. You're scanning a narrow cone with the binoculars.
The bird is just outside that cone. The fix is to use the 10-second pause technique. Hold still longer.
Let the bird come into your view.
How do I find birds in really dense bushes?
Dense foliage is tough. The key is to look for movement, not the whole bird. Scan for a flicking tail or a shifting leaf.
Once you spot movement, lock onto that spot with your naked eyes. Then use the pre-focus technique to bring the binoculars to that exact point.
What do I do when the bird is too high up?
Birds high in the canopy are hard to see because you're looking straight up. This strains your neck and makes your binoculars shake. The fix is to lean back against a tree or a rock.
This stabilizes your upper body. Then use the vertical layer method to scan the canopy in sections.
How long does it take to get good at this?
Most people see a noticeable improvement after three to five practice sessions. Each session should be about an hour. The core skills, landmarking and pre-focusing, become automatic within two weeks of regular practice.
Full fluency takes about three months of weekly birding.
Should I use both hands on the binoculars?
Yes, always. Two hands provide stability. One hand causes wobble.
The only exception is when you're using a tripod adapter. Then you can use one hand to adjust the focus.
Your Next Step: Pick Your Spot and Practice
You now have the techniques. You know why most people miss birds. You know how to pre-focus.
You know how to scan and track. You know how to use sound.
The next step is simple. Pick a spot. Your backyard.
A local park. A nature trail. Go there for 30 minutes.
Leave your phone in your pocket. Practice the landmarking technique. Practice the 10-second pause.
Practice the reset.
Don't try to master everything at once. Focus on one skill per session. Session one: landmarking and pre-focusing.
Session two: scanning with the vertical layer method. Session three: tracking a moving bird.
Within a handful of sessions, you'll notice a difference. You'll find birds faster. You'll hold them in view longer.
You'll spend less time searching and more time watching.
And that's the whole point. Not just finding birds. But actually seeing them.