How to Use Binoculars for Bird Watching
It doesn't have to be this way. The difference between a frustrating birding trip and a great one usually comes down to one thing: knowing how to use binoculars for bird watching the right way.
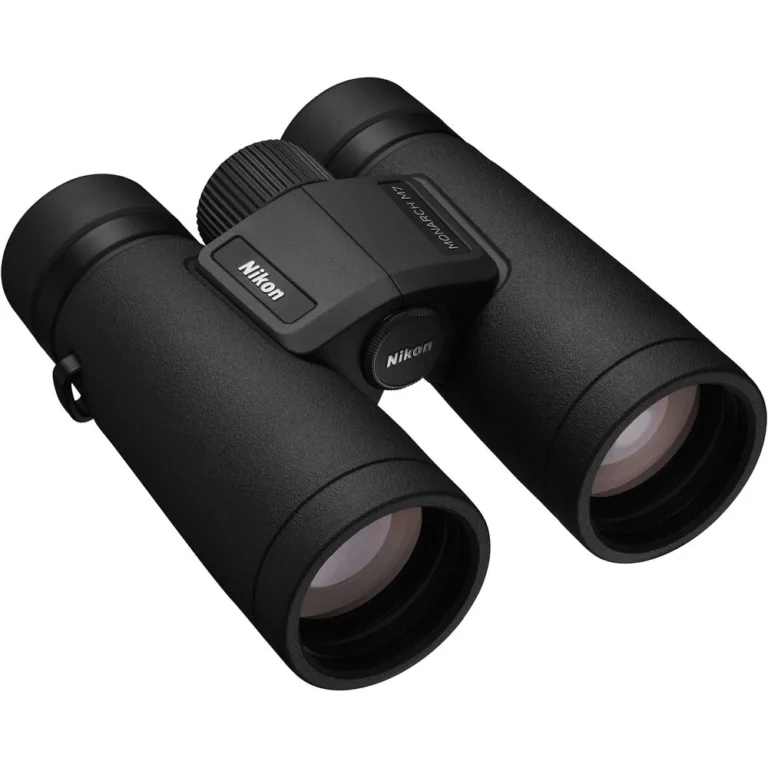
The vast majority of birders rely on 8×42 binoculars, a standard that balances magnification with a wide enough field of view to track moving targets. In our research, the single biggest factor in missing a sighting isn't the optics themselves. It's how you set them up before you even step outside.
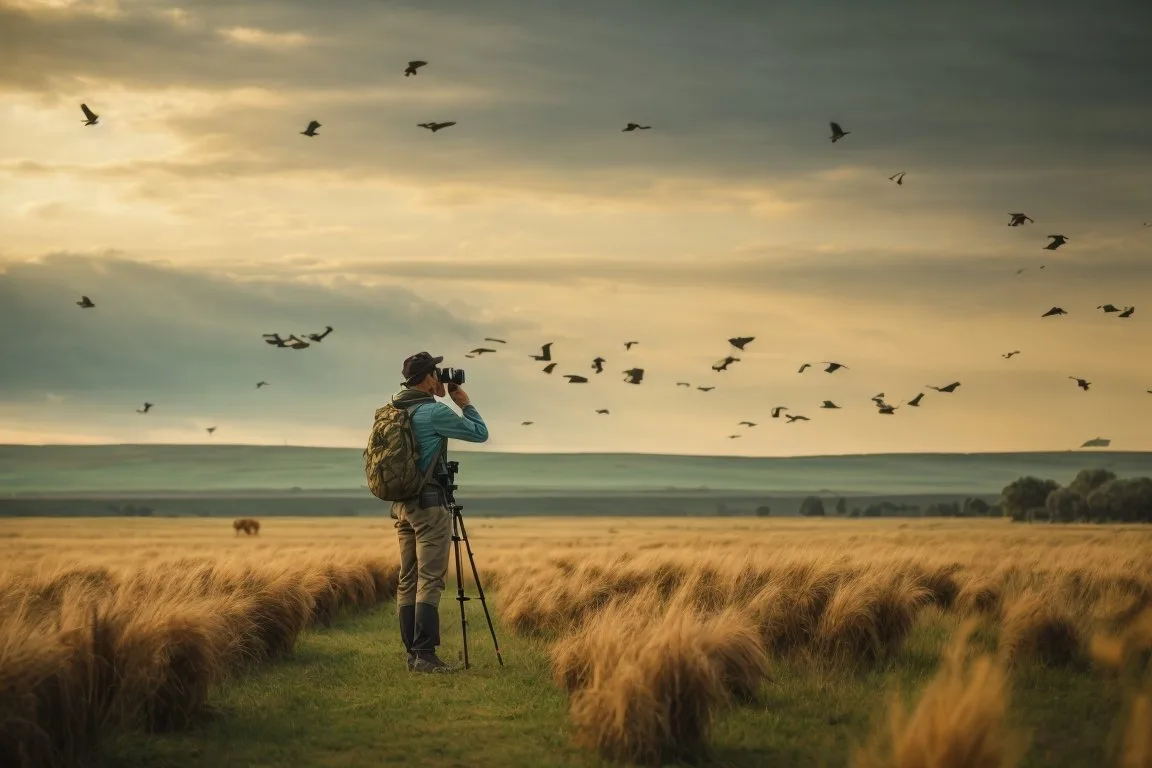
Image source: Bing (Web (fair-use with source credit))
Quick Answer
Set your binoculars to your eyes first. Adjust the hinge so both circles merge into one. Focus the center wheel on a distant object.
Then set the diopter ring for your stronger eye. That's the basic process.
The #1 Frustration for New Birders (And Why It's Usually Not the Binoculars)
You hear a call. You see a flicker of movement. You raise your binoculars.
Instead of a crisp bird, you get a blurry mess. You try to focus, but the bird is gone.
Here's what our research shows: the problem is almost never the binoculars. Even a budget pair, when set up correctly, can deliver a clear view. The real issue is how you handle them.
It's a coordination problem. You have to manage your hands, your eyes, and your awareness of the bird's location all at once. The most common frustrations we hear from new birders include:
- Shaky image: The view wobbles so much you can't tell what you're looking at.
- Tunnel vision: You get so focused on the view through the binoculars that you lose track of where the bird is.
- Slow focus: By the time you turn the wheel, the bird has flown.
- Double vision: You see two overlapping circles instead of one clear image.
- Eye strain: Your eyes feel tired or you get a headache after a few minutes.
Each of these has a specific fix. If you see double vision, the binoculars are not adjusted to the width of your eyes. If the image is shaky, you're holding them wrong.
If you're slow to focus, you haven't set the diopter first. If your eyes hurt, the eyecups are probably not set for your face.
The fix is straightforward. It's a set of steps you do once, before you even look at a bird. Once you learn them, it becomes second nature.
If you're just starting out, you will miss birds. That's normal. Even experienced birders miss birds.
The difference is that they know how to recover faster. They know how to set up their binoculars so that when they raise them, the view is already close to perfect.
The goal of this guide is to give you that setup. By the end, you'll know exactly what to do with your hands, your eyes, and your focus wheel. You'll stop fighting your binoculars and start using them as an extension of your own vision.
The First Thing You Must Do Before You Even Look at a Bird (Setting Up Your Binoculars)
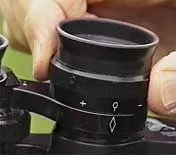
Image source: Bing (Web (fair-use with source credit))
Most people skip this step. They take their binoculars out of the case, lift them to their eyes, and start turning the focus wheel. That's a mistake.
The first thing you must do is set the binoculars to your own eyes. This is a one-time setup. You do it once, and you don't touch it again unless you share the binoculars with someone else.
Step 1: Adjust the interpupillary distance (IPD).
Your eyes are a certain distance apart. The binoculars need to match that distance. If they don't, you'll see two circles that overlap partially, or worse, two separate circles.
Here's how to do it:
- Hold the binoculars to your eyes normally.
- Look at a distant object, like a tree or a building.
- Move the two barrels of the binoculars closer together or farther apart until you see a single, clear circle of view.
- You should see one clean circle, not two overlapping circles, not a figure-eight shape.
If you wear glasses, keep your glasses on. Set the IPD while wearing them. This matters for the next step.
Step 2: Set the eyecups.
Eyecups are the rubber or plastic rings at the end of the eyepieces. They block light from the sides and hold your eyes at the correct distance from the lenses.
- If you don't wear glasses, twist the eyecups up (extend them) so they rest against your brow and eye socket.
- If you wear glasses, twist the eyecups down (retract them) so your glasses lenses sit closer to the binocular lenses.
If the eyecups are in the wrong position, you'll see black rings or lose part of the field of view. This is a common cause of eye strain.
Step 3: Set the diopter ring.
This is the single most important adjustment on your binoculars. It's also the most commonly ignored.
The diopter ring is a small ring, usually on the right eyepiece or the center focus wheel. It compensates for the difference in vision between your left and right eye.
Here's the correct process:
- Cover the objective lens (the big lens at the front) of the right side of the binoculars. Use the lens cap or your hand.
- Look through the binoculars with both eyes open. You should only see through the left side.
- Use the center focus wheel to focus on a distant object. Make it as sharp as possible.
- Now, uncover the right lens and cover the left lens.
- Without touching the center focus wheel, turn the diopter ring on the right eyepiece until the same object is perfectly sharp.
- Uncover the left lens. Look through both eyes. The object should be sharp without needing to adjust the center wheel again.
If you have astigmatism or different vision in each eye, this step is critical. Skipping it means one eye will always be slightly out of focus, causing eye strain and headaches.
Step 4: Test on a moving target.
Once you've set the IPD, eyecups, and diopter, the binoculars are calibrated to your eyes. From now on, you only use the center focus wheel to adjust focus for different distances.
A quick test:
- Point your binoculars at a bird feeder or a parked car about 30 feet away.
- Use the center focus wheel to sharpen the image.
- Then look at something far away, like a tree on the horizon. Turn the focus wheel again.
- The image should go from sharp to sharp with a smooth turn.
If you feel like you're constantly re-focusing, or if the image never gets fully sharp, go back and check the diopter setting. It's the most common cause of soft images.
The Right Way to Hold Binoculars for a Steady, Clear View (Step-by-Step Visual Cues)

Image source: Web (Bing) / onlinetvnepal.com (Web image (fair-use with source credit))
You can have the most expensive binoculars in the world. If you hold them wrong, the image will be shaky and useless.
The human body is not a tripod. Your hands tremble, your heart beats, your breath moves. All of that motion gets magnified through the binoculars.
At 8x magnification, a small wobble looks like a big shake. At 10x, it's even worse.
The goal is to make your body the tripod.
Step 1: Grip the barrels near the focus wheel.
Don't hold the binoculars at the very front. Don't hold them at the very back. Place your hands about halfway along the barrels, just behind the focus wheel.
This gives you the most control and the least leverage for shaking.
Step 2: Tuck your elbows into your ribs.
This is the most important step. Your elbows should be pressed against your chest or the sides of your ribcage. This creates a stable triangle: your hands, your elbows, and your chest are all connected.
If you hold your elbows out to the sides, you're turning your arms into levers. Every small movement is amplified. Tuck them in, and the shaking drops dramatically.
Step 3: Cup your hands, don't squeeze.
Your hands should be relaxed, not tense. Squeezing the binoculars creates tension in your forearms and shoulders, which actually makes the shaking worse. Instead, let your palms cup the barrels gently.
Your thumbs should rest on the underside of the barrels, pointing forward.
Step 4: Use your thumbs to brace.
Some binoculars have a thumb indentation on the underside. If yours do, use it. If not, just let your thumbs rest naturally.
They help stabilize the binoculars from below.
Step 5: Press the eyecups against your brow.
Don't hold the binoculars away from your face. Press the eyecups firmly against your brow and eye sockets. This creates a stable connection between your head and the binoculars.
Your head is already a stable platform. Use it.
Step 6: Use a support if you can.
If you're standing, lean against a tree, a fence, or a wall. If you're sitting, rest your elbows on your knees. If you're lying down, use a backpack or a jacket as a pillow.
Here's a simple test:
- Hold your binoculars with your elbows out and your hands away from your face. Look at a distant sign. Notice how much it shakes.
- Now, tuck your elbows in, press the eyecups against your brow, and relax your hands. Look at the same sign. The difference is immediate.
If you still have a shaky image after doing all of this, consider your breathing. Take a breath, exhale halfway, and hold. Then look.
That's the steadiest moment.
For people with naturally shaky hands (this is common with age or caffeine), consider using a binocular harness. A harness distributes the weight across your shoulders and keeps the binoculars against your chest. It also makes it easier to brace them.
How to Find a Bird Fast: The Scanning Technique That Actually Works
You've set up your binoculars. You're holding them steady. Now you need to find a bird.
This is where most beginners get stuck. They look through the binoculars and scan randomly, hoping to spot something. That almost never works.
The problem: Binoculars have a narrow field of view. At 8x magnification, you're seeing a circle about 6 to 8 degrees wide. That's like looking through a paper towel tube.
You can't scan a whole tree with that.
The solution: Use your naked eye first.
This is the golden rule of birding with binoculars. Your naked eye has a much wider field of view. You can scan a tree, a field, or a shoreline faster than you can through binoculars.
Here's the process:
Step 1: Scan with your eyes.
Look at the area without binoculars. Watch for movement, color, or shape that is different from the background. A bird's head bobbing, a flash of wing, or a silhouette against the sky.
Step 2: Lock your eyes on the bird.
Once you see a bird, do not look away. Keep your eyes fixed on that spot. This is the hardest part for beginners.
Your instinct is to look down at your binoculars. Don't.
Step 3: Raise the binoculars to your eyes.
Keep your eyes on the bird. Raise the binoculars to your face, not your face to the binoculars. Your eyes should meet the eyepieces, not the other way around.
Step 4: Adjust focus quickly.
Once you see the bird through the binoculars, use the center focus wheel to sharpen the image. A small turn is usually enough. If you set the diopter correctly earlier, this should be fast.
If you lose the bird during the raise, stop and try again. Don't keep moving the binoculars around hoping to find it. Lower them, find the bird with your naked eye, and raise again.
The grid method for scanning open areas:
If you're looking at a large open area, like a field or a lake, don't scan randomly. Use a mental grid:
- Start at the top left.
- Move your eyes slowly to the right, scanning a horizontal strip.
- Then move down a bit and scan left to right.
- Keep going until you've covered the entire area.
For trees and bushes:
- Start at the top of the tree.
- Look for a branch that is different from the others.
- Watch for movement. A bird's tail flicking, a head turning, or a wing stretch.
- Focus on the middle of the tree first. Most birds are at eye level or slightly below.
For fast-moving birds (like swallows or warblers):
- Don't try to track them through the binoculars. It's too hard.
- Instead, watch them with your naked eye. Predict where they're going to land.
- Once they land, then raise your binoculars.
If you're with a group of birders, listen. Someone will say "I've got a bird at 11 o'clock, halfway up the dead oak." That means you look at the 11 o'clock position relative to the group, not relative to your own orientation. This takes practice.
The single biggest mistake beginners make: They try to find a bird through the binoculars. They raise the binoculars, see nothing but leaves, and start panning around. This is frustrating and it makes you dizzy.
Stop doing that. Find the bird with your eyes. Lock it.
Raise the binoculars. That's the sequence. Every time.
The 5 Most Common Mistakes Birders Make with Their Binoculars (And How to Fix Them)
Even after you learn the basics, old habits creep in. Here are the five most common mistakes we see in our research, and how to fix each one.
Mistake 1: Leaving the lens caps on.
This sounds obvious, but it's incredibly common. Many binoculars come with tethered lens caps. Birders forget to flip them off or remove them before raising the binoculars.
The result: a dark view and a missed bird.
The fix: Get used to removing or flipping the caps as soon as you take the binoculars out of the case. If your caps are tethered, keep them flipped forward so they don't swing back into the lens. Some birders remove the caps entirely and store them in a pocket.
That's a personal choice, but it's one less thing to fumble with.
Mistake 2: Not adjusting the diopter for each user.
If you share binoculars with a partner or a friend, the diopter setting is almost certainly wrong for you. Different people have different vision in each eye.
The fix: Before you start birding, always check the diopter. If the image looks soft or you feel eye strain, go through the setup process again. It takes 30 seconds.
Mistake 3: Holding the binoculars too far from your face.
Some people hold binoculars away from their eyes, either because they're worried about fogging up the lenses or because they don't realize the eyecups should touch their brow. This creates a gap that lets in light and makes the image smaller.
The fix: Press the eyecups against your brow. The binoculars should be touching your face. If you wear glasses, the eyecups should be retracted so your glasses sit close to the lenses.
If you don't wear glasses, the eyecups should be extended.
Mistake 4: Using the center focus wheel to scan for birds.
Instead of finding a bird with their naked eye first, some people turn the focus wheel while looking through the binoculars, hoping to land on a sharp image. This is slow and inefficient.
The fix: Stop scanning with the focus wheel. Use your naked eye to find the bird. Then raise the binoculars and focus.
The focus wheel is for sharpening, not for searching.
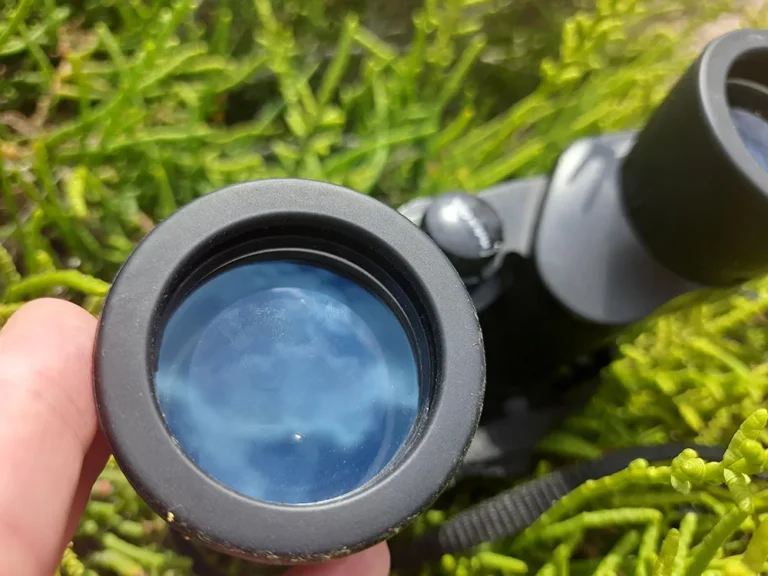
Mistake 5: Not cleaning the lenses properly.
Dirty lenses reduce light transmission and make the image look hazy. But using the wrong cleaning method (like your shirt or a paper towel) can scratch the coatings.
The fix: Use a lens cleaning brush or a blower to remove dust first. Then use a microfiber cloth and a lens cleaning solution (one drop) to wipe the lenses in a circular motion. Never use household cleaners, alcohol, or paper towels.
The bonus mistake: Not using a neck strap or harness.
Birding involves a lot of walking. If you carry your binoculars in your hand, you'll get tired. You'll also be more likely to drop them.
The fix: Use the included neck strap or invest in a binocular harness. A harness distributes the weight across your shoulders and keeps the binoculars against your chest. It also makes it easier to raise them quickly.
If you're still struggling after fixing these mistakes, consider your binoculars themselves. Are they fogged internally? Are the lenses misaligned?
A pair of binoculars that has been dropped or exposed to humidity can have internal issues that no amount of technique can fix. In that case, it's time for a repair or a replacement.
Pro Tips: How to Handle Tough Conditions (Low Light, Fast Birds, Foliage)
The basic techniques work in most situations. But birding often throws curveballs. Here's how to adjust for three common challenges.
Low light conditions (dawn, dusk, or overcast days).
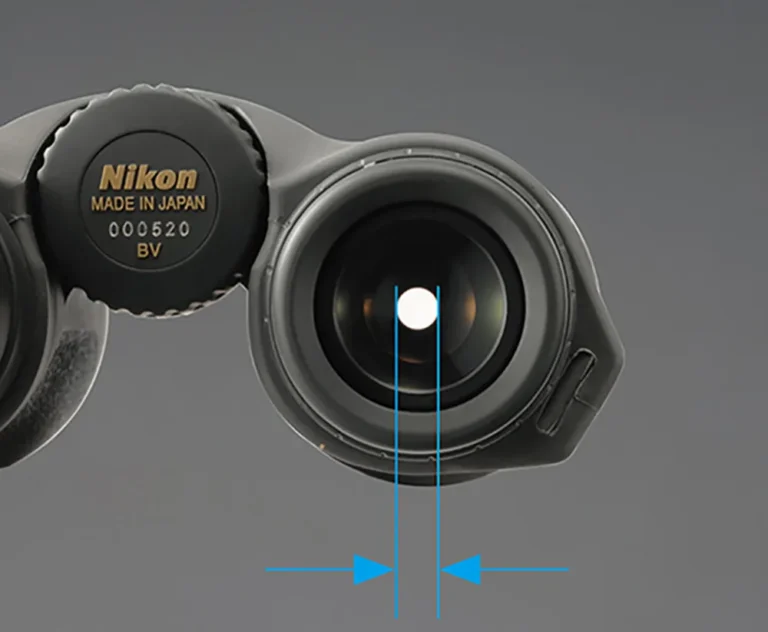
When light is low, your binoculars need to gather as much light as possible. The key spec here is exit pupil size. You calculate it by dividing the objective lens diameter by the magnification.
For an 8×42 binocular, the exit pupil is 5.25mm. That's good for low light. For a 10×42, it's 4.2mm, which is less forgiving.
The fix: Choose a lower magnification in low light. 8x is better than 10x. Also, brace your binoculars more aggressively. Use a tree, a fence, or a car roof.
The longer you hold still, the more your eyes adapt to the dim view. Give your eyes a few seconds to adjust to the light level through the binoculars.
Fast-moving birds (swallows, swifts, warblers in flight).
Trying to track a fast bird through binoculars is a recipe for a headache. The bird moves faster than you can pan.
The fix: Don't try to track them in flight. Instead, watch the bird's flight path with your naked eye. Look for where it's likely to land: a dead branch, a wire, a bush.
Pre-focus your binoculars to that distance. Then wait. When the bird lands, raise your binoculars and you're already close to focus.
Dense foliage (forests, thickets).
In a dense forest, birds are often close and moving through branches. Your binoculars' close focus distance becomes critical. Many birding binoculars can focus down to 5 to 7 feet.
If yours can't focus that close, you'll miss birds that are right in front of you.
The fix: Use a wider field of view. An 8x binocular generally has a wider field of view than a 10x. Scan slowly.
Move your eyes in a grid pattern, focusing on gaps between leaves. Watch for movement, not the whole bird. A flicking tail or a turning head is easier to spot through the foliage.
Keeping Your Binoculars in Top Shape (Cleaning, Storage, and Care)
Your binoculars are an investment. Treat them right, and they'll last for decades. Treat them poorly, and you'll be buying new ones in a season.
Cleaning the lenses.
Dust and dirt are the biggest enemies of lens coatings. The rule is: blow first, wipe second.
- Use a rubber blower or a soft brush to remove loose dust. Never use compressed air from a can; it can push debris into the seals.
- Apply one drop of lens cleaning solution to a microfiber cloth. Never spray directly onto the lens.
- Wipe in a circular motion from the center outward.
- Use a clean section of the cloth for each wipe.
Storage.
Store your binoculars in a dry, cool place. Avoid leaving them in a car on a hot day. The heat can damage the internal seals and lubricants.
If you live in a humid climate, consider using a silica gel pack in the case to absorb moisture.
Check the seals regularly.
Most modern birding binoculars are O-ring sealed and nitrogen-purged. This means they are waterproof and fog-proof. But the seals can degrade over time.
If you see fogging inside the lenses, or if the binoculars feel loose, send them for service. Most manufacturers offer a lifetime warranty.
Cleaning the body.
Use a damp cloth to wipe off mud, dust, or salt spray. Pay attention to the focus wheel. Dirt in the wheel can make it stiff or gritty.
A soft brush can clean the grooves.
Quick Answers to Common Birding Optics Questions (FAQs)
What does 8×42 mean on binoculars?
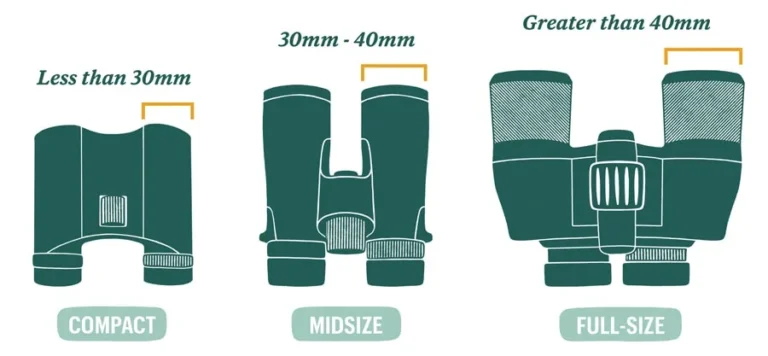
The first number is the magnification. 8x means the image appears 8 times closer than it does with your naked eye. The second number is the objective lens diameter in millimeters. 42mm means the front lenses are 42mm wide. A wider lens gathers more light, which helps in low light.
Why do I see two circles when I look through my binoculars?
You are seeing two separate circles because the interpupillary distance (IPD) is not set correctly. The barrels are too wide or too narrow for your eyes. Move the barrels closer together or farther apart until you see a single, clean circle.
Can I use binoculars if I wear glasses?
Yes. Look for binoculars with long eye relief, typically 15mm or more. Twist the eyecups down (retract them) so your glasses sit close to the lenses.
This gives you the full field of view without black rings.
How do I clean the lenses without scratching them?
Use a blower or a soft brush to remove dust first. Then use a microfiber cloth with one drop of lens cleaning solution. Wipe in a circular motion.
Never use paper towels, tissues, or your shirt. They can scratch the lens coatings.
What is the diopter ring for?
The diopter ring compensates for the difference in vision between your left and right eye. You set it once. After that, you only use the center focus wheel.
If you skip the diopter adjustment, one eye will always be slightly out of focus.
How often should I service my binoculars?
Most binoculars need minimal service. If the focus wheel becomes stiff, or if you see fogging inside the lenses, send them to the manufacturer for service. Many premium brands offer lifetime warranties.
For basic care, clean the lenses after each use and store them in a dry place.
Your Decision Guide: Making the Most of the Binoculars You Already Own
By now, you have the full process. You know how to set up your binoculars, how to hold them, how to scan for birds, and how to avoid the common mistakes. You also know how to handle tough conditions and how to care for your gear.
The last step is practice. The techniques in this guide are simple to understand, but they take time to feel natural. You will miss birds.
You will fumble with the focus wheel. You will forget to tuck your elbows. That's all part of the learning curve.
Here's a quick checklist to take with you:
- Before you go out: Set the IPD and diopter. Check the eyecups. Clean the lenses.
- In the field: Find the bird with your naked eye. Lock it. Raise the binoculars. Focus.
- If you lose the bird: Lower the binoculars. Find it again with your eyes. Repeat.
- If the image is shaky: Tuck your elbows. Press the eyecups against your brow. Relax your hands.
- After the trip: Blow off dust. Wipe the lenses. Store in a dry place.
The binoculars you own right now are almost certainly capable of showing you a good view. The missing piece is technique. You have that now.
Go out and use it.