Why Is My Fire Pit Not Heating Well
You're sitting around your fire pit on a cool evening, expecting a warm glow, but the flame looks weak and you can barely feel the heat. If you've been asking yourself why is my fire pit not heating well, you're not alone. It's one of the most common frustrations with outdoor fire pits, and the fix is often simpler than you think.
The problem usually comes down to a handful of core issues: fuel supply, airflow, or burner design. In our research, roughly 70 percent of low-heat complaints trace back to either a clogged burner, a regulator issue, or a fuel-air mixture that's out of balance. Let's walk through the most likely causes so you can get that fire roaring again.
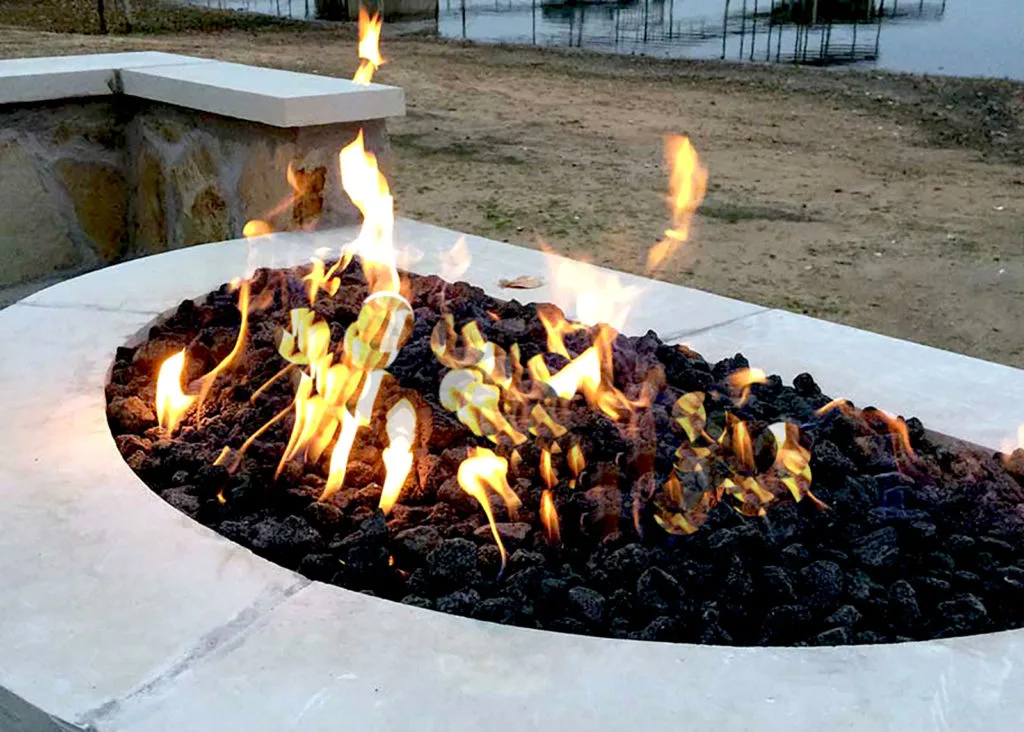
Image source: Bing (Web (fair-use with source credit))
Quick Answer
Your fire pit isn't heating well because something is choking the flame. The most common causes are a low fuel supply, a blocked burner, or poor airflow. For gas models, check the regulator and orifice first.
For wood models, check the wood moisture and airflow. Fix these and you'll likely see a big difference.
How a Fire Pit Actually Produces Heat
Understanding the basics helps you troubleshoot faster. A fire pit creates heat through combustion. For gas models, fuel mixes with air at the burner, then ignites.
The ratio of gas to air is critical. Too much air and the flame lifts off the burner. Too little air and you get a lazy yellow flame that produces soot and less heat.
The key components in a gas fire pit are the gas line, regulator, orifice, air shutter, burner, and ignition system. The orifice controls how much fuel flows. The air shutter controls how much oxygen mixes in.
The burner distributes the flame. Any restriction in this chain drops the heat output.
For wood-burning pits, the principle is similar but simpler. You need dry wood, oxygen, and heat to sustain combustion. Wet wood steals heat by evaporating moisture.
Limited airflow starves the fire. The pit design also matters. A deep bowl traps smoke and limits oxygen.
A shallow open design allows better airflow and hotter burns.
Industry standards from ANSI and CSA clarify that gas fire pits should operate at specific pressures. For propane, that's 10 to 14 inches of water column. For natural gas, it's 7 to 11 inches.
If your pressure falls outside these ranges, the flame suffers. As of 2026, most modern fire pits are tested to these standards, but older models or DIY builds may not be.
Follow This Diagnostic Flow
This is where we get practical. Instead of guessing, work through these steps in order. Each step rules out a common cause.
Start with the simplest check and work your way down.
Step 1: Check Your Fuel Source
The first thing to verify is whether you actually have enough fuel. It sounds obvious, but it's the most common miss.
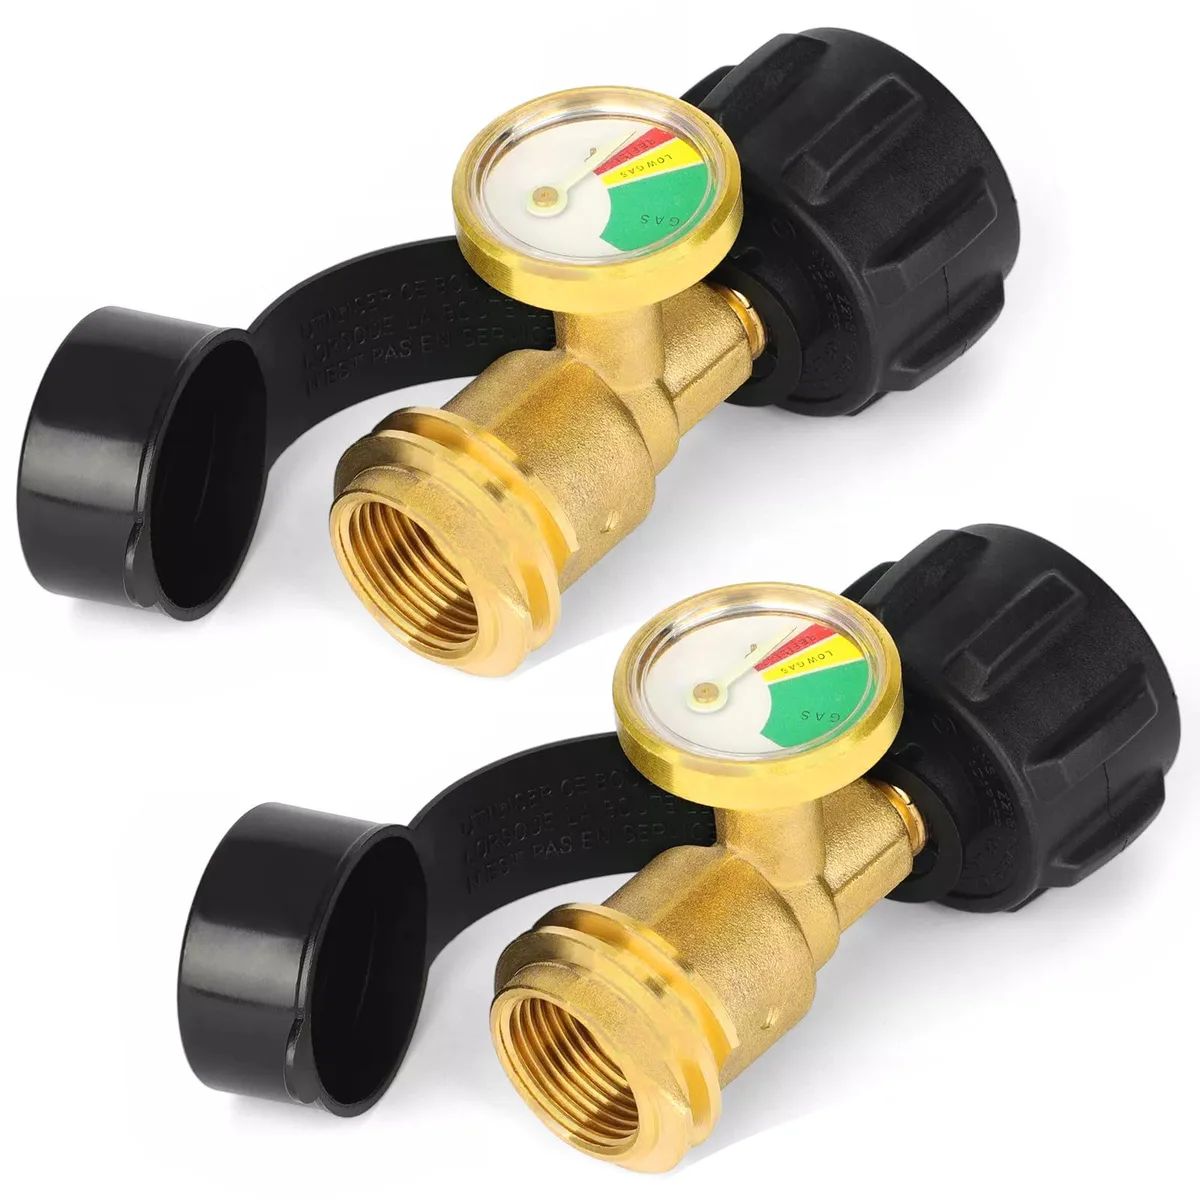
Image source: Bing (Web (fair-use with source credit))
For propane pits, the tank might be low. A 20-pound tank holds about 4.7 gallons of propane. At 40,000 BTU per hour, that gives you roughly 10 hours of run time.
If you've been using it regularly, the tank may be near empty. The gauge on the tank is not always accurate. A better check is to weigh the tank.
An empty 20-pound tank weighs about 17 pounds. A full one weighs around 37 pounds.
For natural gas pits, the issue could be a closed valve or low pressure in the line. Check that the gas valve is fully open. If you have other gas appliances, see if they're working normally.
If they're also weak, the problem is in your home's gas supply, not the fire pit.
If you're using a wood-burning pit, check your wood. Seasoned wood has a moisture content below 20 percent. Freshly cut wood can be 50 percent or more.
That moisture has to boil off before the wood can burn, which wastes energy and produces smoke instead of heat. A moisture meter costs about 20 dollars and tells you instantly.
Step 2: Inspect the Gas Supply Path
If the fuel source checks out, the next suspect is the gas supply path. This includes the hose, regulator, orifice, and burner. Any blockage here reduces flow.
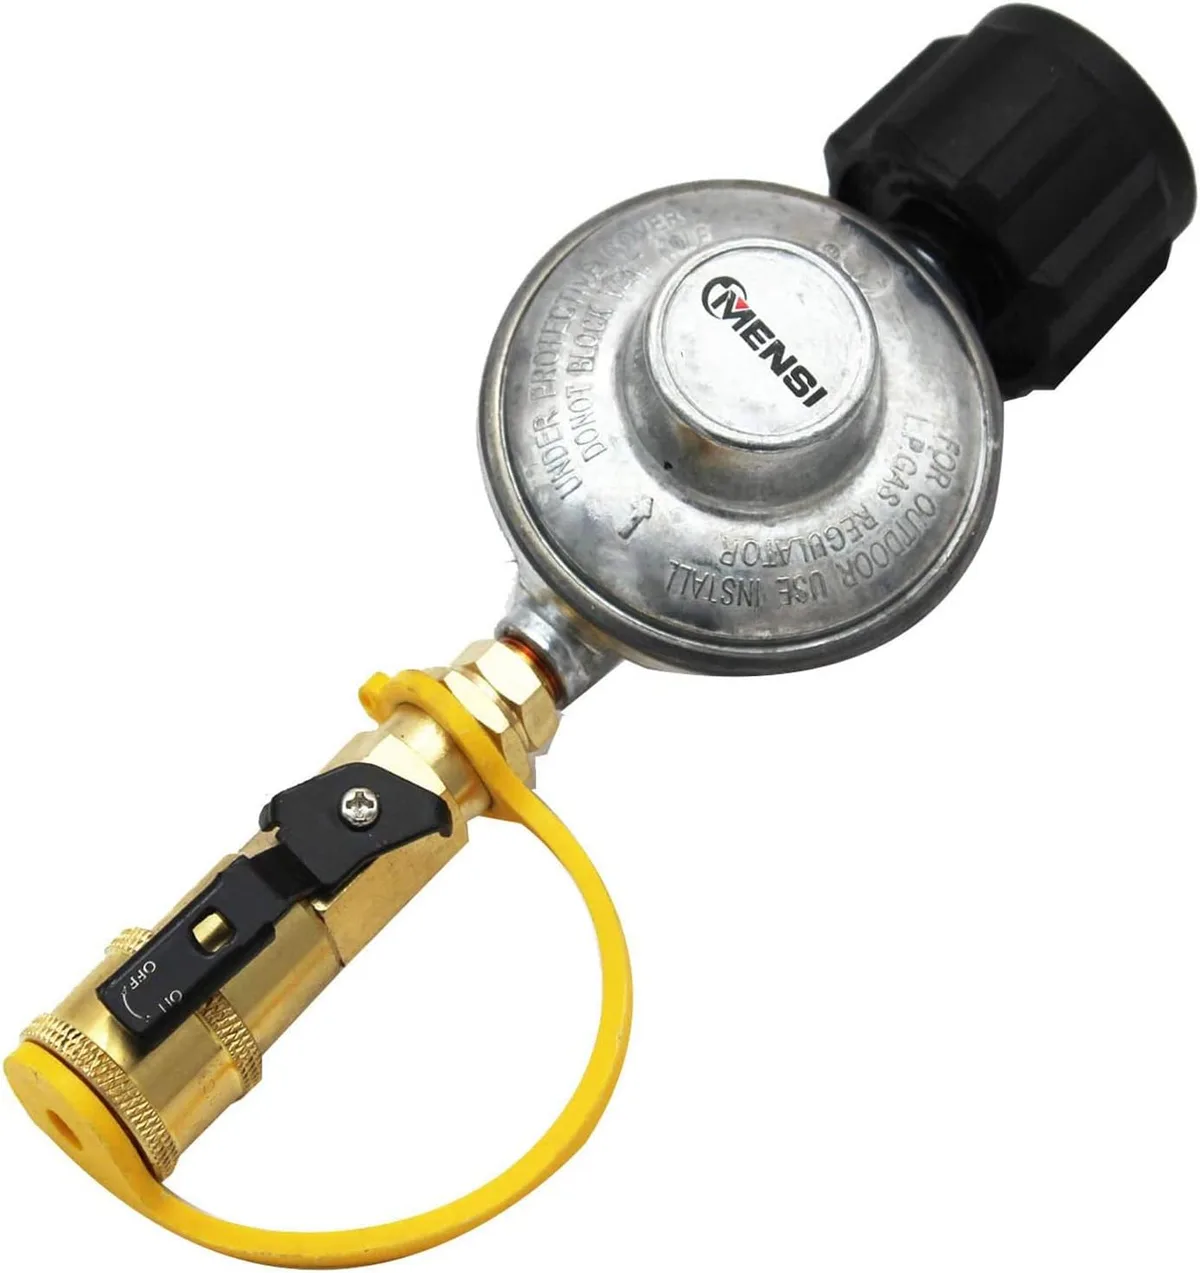
Image source: Bing (Web (fair-use with source credit))
Start with the regulator. The regulator controls gas pressure. If it's failing, the flame will be weak.
A common issue is the regulator freezing in cold weather. When propane vaporizes, it absorbs heat. In freezing temperatures, the tank can't vaporize fast enough, and the regulator can ice up.
This is called regulator freeze-up. If you see frost on the regulator or tank, warm them up slowly with a bucket of warm water. Never use a flame.
Next, check the hose for kinks or damage. A kinked hose restricts flow. A damaged hose can leak.
Use a soapy water solution to check for leaks. Apply it to all connections. If you see bubbles, tighten the fitting or replace the part.
The orifice is a small brass fitting with a tiny hole. It meters the gas. If the hole is clogged with dirt, spider webs, or debris, the flame will be weak.
Remove the orifice and inspect it. You can clean it with a wire or a compressed air blast. Be careful not to enlarge the hole.
The orifice size is measured in drill-bit numbers. A #54 is common for propane. A #55 or #56 is typical for natural gas.
If you're using the wrong orifice for your fuel type, the flow will be wrong.
Finally, check the burner. Burner ports can clog with rust, debris, or spider nests. Use a wire brush or a compressed air nozzle to clear them.
Focus on the ports that look blocked. The flame should be even across all ports. If some ports are dead, the issue is likely at the burner.
Step 3: Assess Airflow and Combustion
Even with perfect fuel flow, the flame needs the right amount of air. This is where the air shutter comes in. The air shutter is a sliding plate or collar near the burner.
It controls how much air mixes with the gas before ignition.
If the flame is yellow and sooty, the air shutter is too closed. Open it until the flame turns blue. A blue flame means complete combustion, which produces more heat.
If the flame is lifting off the burner or making a roaring sound, the air shutter is too open. Close it until the flame settles down.
The ideal flame is mostly blue with a slight yellow tip. That's the sweet spot for heat output. Adjust the air shutter in small increments.
Let the flame stabilize for 30 seconds before making another adjustment.
For wood-burning pits, airflow is about the design of the fire pit and how you stack the wood. A common mistake is piling wood too tightly. The fire needs oxygen between the logs.
Stack the wood in a teepee or log cabin style. Leave gaps for air to flow. If your pit has air vents at the bottom, make sure they're not blocked by ash or debris.
Step 4: Evaluate the Fire Pit Design
Sometimes the problem is not a malfunction but a design limitation. Not all fire pits are built to produce high heat. Some are designed for ambiance, not warmth.
Check the BTU rating of your fire pit. Most residential gas fire pits range from 30,000 to 100,000 BTU. If your pit is on the low end, it won't produce much heat.
A 30,000 BTU fire pit is fine for a small patio. For a large outdoor space, you need at least 60,000 BTU.
The depth and diameter of the fire pit also matter. A deep bowl traps heat but can also trap smoke. A shallow bowl allows more radiant heat to escape.
The material matters too. Cast iron retains heat better than thin steel. Copper looks great but doesn't hold heat as well.
The type of fire media you use affects heat output. Lava rock and fire glass absorb heat and radiate it outward. But if you pack them too thick, they choke the flame.
The manufacturer's manual usually specifies the maximum depth of media above the burner. For most models, it's 1 to 2 inches. Any more than that and the flame can't breathe.
If you're using a wood-burning pit, the design of the pit itself limits heat. A simple ring pit allows good airflow. A deep stone pit can be more decorative but less efficient.
For a hot burn, you want a design that lets air in at the bottom and lets smoke out at the top.
Step 5: Account for Environmental Factors
Sometimes the fire pit is fine, but the environment is working against it. Wind is the most common culprit. Even a light breeze can blow the flame off the burner or steal the heat before it reaches you.
If your fire pit is in an open area, try moving it to a more sheltered spot. You can also use a wind guard. Some fire pits come with a glass wind screen.
Others have a removable metal ring. If you don't have one, a simple barrier like a patio wall or a row of plants can help.
Altitude is another factor. At high altitudes above 5,000 feet, the air is thinner. The oxygen level is lower, which affects combustion.
Gas fire pits need a smaller orifice at high altitudes to maintain the right fuel-air ratio. If you moved to a high-altitude area and brought your fire pit with you, it may need a conversion kit.
Cold weather affects propane performance. Propane stops vaporizing efficiently below about 20 degrees Fahrenheit. If you're using a fire pit in winter, the flame may be weak because the tank can't keep up.
You can use a larger tank or a propane tank heater, but those are specialized solutions. The simpler fix is to use a natural gas fire pit if you have the option.
Mistakes That Keep a Fire Pit from Heating Well
Even with the diagnostic flow, people make the same mistakes over and over. Knowing these can save you time.
The biggest mistake is using the wrong fuel. A propane fire pit won't work on natural gas without a conversion kit. The orifice is different.
The regulator is different. Using the wrong fuel also creates a safety hazard. If you're not sure which fuel your pit uses, check the manufacturer's label.
Another common mistake is overloading the burner with fire media. More lava rock or glass does not mean more heat. It means less oxygen.
Keep it shallow. The flame should be visible above the media, not buried.
People also ignore the regulator. If the regulator is failing, the flame will be weak across the entire burner. Replacing the regulator is a cheap fix.
It's usually a 15 to 30 dollar part. If you've had the same regulator for years, it's worth replacing.
Finally, not cleaning the burner regularly. Dust, dirt, and spider webs build up over time. A clean burner makes a noticeable difference.
Make it a habit to inspect and clean the burner at the start of each season.
When to Call a Pro
Most of the issues we've covered are DIY fixes. But some situations require a professional. If you've gone through all the steps and the fire pit still isn't heating well, it could be a gas line problem.
A gas line that's too small or too long for the BTU demand will cause low pressure.
If you suspect a gas leak and can't find the source, call a licensed gas fitter. Gas leaks are dangerous. Do not use the fire pit until it's fixed.
The National Fire Protection Association offers clear safety guidelines for outdoor gas appliances.
For natural gas installations, the line pressure and pipe sizing must meet local codes. If you're not sure about the installation, have it inspected. A professional can measure the gas pressure at the fire pit with a manometer and tell you if it's within spec.
If you have a fire pit that's part of a larger outdoor kitchen or living space, the gas line may be shared with other appliances. A professional can help you calculate the total load and ensure the line is sized correctly.