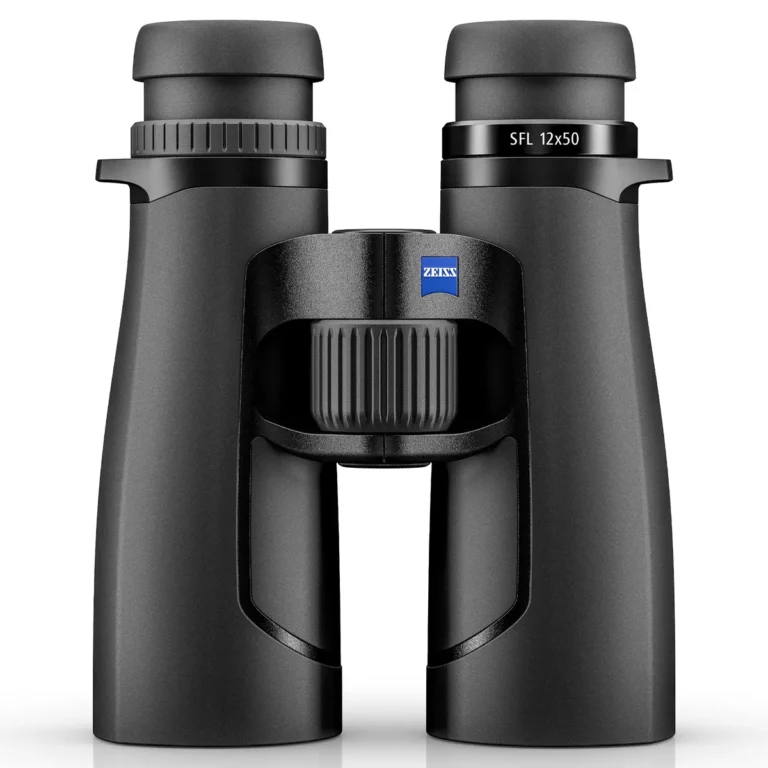
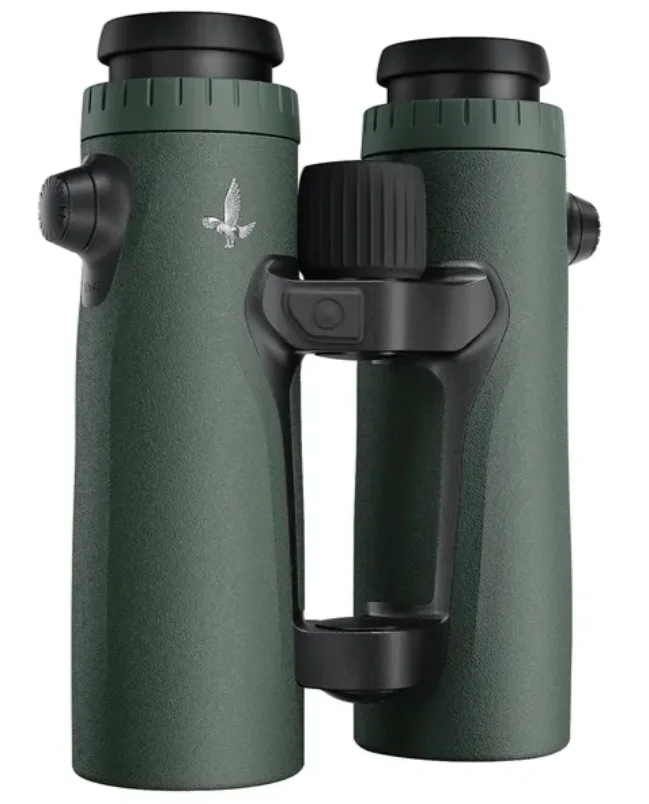
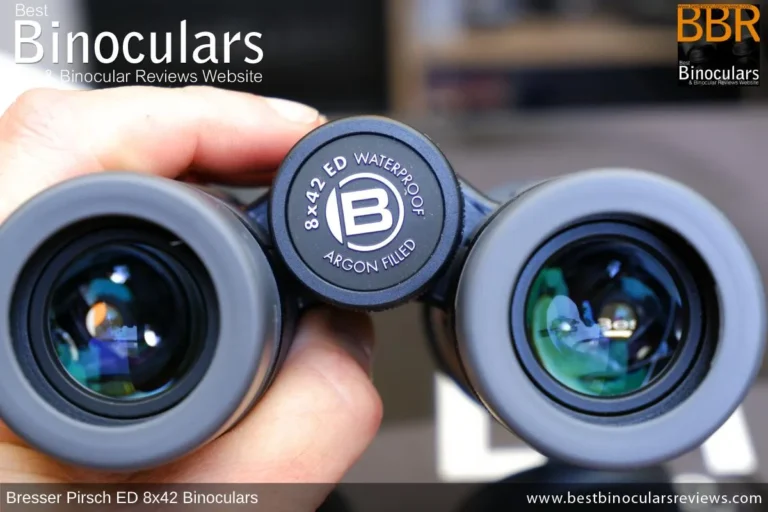
How to Set up Binoculars
You've probably done this before. You lift a nice pair of binoculars to your eyes, twist the center wheel until something looks sharp, and call it done. Then after a few minutes your eyes feel tired, or the image never quite snaps into focus.
That's because knowing how to set up binoculars properly is a five-step process, not a one-step guess. Most people skip the most important adjustments entirely.
Manufacturer specifications show that a typical adult's interpupillary distance ranges from 56 mm to 74 mm. That's the distance between your pupils, and it's different for almost everyone. If you don't match it, you get double vision.
If you don't adjust the diopter, you get headaches. So let's walk through the exact order that works for every pair of binoculars, whether you wear glasses or not.
Quick Answer
Set up binoculars in five steps. First, adjust the eyecups for your eyes. Second, set the interpupillary distance using the hinge.
Third, cover the right objective lens. Fourth, focus on a distant object using the center wheel. Fifth, adjust the diopter ring until the image is sharp.
Uncover both lenses. Done.
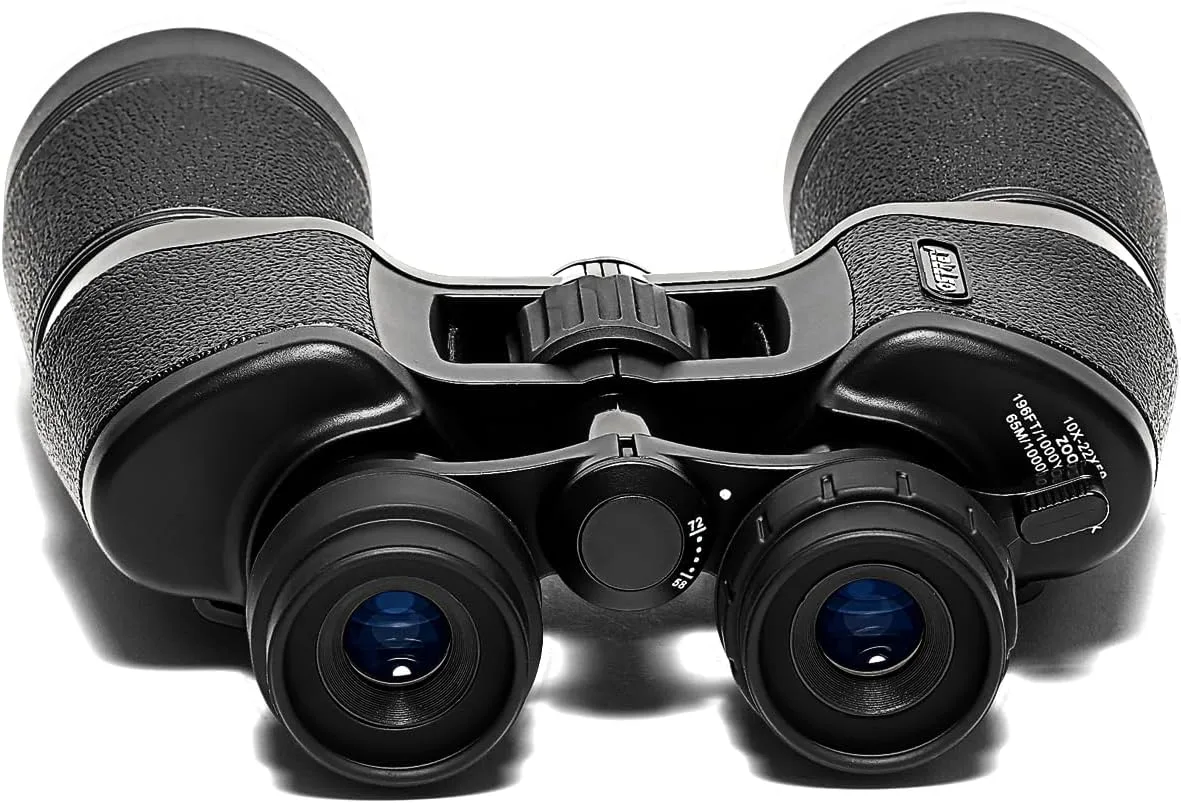
Image source: Bing (Web (fair-use with source credit))
Why Most People Never Set Up Their Binoculars Correctly
Binoculars are one of those tools people assume they already know how to use. You hold them up, turn a wheel, and you see something farther away. That's technically true.
But the difference between "I can see that bird" and "I can see the individual feathers on that bird's wing" is setup.
The biggest reason people skip the real setup is that binoculars arrive from the factory with the diopter ring set to zero. That's fine if your eyes are perfectly matched. But according to the American Optometric Association, most people have a slight difference in vision between their left and right eyes.
Even a half-diopter difference is enough to make long viewing sessions uncomfortable.
The other common mistakes include:
- Forgetting to adjust the eyecups, which creates black rings around the view
- Setting the interpupillary distance by feel, not by checking for a single circle
- Adjusting the focus wheel before the diopter, which undoes the whole process
- Using the binoculars straight out of the box without verifying collimation
The result is a view that's never quite sharp. You unconsciously squint. You tilt your head.
You wonder if the binoculars are just cheap. In our research, most entry-level and mid-range binoculars work fine once you set them up correctly. The problem isn't the optics.
It's the missing steps.
What Decides Your Setup Order: Glasses, Binocular Type, and Use Case
The setup order changes depending on three things. Your eyewear, your binoculars' focus system, and what you're trying to see. Get these conditions right first, and the rest of the process flows naturally.
Condition 1: Do you wear glasses?
If you wear glasses, you need the eyecups twisted down or folded back. That brings your eyes closer to the lenses so you can see the full field of view. If you don't wear glasses, the eyecups stay twisted up.
This blocks stray light and gives you the correct eye relief distance.
Condition 2: What type of focus system do your binoculars use?
- Center focus binoculars, Most common for birding, hunting, and general use. One wheel controls both barrels. A separate diopter ring adjusts the right eye.
- Individual focus binoculars, Each eyepiece focuses independently. Common in waterproof marine binoculars and some astronomy models. You set each eye separately.
- Autofocus or fixed-focus binoculars, No focus wheel. Your eyes do the work. Just set the IPD and go.
Condition 3: What's your primary use?
| Use Case | Priority Adjustment | Notes |
|---|---|---|
| Birding | Eyecups and diopter | Quick refocusing is critical |
| Stargazing | IPD and diopter | High magnification needs precise collimation |
| Marine | IPD and eyecups | Glare and movement change the setup |
| Hunting | Eyecups and focus wheel | Low light requires max exit pupil |
| Spectator sports | Diopter and IPD | Fast-moving targets need stable focus |
For most people, the answer is glasses or no glasses, then center focus or individual focus. That's the decision tree. From there, the steps are the same, just in a slightly different order.
We'll cover both variations.
Step 1: Adjust Your Eyecups — Glasses or No Glasses?
This is the first physical adjustment you should make. It's also the most overlooked. The eyecups control how far your eyes sit from the eyepiece lenses.
If that distance is wrong, you lose peripheral vision, see black crescent shapes, or struggle to hold the image steady.
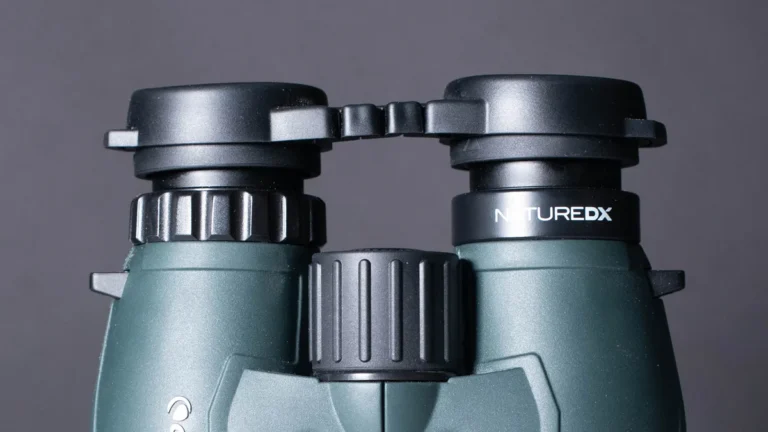
If you wear glasses
Twist the eyecups down to their lowest position. On most modern binoculars, they twist up and down with a quarter turn. If they don't twist, they fold down.
Check the base of each eyepiece for a rubber ring that flips outward. Once the eyecups are down, hold the binoculars to your eyes. You should see the full circular field of view without any dark edges.
If you still see black rings, push the binoculars closer to your glasses. The goal is a single bright circle.
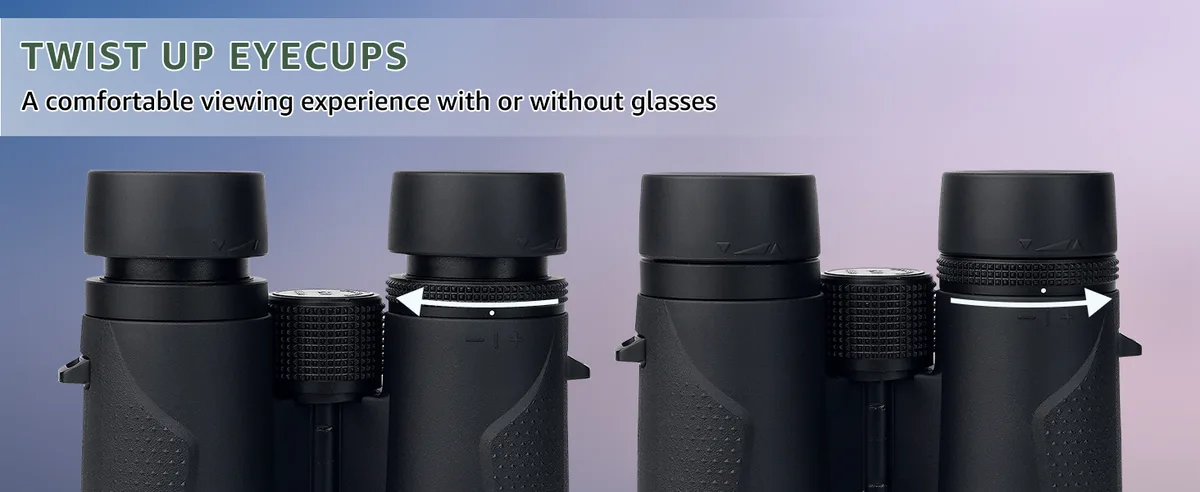
Image source: Bing (Web (fair-use with source credit))
If you don't wear glasses
Twist the eyecups up to their highest position. This gives you the correct eye relief distance, typically 10 to 20 mm depending on the model. With the eyecups extended, rest them against your brow and eye sockets.
You should see the full field of view immediately. If you see black rings, the eyecups might be too high. Twist them down one notch.
If you see a full circle but the edges look blurry, the eyecups are too low.
A quick test for both groups
Hold the binoculars about an inch away from your eyes. Move them slowly toward your face. The moment the full circle appears, stop.
That's your ideal eye relief distance. Now adjust the eyecups to match that distance. This is a trick that works for any binoculars, even old ones with fixed eyecups.
Step 2: Set the Interpupillary Distance (IPD) to Stop Double Vision
The IPD is the distance between the center of your pupils. Binoculars have two barrels connected by a hinge. You open or close that hinge to match your eyes.
It's the only adjustment that affects both the left and right views simultaneously.
How to find your IPD
Look through the binoculars at a distant object. A sign, a tree, a building. Don't focus yet.
Just look. Move the two barrels together or apart until you see a single circular image without any black space between two circles. If you see two overlapping circles, the barrels are too far apart.
If you see a figure-eight shape, they're too close together. The goal is one perfect circle.
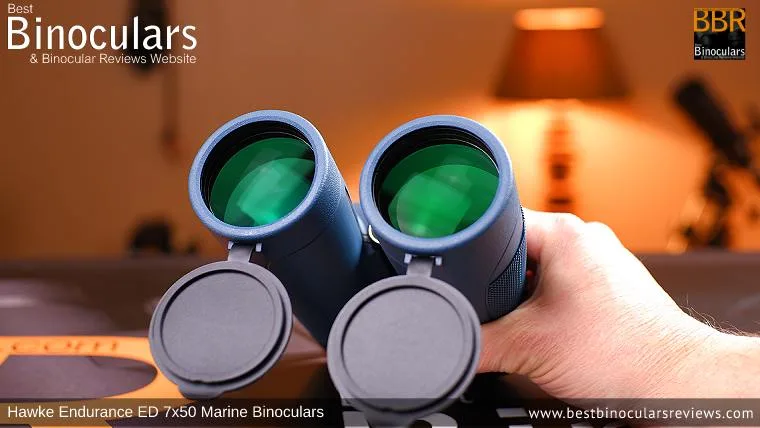
Image source: Bing (Web (fair-use with source credit))
Common problems with IPD
- Double vision that won't go away, If you can't merge the circles, your binoculars might be out of collimation. That's a manufacturing defect. Check by closing one eye. If the image through each barrel is sharp, the problem is alignment. Most mid-range brands offer a lifetime warranty for this.
- IPD scale on the hinge, Many binoculars have a small scale with numbers between 56 and 74. This is a rough guide. Your personal IPD might not match the scale exactly. Trust the visual circle, not the numbers.
- Children or people with small faces, If the hinge won't close enough, the binoculars aren't the right fit. Compact binoculars with an IPD range of 52 to 72 mm are better for smaller faces.
Why this matters for long sessions
When your IPD is off, your eyes constantly try to converge the two images. That causes eye strain, headaches, and fatigue. It's the same feeling as wearing someone else's glasses.
With the correct IPD, your eyes relax. You can watch birds or stars for an hour without discomfort.
Step 3: The Diopter Adjustment — The Step Almost Everyone Skips
The diopter is the single most important adjustment for getting a sharp view. It's also the one most people ignore. The diopter ring compensates for any difference in vision between your left and right eyes.
Without it, one eye will always be slightly out of focus.
How to find your diopter ring
Look at the right eyepiece. There's a ring just below the eyecup. It might have small numbers, a plus and minus sign, or a locking mechanism.
This is the diopter adjustment. On some binoculars, it's on the center focus wheel. On others, it's a separate ring on the left eyepiece.
Check your manual if you can't find it.
The correct order for adjusting the diopter
- Cover the right objective lens with the lens cap or your hand.
- Look through the left eyepiece only.
- Use the center focus wheel to focus on a distant object. Make it as sharp as possible.
- Now cover the left objective lens. Uncover the right lens.
- Look through the right eyepiece only.
- Rotate the diopter ring until the same object is sharp. Do not touch the center focus wheel.
- Uncover both lenses. Look through both eyes. The image should be sharp and comfortable.
Why this works
The diopter ring only adjusts one barrel. By covering the other lens, you force your brain to use only the eye that needs correction. The center focus wheel sets the baseline for your dominant eye.
The diopter ring fine-tunes the other eye. Once set, you shouldn't need to adjust it again unless you share the binoculars with someone else.
Diopter lock and unlock
Some binoculars have a locking diopter ring. You pull it up to adjust, push it down to lock. If yours has this, lock it after adjustment.
Otherwise, the ring can move during use, throwing off your focus. If you don't have a lock, check the diopter setting every few uses. It can drift on cheaper models.
Step 4: Final Focus and How to Verify You Did It Right
You've adjusted the eyecups, set the IPD, and dialed in the diopter. Now it's time for the final focus. This step is where everything comes together.
It's also where people undo their hard work by touching the wrong ring.
Focus with both eyes open
Look at a distant object with fine detail. A sign with text works well. A bird on a branch is even better.
Turn the center focus wheel slowly until the image snaps into sharp focus. Do not touch the diopter ring. That ring is locked now.
If you move it, you'll need to redo the entire diopter adjustment.
Verify the setup with a quick test
Focus on an object about 30 feet away. Then shift your gaze to something at 100 feet. Use only the center wheel to refocus.
If both distances look sharp and your eyes feel relaxed, the setup is correct. If one eye feels strained or the image stays slightly soft, go back to the diopter step.
The close focus test
Most binoculars have a minimum focusing distance. For birding models, that's often 6 to 10 feet. Focus on something very close, like a flower or a feeder.
Then look at a distant tree. The center wheel should move smoothly through the entire range. If it feels stiff or gritty, the binoculars may need service.
Check for collimation
Collimation is the alignment of both barrels. A collimation error causes double vision or a headache within minutes. To test it, close your left eye and focus with your right.
Then switch. Each eye should show the same object in the same position. If the object jumps sideways when you switch eyes, the binoculars are out of collimation.
Contact the manufacturer. Most reputable brands fix this under warranty.
What to do if the image is still blurry
If the image is soft after all five steps, check the lens surfaces for smudges or condensation. Use a lens brush and microfiber cloth. If the lenses are clean and the image is still blurry, the problem is likely the binoculars themselves.
Cheap optics with poor coatings will never look sharp. That's a limitation of the hardware, not your setup.
Common Setup Mistakes and How to Fix Them
Even after reading the steps, most people make at least one mistake on their first attempt. That's normal. The key is knowing which mistake you made and how to correct it without starting over.
Mistake 1: Adjusting the diopter with both eyes open
This is the most common error. You turn the diopter ring while looking through both barrels. That doesn't work.
Your dominant eye overrides the weaker eye. The diopter only works when one lens is covered. Fix it by repeating the diopter step with the correct eye covered.
Mistake 2: Setting the IPD before the eyecups
If you set the IPD with the eyecups in the wrong position, your eye relief is off. You'll see black crescents or lose the full field. Fix it by adjusting the eyecups first, then resetting the IPD.
Mistake 3: Using the center focus wheel to correct the right eye
The center wheel affects both barrels equally. If your right eye is blurry, don't keep turning the center wheel. That makes the left eye blurry.
Use the diopter ring instead.
Mistake 4: Forgetting to lock the diopter
On binoculars with a locking diopter, the ring can move during use. You'll notice the image slowly getting softer. Check the lock lever.
If it's unlocked, relock it and readjust.
Mistake 5: Cleaning the lenses before adjusting
Dirty lenses can look like focus problems. But don't clean them with your shirt or a paper towel. Use a lens brush and a microfiber cloth designed for optics.
Smudges from fingerprints can take several passes to remove.
| Mistake | Symptom | Fix |
|---|---|---|
| Wrong diopter order | One eye always blurry | Cover one lens, adjust diopter |
| IPD set too wide or narrow | Double vision, eye strain | Adjust hinge until one circle appears |
| Eyecups in wrong position | Black rings around view | Twist or fold eyecups to match eye relief |
| Dirty lenses | Hazy, soft image | Clean with proper optics cloth |
| Collimation error | Object jumps between eyes | Contact manufacturer for warranty repair |
Quick Setup Guide: Birding vs. Stargazing vs. Hunting
Different activities need different setup priorities. The basic steps are the same, but the order and emphasis change. Here's how to adapt the process for three common use cases.
Birding setup
Birding demands fast focus and a wide field of view. Start with the eyecups. If you wear glasses, twist them down.
If not, twist them up. Set the IPD quickly. Then do the diopter adjustment carefully.
Birding binoculars are often 8×42 or 10×42. The key is getting the diopter perfect so you can refocus instantly as birds move.
Stargazing setup
Stargazing needs high magnification and precise collimation. Use a tripod if your binoculars are 10×50 or larger. Set the IPD first.
Then adjust the eyecups to block all stray light. For individual focus binoculars, focus each eyepiece separately on a bright star. For center focus models, do the diopter adjustment on a distant terrestrial object during daylight.
Once set, don't change it.
Hunting setup
Hunting often happens in low light. You need the largest exit pupil possible. For 10×42 binoculars, that's 4.2 mm.
For 8×56, it's 7 mm. Set the eyecups to match your eye relief. Then adjust the IPD.
Do the diopter adjustment on a target at 100 yards. Check the focus in dawn light. If the image is too dark, your eye relief might be wrong.
A comparison table for quick reference
| Use Case | Priority | Magnification | Extra Gear |
|---|---|---|---|
| Birding | Diopter, fast focus | 8×42 or 10×42 | Harness, close focus |
| Stargazing | IPD, collimation | 10×50 or 15×70 | Tripod, adapter |
| Hunting | Eyecups, low light | 8×42 or 10×56 | Lens caps, rain guard |
| Marine | IPD, waterproof | 7×50 | Compass, floating strap |
| Spectator sports | Diopter, eye relief | 8×25 or 10×25 | Compact case |
Frequently Asked Questions
Do I need to set up binoculars every time I use them?
No. Once you set the IPD and diopter, those settings stay the same. You only need to adjust the center focus wheel for different distances.
The IPD and diopter only change if someone else uses the binoculars.
Can I use binoculars with glasses?
Yes. Twist the eyecups down to their lowest position. This brings your eyes closer to the lenses.
Check that you can see the full circular field of view. If you see black edges, the eyecups are still too high.
What is the diopter ring on binoculars?
The diopter ring is a small rotating ring on one eyepiece. It compensates for differences in vision between your left and right eyes. It lets you fine-tune the focus for each eye separately.
How do I know if my binoculars are out of collimation?
Focus on a distant object with one eye. Then switch to the other eye. If the object appears to shift position, the barrels are misaligned.
This causes eye strain and double vision. Contact the manufacturer for repair.
What does IPD mean on binoculars?
IPD stands for interpupillary distance. It's the distance between the centers of your pupils. You adjust it by moving the two barrels closer together or farther apart until you see a single circular image.
How often should I clean my binocular lenses?
Clean them when you see smudges or dust. Use a lens brush first to remove loose particles. Then use a microfiber cloth.
Avoid cleaning too often, as that can wear down the lens coatings over time.